Advertisement
Table of Contents
- 1 Important Instructions
- 2 Package Contents
- 3 Specifications
- 4 Lcdi Power Cord and Plug
- 5 Product Diagram
- 6 Parts & Assembly
- 7 Assembly and Installation
- 8 Window Kit Assembly
- 9 Control Panel, Display, & Operating Instructions
- 10 Operating the Unit Using the Control Panel
- 11 Operating the Unit Using the Remote Control
- 12 Maintenance
- 13 This Warranty Does Not Cover
- Download this manual
Advertisement
Table of Contents

Summary of Contents for Soleus Air PH5-13R-32D
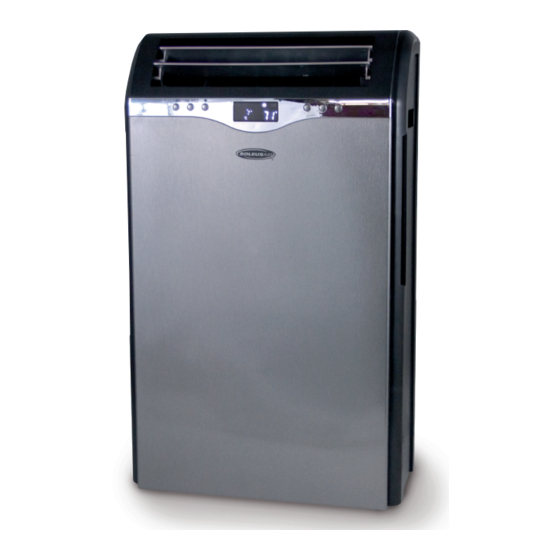
- Page 1 Portable Air Conditioner with Heat Pump Operating Instructions 3092402 Model No.: PH5-13R-32D Reference No.: LX-130DHP V.130110...
-
Page 2: Important Instructions
Thank you for choosing a Soleus Air PH5 Series Portable Air Conditioner. This owner’s manual will provide you with valuable information necessary for the proper care and maintenance of your new product. Please take a few moments to thoroughly read the instructions and familiarize yourself with all the operational aspects of your new Soleus Air Portable Air Conditioner. -
Page 3: Package Contents
PACKAGE CONTENTS Portable Air Conditioner Exhaust Hoses (2) Hose Adapters (2) Window Kit Adapter (2) Remote Control AAA Batteries (2) Window Kit - 3 Sliding Panels Air Outlet Covers (2) Owner’s Manual SPECIFICATIONS • The cooling capacity is measured at an ambient temperature of DB 86 °F, WB 78 °F. •... -
Page 4: Lcdi Power Cord And Plug
LCDI POWER CORD AND PLUG This air conditioner is equipped with an LCDI (Leakage Current Detection and Interruption) power cord and plug as required by US National Electric Code 440.65. This cord consists of a length of shielded flexible cord with no termination on the load side and a LCDI attachment plug on the line side. -
Page 5: Product Diagram
PRODUCT DIAGRAM Control Panel and LED display Louvers Air Filter Compartment and Air Intake Casters Remote Control and Holder Air Intake Exhaust Power Outlet Cord Wrap Drain Plug... -
Page 6: Parts & Assembly
PARTS & ASSEMBLY PARTS EXHAUST HOSES (2 Included) WINDOW KIT EXHAUST HOSE HOSE ADAPTER HOSE ADAPTER HOSE ADAPTER WINDOW KIT ADAPTER WINDOW KIT ASSEMBLY & INSTALLATION INSTALLATION When the unit is operating as an air conditioner, heater, or dehumidifier, the unit draws in fresh outdoor air and exhausts hot air (or cold air in heat mode) out of the room to complete the air exchange. - Page 7 VENTING KIT INSTALLATION NOTE: The Portable Air Conditioner above may differ from the unit described in this manual. The above directions and images show general directions for Soleus Air hose portable air conditioners.
-
Page 8: Window Kit Assembly
WINDOW KIT ASSEMBLY 1.Parts: A) 2 Track Screws B) 2 Wing Nuts C1 & C2) 2 Hose Panels, one Exhaust Hose Openings D) 1 Sliding Track Panel 5. Next, take the other Hose Panel (C2) and connect it to Hose Panel (C1) by placing the Sliding Track Panel (D) over the Track Screw (A) on Hose Panel (C2). -
Page 9: Control Panel, Display, & Operating Instructions
CONTROL PANEL, DISPLAY, & OPERATING INSTRUCTIONS CONTROL PANEL & LED CONTROL DISPLAY CONTROL PANEL TIMER TIME/TEMP DECREASE POWER TIME/TEMP INCREASE FAN SPEED MODE LED CONTROL DISPLAY LED CONTROL DISPLAY AUTO DEHUM. HEAT REMOTE RECEIVER TIMER ON TIMER OFF FAN SPEED TEMPERATURE AND TIMER INDICATOR... -
Page 10: Operating The Unit Using The Control Panel
CONTROL PANEL, DISPLAY, & OPERATING INSTRUCTIONS CONTROL PANEL BUTTONS (Refer to the images on page 9) 1) Power On and Off - Press the POWER button once to manually turn the unit on. Press the POWER button once more to turn the unit off. 2) Mode Selection - Press the MODE Button repeatedly to cycle between the different modes: Auto mode, Air Conditioner, Dehumidifier, Fan only, and Heater mode. - Page 11 Heating Mode 1) Install the exhaust hose and window kit properly (see pages 7 & 8 ). 2) Plug the Power Cord into an electrical outlet. 3) Turn on the unit by pressing the POWER button on the control panel. 4) Press the MODE button until the “...
- Page 12 ° ° ° F to 80 F. And Air Conditioner mode when the room temperature is above 80 F. Heating Mode when ° the room temperature is below 68 Sleep Mode (This mode can only be selected when using the Remote control ) 1) To set Sleep mode, make sure the unit is in Air Conditioner mode or Heating mode.
-
Page 13: Operating The Unit Using The Remote Control
OPERATING THE UNIT USING THE REMOTE CONTROL REMOTE CONTROL LCD DISPLAY MODE BUTTON POWER BUTTON FAN SPEED TEMP SETTING SWING (LOUVER OSCILLATION) TIMER ON SLEEP BUTTON TIMER OFF MINUTE SELECTER HOUR SELECTER * Remote color may differ from the image above. - Page 14 REMOTE CONTROL OPERATING INSTRUCTIONS 1) Power On and Off - Press the POWER (I/O) button once to manually turn the unit on. Press the Power button once more to turn the unit off. When you press the POWER button the upper right square on the remote control LED Display will light up.
-
Page 15: Maintenance
MAINTENANCE Note: Make sure power is off and the power cord is not plugged into an electrical outlet prior to performing any maintenance on the unit. Clean or replace filter - If the air filter is blocked with a dust, the airflow volume may reduce. It is recommended to clean the filter once every two weeks or as needed. -
Page 16: This Warranty Does Not Cover
For Technical Support & Warranty Service Please Call (888) 876-5387 Or Write To: Soleus International Inc. 20035 E. Walnut Dr. N. City of Industry, CA 91789 USA www.soleusair.com...


Need help?
Do you have a question about the PH5-13R-32D and is the answer not in the manual?
Questions and answers