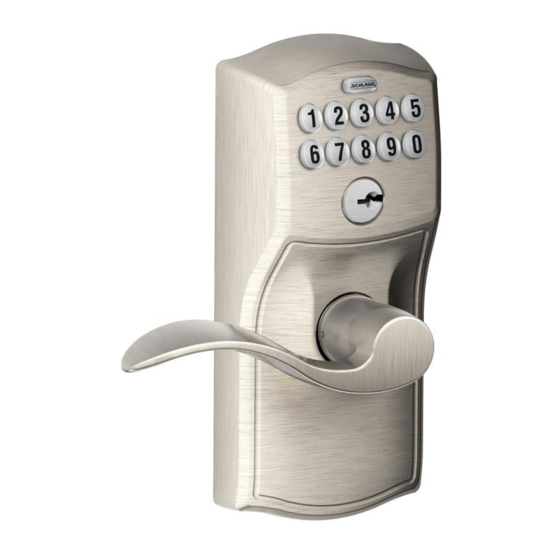
Schlage FE599 Installation Instructions Manual
Lever lock
Hide thumbs
Also See for FE599:
- Installation instructions (3 pages) ,
- User manual (7 pages) ,
- User manual (7 pages)
Table of Contents

Summary of Contents for Schlage FE599
-
Page 1: Installation Instructions
FE599 Lever Lock Installation Instructions Alternate Important Information Faceplate Lock Programming Code six (6) digits User Code A User Code B four (4) digits four (4) digits Web Support: part2.schlage.com Customer Service: (877) 288-7707... - Page 2 Locate Programming Code and Preset User Codes The programming code and the preset user codes are printed on the yellow stickers located on the back of the keypad and on the installation sheet that came in the box. Write these codes in the space provided on the first page. Check Door Dimensions If your door does not match the dimensions shown, go to www.part2.schlage.com for instructions on how to prepare your door.
- Page 3 Install Strike Into Frame If Necessary, Change Latch Faceplate Check edge of door to determine the type of faceplate required.
- Page 4 Install Latch Latch must be flipped so that bevel faces toward door jamb. Door Jamb Door Jamb Remove Sticker from back of Lock...
- Page 5 Install the Keypad Feed the cable under latch assembly as shown below. Then slide the tailpiece through the hole as shown below. Adjust Hands-free Post The hands-free post is the threaded stud on back of lock. It’s purpose (in step 10) is to attach the lock and baseplate together so that the lock will hold itself on the door.
- Page 6 Feed Cable through Baseplate Feed the cable through the hole as shown below. DO NOT connect the cable at this point. Slide Baseplate onto Door over Hands-free post Hands-free post should lock plate against door surface. If hands-free post does not lock plate onto door, see step 8 for adjustment.
- Page 7 Connect the Cable Snap the connectors together. Install Batteries and Battery Cover...
- Page 8 Install Cover and Lever See step 14 on the next page to verify that the lever is handed correctly to match your door. If the lever does not snap into place easily, you may have to tap the lever with a hammer using a piece of wood to cushion it. Be careful not to damage the finish of the lever.
- Page 9 Check Handing of Lever Correct Go to step 15 Incorrect See steps below to change lever handing To Change Lever Handing...
- Page 10 Test Locking and Unlocking from the Interior Test with door open to avoid possibly being locked out! To Unlock, Press Button To Lock, Press Button Green light Red light (indicates unlocked) (indicates locked) Test Outside Entry (When Door is Locked) When you press your User Code (four numbers) on the keypad, the door will unlock for 5 seconds, allowing entry.
- Page 11 D472788 5395144 5816086 6581426 D406528 D487388 5593193 5820290 6802546 D426452 D520331 5598726 5881590 6905773 D428324 D520332 5640863 5918916 6926319 D450558 D537702 5683127 6286347 7143477 D457048 D541620 5715717 6297725 7159424 D457049 D543435 ©2010 Schlage Lock Company FE599 Online IS Rev. 11/10-c...


Need help?
Do you have a question about the FE599 and is the answer not in the manual?
Questions and answers