Husqvarna 136, 141, 136LE, 141LE Instruction Manual
Husqvarna electric chain saw instruction manual
Hide thumbs
Also See for 136, 141, 136LE, 141LE:
- Instruction manual (17 pages) ,
- Operator's manual (19 pages) ,
- Operator's manual (19 pages)

Related Manuals for Husqvarna 136, 141, 136LE, 141LE


Summary of Contents for Husqvarna 136, 141, 136LE, 141LE
-
Page 1: Instruction Manual
136 / 141 136LE / 141LE Instruction Manual Read and follow all Safety Rules and Operating Instructions before using this product. Failure to do so can result in serious injury. 530163874 6/18/03... -
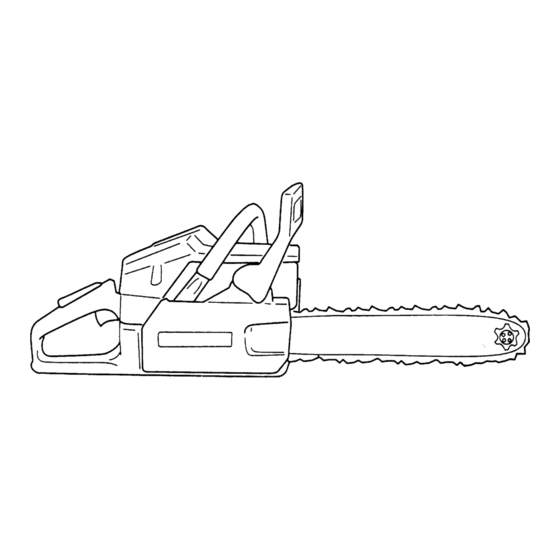
Page 2: Identification Of Symbols
IDENTIFICATION (WHAT IS WHAT?) 1. Cylinder Cover 2. Front Handle 3. Front Hand Guard 4. Starter Cover 5. Chain Oil Tank 6. Starter Handle 7. Carburetor Adjusting Screw 8. Choke Control 9. Rear Handle 10. ON/OFF Stop Switch 11. Fuel Tank 12. -
Page 3: Safety Rules
There should be no smoking, open flames, or work that could cause sparks. Allow en- gine to cool before refueling. S Mix and pour fuel in an outdoor area on bare ground; store fuel in a cool, dry, well Husqvarna accessories and re-... -
Page 4: Maintain Control
ventilated place; and use an approved, marked container for all fuel purposes. Wipe up all fuel spills before starting saw. S Move at least 10 feet (3 meters) from fuel- ing site before starting engine. S Turn the engine off and let saw cool in a non-combustible area, not on dry leaves, straw, paper, etc. -
Page 5: Kickback Safety Features
Elbow locked Thumb on underside of handlebar S Keep a good, firm grip on the saw with both hands when the engine is running and don’t let go. A firm grip will help you reduce kickback and maintain control of the saw. Keep the fingers of your left hand encir- cling and your left thumb under the front handlebar. -
Page 6: Safety Notice
If this saw is to be used for commercial logging, a chain brake is required and shall not be removed or otherwise disabled to comply with Federal OSHA Regulations for Commercial Logging. Contact your authorized Husqvarna service dealer. SAFETY NOTICE: Exposure... -
Page 7: Assembly
Protective gloves (not provided) should be worn during assembly. ATTACHING THE BAR & CHAIN not already attached) WARNING: Recheck each assem- bly step if the saw is received assembled. Al- ways wear gloves when handling the chain. The chain is sharp and can cut you even when it is not moving! 1. -
Page 8: Fueling & Lubrication
Bar and chain oil must be free flowing for the oil system to pump enough oil for adequate lubrication. operation, Genuine Husqvarna ommended to protect your unit against exces- sive wear from heat and friction. resists high temperature thinning. Husqvarna grade SAE 30 oil. -
Page 9: Operating
Take your unit to the place of purchase if purchased from a servicing dealer, or to the nearest authorized Husqvarna S This saw is equipped with a chain brake. The brake is designed to stop the chain if kickback occurs. -
Page 10: Cutting Methods
S When cutting with the saw, the chain brake must be disengaged. Disengaged Braking function control CAUTION: The chain brake must be checked several times daily. The engine must be running when performing this proce- dure. This is the only instance when the saw should be placed on the ground with the en- gine running. - Page 11 made on the opposite side of tree, the tree will tend to fall into the notch. NOTE: If the tree has large buttress roots, remove them before making the notch. If us- ing saw to remove buttress roots, keep saw chain from contacting ground to prevent dull- ing of the chain.
- Page 12 Second cut Second cut First cut on compression side of log BUCKING WITHOUT A SUPPORT S Overcut through of the diameter of the log. S Roll the log over and finish with a second overcut. S Watch for logs with a compression side to prevent the saw from pinching.
-
Page 13: Bar Maintenance
S Make your first cut of the way through the bottom of the limb. S Next make a 2nd cut all the way through the limb. Then cut a third overcut leaving a 1 to 2 inch collar from the trunk of the tree. SERVICE AND ADJUSTMENTS WARNING: Muffler is very hot during... -
Page 14: Storage
S Clean the oil holes and bar groove after each 5 hours of operation. Remove Sawdust From Guide Bar Groove Oil Holes S Burring of guide bar rails is a normal process of rail wear. Remove these burrs with a flat file. S When rail top is uneven, use a flat file to re- store square edges and sides. -
Page 15: Troubleshooting
90 Day Warranty: Automatic mower, chain saws, power cutters, stump grinders, pole saws, pole pruners, snow throwers, model se- ries 580 & 600 walk- -behind mowers, and com- mercial turf equipment or any Husqvarna prod- used commercial, professional, or income producing purposes or use except as otherwise provided herein. -
Page 16: Section 5: Customer Re- Sponsibilities
SECTION 2: HUSQVARNA’S OB- LIGATIONS UNDER THE WARRANTY Husqvarna will repair or replace defective com- ponents without charge for parts or labor if a component fails because of a defect in material or workmanship during the warranty period. - Page 17 Your emission control system includes parts such as the carburetor and the ignition system. Where a warrantable condition ex- ists, HUSQVARNA will repair your small off- - road engine at no cost to you. Expenses cov- ered under warranty include diagnosis, parts and labor.
- Page 18 The information on the product label indicates which standard your engine is certified. Example: (Year) EPA Phase 1 or Phase 2 and/or CALIFORNIA. This engine is certified to be emissions compliant for the following use: Moderate (50 hours) Intermediate (125 hours) Extended (300 hours)