
Related Manuals for InStyler wet2dry


Summary of Contents for InStyler wet2dry
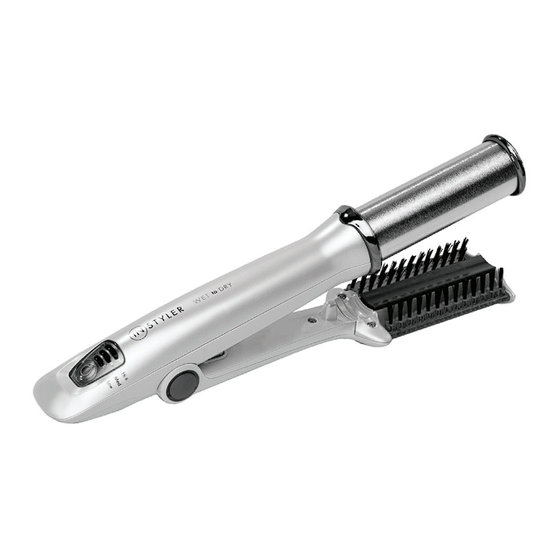
- Page 1 IMPORTANT! For best results, go to www.myinstyler.com for Video Tips & Techniques USER MANUAL InStyler Wet 2 Dry Rotating Iron ®...
-
Page 2: Important Safety Information
1. ALWAYS UNPLUG IT IMMEDIATELY AFTER USING. 2. DO NOT USE WHILE BATHING OR SHOWERING. 3. DO NOT place or store InStyler Rotating Iron where it can fall or be pulled into a tub, toilet or sink or any other water source. 4. DO NOT use InStyler Rotating Iron near water. - Page 3 3. NEVER operate the InStyler Rotating Iron if it has a damaged cord or plug, if it is not working properly, if it has been dropped or damaged or if it has been dropped into water. If the power supply cord or plug is damaged, the InStyler Rotating Iron must be replaced by the manufacturer or an authorized service agent in order to avoid a hazard.
- Page 4 ONLY, with the following precautions. If your real human hair extensions are sewn in, you can use your InStyler up to the scalp. If your real human hair extensions are glued in, make sure you start with your InStyler below the glue.
-
Page 5: Introduction And Getting Started
• Glide the InStyler Wet 2 Dry SLOWLY down the hair once to dry and once more to style. • Listen for the crackle sound. That’s the sound of water evaporating off the barrel, and it means that the InStyler Wet 2 Dry is working as it is supposed to. • Experiment with it and be creative. You will quickly see what this innovative tool can do. The styling tips on the following pages will help give you some ideas of what is possible. - Page 6 (see p. 9 for Hair Types) One to Dry and One to Style. Glide the InStyler SLOWLY down your hair once to dry and once to style. Go Slowly! The InStyler works best if you glide it through your hair slowly. Repeated passes should be unnecessary if you proceed slowly.
- Page 7 Multiple Heat Settings: HIGH 3 Bars, 195 °C Ideal for thick, coarse hair MEDIUM 2 Bars, 157 °C Ideal for thin-to-medium textured hair 1 Bar, 140 °C Ideal for thin, fine hair No Bar(s) Towel Dry the hair thoroughly first. Hair can then be styled as normal on the appropriate heat setting while still damp. • The unit will start on “High.” • Press the Power button again to reduce heat. • The LED bars will flash while reaching heat; once the temperature is reached, the LED bars will stay lit. For more tips, tricks and videos visit, www.myinstyler.com...
- Page 8 NOTE: It is important to keep your InStyler clean, as hair product build-up can accumulate on the barrel and bristles. With the unit unplugged, wipe the outside surface only with a lightly damp cloth. Bristles can be lightly scrubbed if neces- sary.
- Page 9 Hair Types The way you use your InStyler depends on what type of hair you have. You’ll get the most out of your InStyler if you use the techniques best suited to your hair type. The four main types of hair are: Fine - Set the InStyler at Low to Medium heat setting. With fine hair, you should only need 1 to 2 passes with the InStyler to achieve your desired results.
- Page 10 Wet 2 Dry Rotating Iron ® Sectioning Hair To achieve the style you want with your InStyler, it is important to know how to properly section the hair. • With longer hair, clip up the top layers of your hair, and then begin sectioning and styling your under layers of hair first.
- Page 11 (see illustration) Near the end of the hair section, rotate your wrist so the InStyler brush turns out away from your face. Allow the barrel to rotate 3 to 5 seconds in place on your ends before releasing the hair.
- Page 12 8 for Thermal Guard Training Aid removal instructions.) Being careful to not burn your fingers, wrap a section of hair around the barrel of your InStyler from root to ends, with the barrel side facing your scalp (see illustration).
-
Page 13: Volume Boost
“On Base Styling” To begin, wrap a section of hair around the barrel down to the root. Place the InStyler barrel directly over the root, close the unit and let the barrel rotate for a few seconds. (see illustration) Open the InStyler and let the hair fall from the barrel. - Page 14 • With the InStyler barrel facing towards the back of the head, close the InStyler onto the section of hair, and slowly pull the InStyler in the opposite direction that you want your hair to lay. In other words, at the crown of your head, grab a section of hair with the InStyler and slowly pull the unit forward towards your forehead.
-
Page 15: Frequently Asked Questions
The InStyler is a great tool for African American Hair because it will not leave crease marks like flat irons, and the polishing barrel and bristles will leave the hair looking shiny and beautiful. The InStyler is safe for any type of hair when used properly. Can I use styling products before or after I use my InStyler? - Page 16 Also, if you have split ends, the hair may come out looking frizzy. I see smoke coming from my hair! Is it burning my hair? A. No! The InStyler Wet 2 Dry is not burning your hair. This is just a byproduct of evaporation. Can I use my InStyler with real human hair extensions? Yes. Make sure you start with your InStyler below where the extension is attached to your natural hair.
- Page 17 We get asked this question a lot, and we’re very proud to say you can add this one to the old “hair styling myths” column! With the InStyler, you don’t need a lot of heat to straighten and style your hair! The InStyler’s unique design actually allows you to use less heat than you are used to, while still getting better results than you would with a flat iron or other hot tool.
- Page 18 The bristles are made of heat resistant nylon. What is the power of the InStyler? The 32mm InStyler 120V, 60Hz, 50 Watts. The 19mm InStyler is 120V, 60Hz, 35 Watts. How do I turn the InStyler on? Check to make sure your InStyler is plugged in. Press the Power button. The LED bars should light and begin flashing. Once the LED stops flashing the InStyler is ready to go. You must close the handle to begin the rotation. How do I get my InStyler to rotate? You must close the handle to start the rotation. The rotation will start automatically.
- Page 19 Wipe the outside surface only with a soft damp cloth. Be sure to wring out all excess water before applying it to the InStyler. Clean more severe dirt by using a soft, damp cloth with a mild soap.
- Page 20 Join our community for updated tips, tricks, videos, and special product offers. www.myinstyler.com ©2013 Tré Milano, LLC. All Rights Reserved. InStyler® and InStyler® logo are registered trademarks of Tré Milano, LLC. Illustrations by Renee Reeser Zelnick...
Need help?
Do you have a question about the wet2dry and is the answer not in the manual?
Questions and answers