Table of Contents
Advertisement
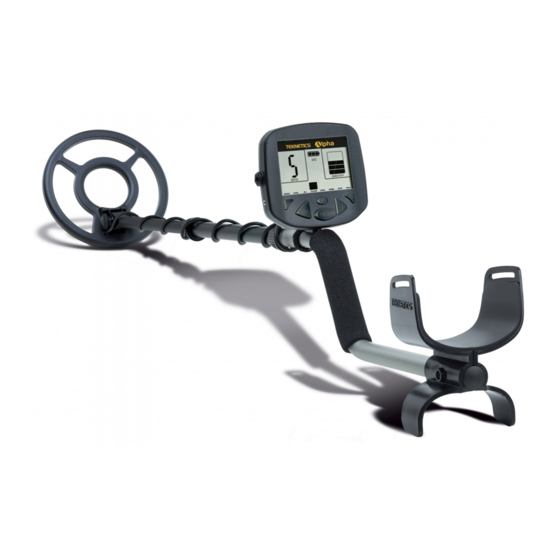
OWNER'S MANUAL
If you do not have prior experience
with a metal detector, we strongly
recommend that you:
1) Adjust the Sensitivity
to a low setting in the
event of false signals.
Always begin use at a
reduced
increase sensitivity only after you have
become familiar with the detector.
2) Do not use indoors. This detector is for
outdoor use only.
appliances emit electromagnetic energy,
which can interfere with the detector. If
conducting an indoor demonstration, turn
the sensitivity down and keep the search coil
away from appliances such as computers,
televisions and microwave ovens. If
your detector beeps erratically, turn
off appliances and lights.
Also keep the search coil away
from objects containing metal,
such as floors and walls.
3) Use a 9-volt ALKALINE battery
only.
Do not use Heavy Duty Batteries.
sensitivity
level;
Many household
Advertisement
Table of Contents

Related Manuals for Teknetics Alpha 2000


Summary of Contents for Teknetics Alpha 2000
- Page 1 OWNER’S MANUAL If you do not have prior experience with a metal detector, we strongly recommend that you: 1) Adjust the Sensitivity to a low setting in the event of false signals. Always begin use at a reduced sensitivity level; increase sensitivity only after you have become familiar with the detector.
-
Page 2: Table Of Contents
TABLE OF CONTENTS Terminology ..........3 Assembly . -
Page 3: Terminology
TERMINOLOGY The following terms are used throughout the manual, and are standard terminology among detectorists. ELIMINATION Reference to a metal being "eliminated" means that the detector will not emit a tone, nor light up an indicator, when a specified object passes through the coil’s detection field. -
Page 4: Assembly
ASSEMBLY Assembly is easy and requires no tools. Loosen both Locking Collars by rotating 100% counterclockwise. Insert the Upper Stem into the S-Rod and click Silver Button into hole. Position the Lower Stem with the Silver Button toward the back. Using the Bolt and Knurled Knob, attach the Search Coil to the Lower Stem. - Page 5 ASSEMBLY Adjusting the Arm Rest The arm rest may be moved forward or backwards by removing the single screw and nut, and then repositioning the 2-piece arm rest. Users with shorter arms may find the arm rest more comfortable in the forward position.
-
Page 6: Batteries
BATTERIES The detector requires a single 9-volt ALKALINE battery (battery not included). Do not use ordinary zinc carbon batteries. Rechargeable batteries can also be used. If you wish to use rechargeable batteries, we recommend using a Nickel Metal Hydride rechargeable battery. The battery compartment is located on the back side of the housing. -
Page 7: Quick-Start Demo
QUICK-START DEMONSTRATION I. Supplies Needed • a Nail • a Zinc Penny (dated after 1982) • a Nickel • a Quarter II. Position the Detector a. Place the detector on a table, with the search coil hanging over the edge. Or better, have a friend hold the detector, with the search coil off the ground. -
Page 8: Basic Of Metal Detecting
THE BASICS OF METAL DETECTING A hobby metal detector is intended for locating buried metal objects. When searching for metals, underground or on the surface, you have the following challenges and objectives: 1. Ignoring signals caused by ground minerals. 2. Ignoring signals caused by metal objects that you do not want to find, like pull-tabs. -
Page 9: Size And Depth Of Buried Objects
THE BASICS continued 4. Size and Depth of Buried Objects The relative depth of an object is displayed at the left of the display as a 1 digit number, 0 to 9 inches. The size of an object can be determined using sweep techniques described later in the manual. -
Page 10: How To Work The Controls
OPERATION and CONTROLS POWERING UP Press • The detector always starts up with the DISCRIMINATION feature active. Motion is required to detect metal. • Sensitivity is at 70% of maximum • All target categories are illuminated, meaning that all metal objects will be detected. -
Page 11: Menu Selections
OPERATION and CONTROLS MENU SELECTIONS 1. DISC to increase or decrease DISCRIMINATION level. Each time you press , a target category is eliminated from detection. Elimination occurs from left to right. When a category description (for example “IRON”) disappears from the display, then targets classified in that category will not be detected. -
Page 12: Sensitivity
OPERATION and CONTROLS cont. NOTCH continued For example, the following settings tell us that: • The nickel, dime, quarter, and 50¢+ categories will detected. • All other categories of targets (iron, foil, alum, and zinc) will menu not be detected. 3. -
Page 13: Target Identification
TARGET IDENTIFICATION Targets are identified both audibly and visually as follows: 1. Different pitch tones for different types of metals 2. An illuminated icon within the target category best describing it. AUDIO TARGET IDENTIFICATION: Tones identify targets as follows: LOW TONE Ferrous objects, such as iron and steel, like nails and tin cans. -
Page 14: Depth And Target Display
DEPTH AND TARGET DISPLAY READING THE DISPLAY can, will register here. Many gold rings will also register here. The Liquid Crystal Display (LCD) shows the PROBABLE identification of the targeted Older pull tabs, which always detached metal, as well as the PROBABLE depth of the completely from the can, register here. -
Page 15: In The Field Techniques
IN THE FIELD TECHNIQUES PINPOINTING COIL MOVEMENT Accurate pinpointing takes practice When swinging the coil, be careful and is best accomplished by “X- to keep it level with the ground ing” the target area. about one inch from the surface. Never swing the coil like a pendu- 1. - Page 16 IN THE FIELD TECHNIQUES (continued) Swing the search coil slowly, not repeat after sweeping the coil overlapping each sweep as you directly over the suspected target move forward. It is important to a few times, it is more than likely sweep the coil at a consistent trash metal.
- Page 17 IN THE FIELD TECHNIQUES (continued) hobby, you may want to dig all find in some areas. The trashiest targets at first. With practice in areas have been frequented by the field, you will learn to better the most people, and frequently discern the nature of buried hold the most promise for finding objects by the nature of the...
-
Page 18: Headphones
HEADPHONE JACK The detector has a 1/8” & 1/4” headphone jack on the left side of the housing. Optional Headphones come standard with a 1/8” stereo plug (the 1/4” adapter is not required). When the headphone jack is connected, speaker audio is disabled. Using a detector with headphones facilitates detection of the weakest signals and also extends the battery life. -
Page 19: Trouble Shooting
TROUBLE SHOOTING TROUBLE SHOOTING GUIDE SYMPTOM CAUSE SOLUTION Detector chatters • Using detector • Use detector or beeps erratically indoors outdoors only • Using detector near • Move away power lines from power lines • Using 2 detectors in • Keep 2 detectors close proximity at least 20’... -
Page 20: Code Of Ethics
TREASURE HUNTER’S CODE OF ETHICS: • Always check Federal, State, County and local laws before searching. • Respect private property and do not enter private property without the owner’s permission. • Take care to refill all holes and try not to leave any damage. •...
Need help?
Do you have a question about the Alpha 2000 and is the answer not in the manual?
Questions and answers