
Related Manuals for R-Tech C-MIG 315


Summary of Contents for R-Tech C-MIG 315
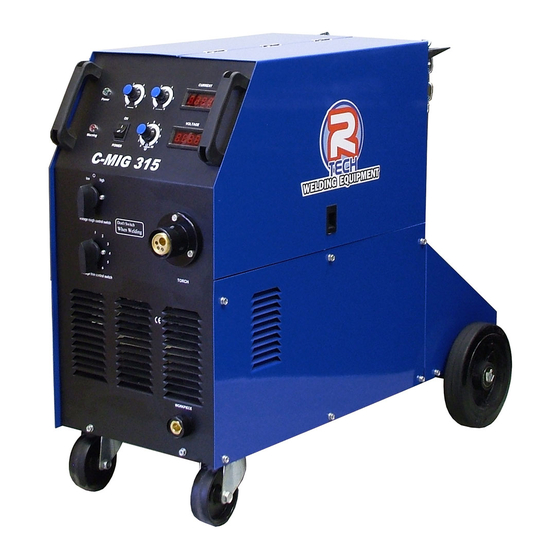
- Page 1 Tel: 01452 733933 Fax 01452 733939 C-MIG 315 COMPACT MIG WELDING MACHINE OPERATION INSTRUCTIONS Version 2014-1...
- Page 3 Thank you for selecting the R-Tech C-MIG 315 Compact Mig Welder. We want you to take pride in operating our C-MIG 315 as much pride as we have taken in making this product for you. PLEASE EXAMINE CARTON AND EQUIPMENT FOR DAMAGE IMMEDIATELY When this equipment is shipped, title passes to the purchaser upon receipt from the courier.
-
Page 4: Installation
Installation Technical Specifications Model No. R-Tech C-MIG 315 Input 415V 3 ~ AC 50/60Hz MIG Operation Rated Input Power 6.2 KVA Rated Input Current 18 AMPS Rated Output Current 315 AMPS Duty Cycle @ 315AMPS º 40% @ 40 º... - Page 5 Transport – Unloading Never underestimate the weight of equipment, never move or leave suspended in the air above people. Use recommended lifting equipment at all times. WARNING! Falling Equipment can cause injury. Never lift welder with gas bottle attached. Never lift above personnel.
-
Page 6: Electric Shock Can Kill
Do not touch electrically live parts The C-MIG 315 Mig Welder requires a 415V 50/60Hz 3-Phase supply. It requires an 18A supply. It comes with a 3 metre mains cable attached. Connect wires according to national coding. - Page 7 Connections for C-Mig 315 Setup machine as per two diagrams below: Rear machine connections Front machine connections Connect Euro type Mig torch to euro torch connector To avoid shock keep the Mig torch in good condition and replace if any of the insulation is damaged.
-
Page 8: Operation
Operation SAFETY PRECAUTIONS WARNING! ELECTRIC SHOCK CAN KILL Do not touch electrically live parts or electrode with skin or wet clothing. Insulate yourself from work and ground Always wear dry insulating gloves WARNING! FUMES AND GASES can be dangerous Keep your head out of fumes & gases produced from welding. Use ventilation or exhaust to remove fumes &... - Page 9 Welding Capability – Duty Cycle The R-Tech C-MIG 315 is rated at 315 Amps at 40% duty cycle on a ten minute basis. If the duty cycle is exceeded a thermal protector will shut machine off until the machine cools.
- Page 10 Set required voltage for welding material – Coarse voltage is set via 3 position switch either low, medium or high range – Fine adjust is set via 7 position switch. Adjust wire feed speed to suit voltage/wire diameter chosen. Current LED shows actual welding voltage when welding Voltage LED shows actual welding voltage when welding Spot Timer –...
- Page 11 Side panel Burnback adjustment – This sets amount of time welding power stays on after torch button released and wire feed has stopped. If too little Burnback is set, wire may stick to work after trigger released, if too much Burnback is set wire will Burnback into welding tip. Wire reel holder –...
-
Page 13: Maintenance
Maintenance Routine and periodic maintenance WARNING! ELECTRIC SHOCK CAN KILL Turn the input power OFF at the mains switch & fuse box before working on this equipment. Have a qualified electrician install & service this equipment. Allow machine to sit for 5 minutes minimum to allow the power capacitors to discharge before working inside this equipment. - Page 14 The second column labeled ‘possible cause’ lists the obvious external possibilities that may contribute to the machine symptom Step 3 Recommended course of action This column provides a course of action for the possible cause, generally it states to contact R-Tech welding for repair of machine.
- Page 15 Mig Weld Problems No gas flow when torch switch 1 Gas supply is empty or If all recommended areas of activated. Machine has output turned off fault have been checked and and fan runs. A click can be 2 Flow regulator may be set problem persists, Contact heard indicating gas solenoid is too low...
-
Page 16: Electrical Schematic Diagram
Electrical Schematic Diagram... -
Page 17: Wiring Diagram
Wiring Diagram...
Need help?
Do you have a question about the C-MIG 315 and is the answer not in the manual?
Questions and answers