
Related Manuals for Sunquest SQ-1220


Summary of Contents for Sunquest SQ-1220
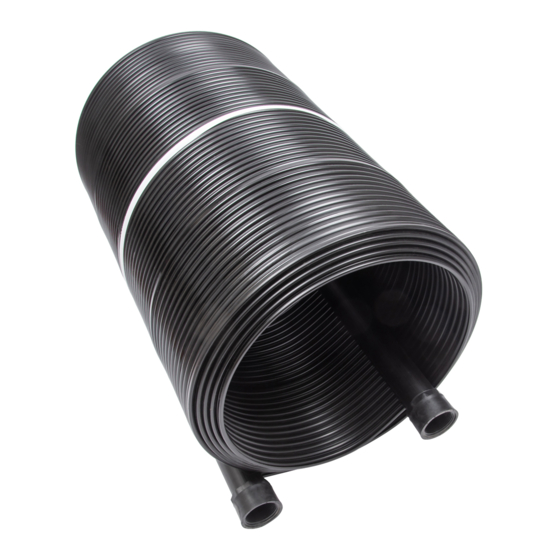
- Page 1 Model # SQ-1220 INSTALLATION & OPERATION MANUAL Read all the instructions before installing your solar heating system.
- Page 2 How does a solar heating system work? 1. Connect your existing pool pump to the solar panel. Your pool pump sends cold water to the solar panel. 2. The sun heats the water in the solar panel. 3. Warm water is then returned to your swimming pool. How well does solar heating work? A solar heating system if sized and installed properly will raise your pool water temperature up to 10...
- Page 3 Optional parts Roof Mounting Kit (SQ-RMK5) High Wind Roof Mounting Kit (SQ-HWK) 1 - SQ-RMK5 per SQ-1220 system are required for Roof For high wind areas, to be used in addition to the roof mounting or Rack installation kit (SQ-RMK5). 1 - SQ-HWK per SQ-1220 system is required plus one extra.
- Page 4 Add-on Kit (SQ-ADDON) Vaccum relief Kit (SQ-VRK) 1 SQ-ADDON required per SQ-1220 system added Facilitates drainage for winterizing roof mounted systems Part # Description Part # Description SK-FTG-J Rubber hose 7.5" SK-VRV Vacuum Relief Valve SK-FTG-L Metal collar (Hose clamp) SK-FTG-M Reducer Adapter 1.5"...
- Page 5 Additional parts required Flexible pool hose or rigid PVC pipe. Length dependent on distance from pool pump to solar panels. • Metal collars (Hose clamps) - Quantity dependant on installation. • For rack or roof placement a mounting kit (part # SQ-RMK5) is required •...
- Page 6 1 - Mounting kit (part # SQ-RMK5) is required A Minimum of 1 inch fall per 10 feet Outlet Inlet Diagram Step 3b Apply Teflon on two of the caps (SK-FTG-F). See Fig 3a-1. • Thread the 2 caps into the panels as per Diagram Step 3b. Do not over tighten. •...
- Page 7 1 Add-on kit (part # SQ-ADDON) is required per extra system. Outlet Inlet Diagram Step 3c Apply Teflon tape to threads of all the caps (SK-FTG-F ) See Fig 3a-1 • Thread all the caps into the panels as per Diagram Step 3c. Do not over tighten. •...
- Page 8 1 Mounting kit (part # SQ-RMK5) is required per system. 1 System kit (part # SQ-SK) is required. A Minimum of 1 inch fall per 10 feet Outlet Inlet Diagram Step 3d Apply Teflon on one of the caps (SK-FTG-F). See Fig 3a-1.You only need 1 cap •...
- Page 9 Push the rubber hose from the system kit (SK-FTG-K) over the panel header as per diagram Step 3d. Slide a • metal collar (SK-FTG-L) onto the rubber hose. Place metal collar " from edge and tighten collar with screwdriver. See Fig 3c-1. Repeat for other end of panel. Slide another metal collar onto the rubber hose.
- Page 10 CONNECTING TO POOL System with no diverter To Panel From Panel Inlet Outlet Filter Pump Pool Outlet Pool Inlet Swimming Pool Diagram C-1 1. Turn off your pool pump. Block the inlet and outlet of your pool so that the water won't empty when you are connecting your panel(s).
- Page 11 System with diverter (part # SQ-DK) To Panel From Panel Inlet Outlet Diverter Kit Filter Pump Pool Outlet Pool Inlet Swimming Pool Diagram C-2 1. Turn off your pool pump. Block the inlet and outlet of your pool so that the water won't empty when you are connecting your panel(s).
- Page 12 System with system kit (part # SQ-SK) To Panel From Panel Inlet Outlet Three Way PVC Tee Valve Filter Pump Pool Inlet Pool Outlet Swimming Pool Diagram C-3 1. Turn off your pool pump. Block the inlet and outlet of your pool so that the water won't empty when you are connecting your panel(s).
- Page 13 Once completely drained, the panels can be left on the roof or rack. The SunQuest panels are designed to withstand the harshest winters.
- Page 14 SunQuest Solar Panel Five Year Limited Warranty Five year limited warranty from date of purchase with one full year. After the first year, the claimant shall pay the list price at the date of the claim less one-sixtieth ( 1/60 ) of the price for each full month remaining in the warranty period. Sunsolar Energy Technologies Inc. warrants to the...
Need help?
Do you have a question about the SQ-1220 and is the answer not in the manual?
Questions and answers