Monte Carlo Fan Company AC-552 Owner's Manual And Installation Manual
5cq52xx series
Hide thumbs
Also See for AC-552:
- Owner's manual and installation manual (10 pages) ,
- Manual (8 pages) ,
- Owner's manual and installation manual (9 pages)
Advertisement
Quick Links
Owner's Guide and Installation Manual
Attach sales receipt to this card and retain as your proof of purchase
DATE OF PURCHASE:
MODEL NUMBER:
To register your fixture, please visit our website www.montecarlofans.com
5CQ52XX
RETAILER NAME:
RETAILER ADDRESS:
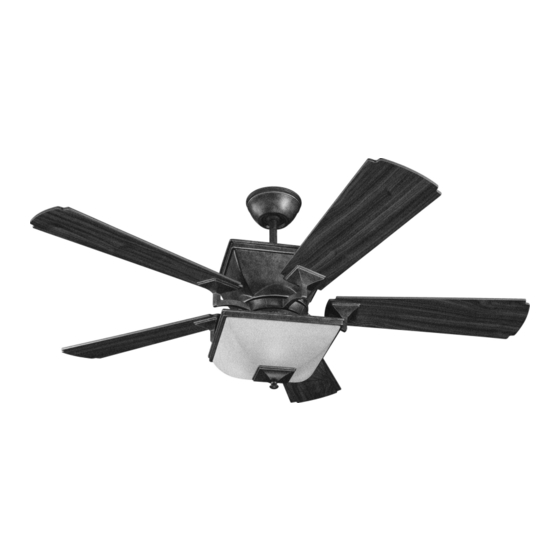
Series Fan
UL Model No. : AC-552
8.49 kgs
18.68 lbs
Total fan weight
Advertisement

Related Manuals for Monte Carlo Fan Company AC-552


Summary of Contents for Monte Carlo Fan Company AC-552
- Page 1 Owner’s Guide and Installation Manual Series Fan 5CQ52XX UL Model No. : AC-552 Attach sales receipt to this card and retain as your proof of purchase DATE OF PURCHASE: RETAILER NAME: RETAILER ADDRESS: MODEL NUMBER: To register your fixture, please visit our website www.montecarlofans.com 8.49 kgs...
-
Page 2: Cautions And Warnings
All set screws must be checked and tightened where necessary before installation. Tools Required for Assembly (not included): Electrical Tape, Phillips Screwdriver, Pliers, Safety Glasses, Steplad- der and Wire Strippers Cutomer Service 800-969-3347 Customer Service Center 7400 Linder Ave. Skokie, IL 60077 www.montecarlofans.com © 2011 Monte Carlo Fan Company 2/6/2012... - Page 3 Insert downrod into the yoke on top of fan as shown. body. Align the hole in the downrod with the hole in the yoke. Insert cross pin through yoke and downrod until point appears on the other side. © 2011 Monte Carlo Fan Company 2/6/2012...
-
Page 4: Finish Installation
The splices after being made should be turned upward and pushed carefully up into the outlet box. © 2011 Monte Carlo Fan Company 2/6/2012... - Page 5 2 canopy mounting bracket of the outlet box. The splices after being made Safety Tips section of manual. should be turned upward and pushed carefully up screws removed in step 21. into the outlet box. © 2011 Monte Carlo Fan Company 2/6/2012...
- Page 6 . S a v e housing by preadhered double- slot on switch housing cover with screws for later use. sided foam tap as shown. the reverse switch preassembled on switch housing as shown. © 2011 Monte Carlo Fan Company 2/6/2012...
- Page 7 34. Setting the reverse switch in the left hand side will result in downrod airflow and setting the switch in the right hand side will result in upward airflow. © 2011 Monte Carlo Fan Company 2/6/2012...
-
Page 8: Troubleshooting
6.If this fan uses remote controller, make sure dip switches are setting properly and make sure battery is effective. CAUTION: Make sure main power is turned off before entering switch housing and/or canopy. © 2011 Monte Carlo Fan Company 2/6/2012... - Page 9 Feb.2012 New format...
Need help?
Do you have a question about the AC-552 and is the answer not in the manual?
Questions and answers