
Related Manuals for Fluid 9” Dual Screen Portable DVD Player


Summary of Contents for Fluid 9” Dual Screen Portable DVD Player
-
Page 1: User Manual
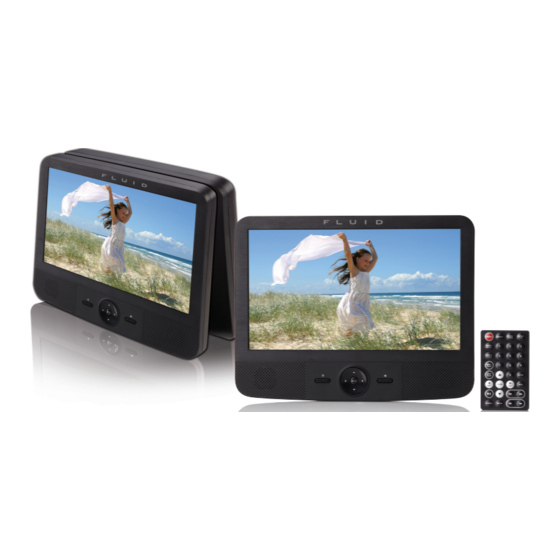
9” Dual Screen Portable DVD Player 8005897 User Manual Please read this User Manual carefully to ensure proper use of this product and keep this manual for future reference. -
Page 2: Table Of Contents
CONTENTS FCC AND SAFETY INFORMATION ..........2 IMPORTANT SAFETY INSTRUCTIONS ..........2 PACKAGE CONTENTS ..............3 PRODUCT OVERVIEW..............3 MONITOR PANEL ILLUSTRATION ............ 4 CONNECTING TO THE MONITOR ........... 4 CONNECTING TO A TV SET ............. 4 CONNECTING TO USB ..............5 USB Interface ................ -
Page 3: Fcc And Safety Information
FCC AND SAFETY INFORMATION IMPORTANT SAFETY INSTRUCTIONS This Class B digital apparatus complies CAUTION: • WARNING: To reduce the risk of electric shock, do not remove the cover or back. This unit employs a laser. Due to possible eye with Canadian ICES-003. There are no user-serviceable parts inside. -
Page 4: Package Contents
PRODUCT OVERVIEW PRODUCT OVERVIEW POWER ON/OFF DC 12V INPUT (power supply) hEADPhONE AV OUTPUT lCD DISPlAY USB IN SOURCE STOP MOVE ( , , , ) TABlE STAND PACKAGE CONTENTS • DVD Player • A/V Cable • Monitor • Link Up Cable FOUR • Remote Control •... -
Page 5: Monitor Panel Illustration
MONITOR PANEl IllUSTRATION CONNECTING TO ThE MONITOR AC ADAPTER lCD DISPlAY CAR ADAPTER lINK UP CABlE MUTE STANDBY MENU MOVE ( , , , ) AV IN hEADPhONE DC 9-12V INPUT JACK (POWER SUPPlY) POWER (ON/OFF) : Adjusts the cursor position : Adjusts the volume MENU : Sets the monitor setting (Ex: 4:3/16:9/PAl/NTSC) -
Page 6: Connecting To A Tv Set
CONNECTING TO A TV SET USING IN ThE CAR MOUNTING IN A CAR EARPhONE 1. Thread both strap ends through the strap eyelets. Note: Ensure the buckles are properly assembled to avoid accidental loosening. 2. Loop the straps around the head-rest, with the DVD Player facing the rear seat, then fasten the straps with the clip. -
Page 7: Remote Control
REMOTE CONTROl SETUP OF ThE REMOTE CONTROl 1. RepeAT A-B Press once for the beginning of the Place the remote control on an even surface and insert the chosen scene (set A); then press a supplied button cell into the remote control as follows. second time at the end of the chosen scene (set B), The selected scene 1. -
Page 8: Mp3 Playback
MP3 PlAYBACK end of the current chapter/track, playback jumps The MP3/WMA/MPEG4 disc has a directory structure as shown in the picture. to a random chapter/track. When the end of each chapter/track is reached, another random chapter/ Press the Direction button to choose the root directory and track will be played until all tracks/chapters have then press the ENTER button to enter into the sub directory. -
Page 9: Picture Cd Playback
PICTURE CD PlAYBACK SYSTEM SETUP The PICTURE CD disc has a directory structure as shown MENU OPERATION below. Press the SETUP button on the remote control, the SETUP MENU (main) will be displayed. After accessing the setup menu, press the direction buttons to select desired option, then press the ENTER button to confirm. -
Page 10: Dvd Menu
SYSTEM SETUP DVD MENU RATING SETUP Select Rating in the setup menu. The Rating submenu is displayed: This option provides the film’s menu language options. Follow the operating instructions stated in DVD MENU Note: Not all DVDs support ratings. SETUP along with the desired option. Parental Control VIDEO SETUP Selecting a Rating... -
Page 11: Troubleshooting
TROUBlEShOOTING Refer to the problem-solving guidelines described in the PROBlEM POSSIBlE CAUSE SOlUTION following section before contacting a repair technician. Turn off the DVD player immediately as soon as you suspect a No video TV screen is off or in the Turn on LCD screen and/or malfunction. -
Page 12: Specifications
SPECIFICATIONS THe SOURCe WARRANTY Play Mode NTSC/PAL The Source warrants that this product will be free from defects in Disc Mode DVD, VCD, CD, MP3, CD-R, materials and workmanship for a period of one (1) year from the CD-RW, JPEG, DVD±R/W, MPEG4 date of purchase. Within this period, simply take the product and your proof of purchase to any The Source store or dealer and the Video S/N ratio ≥65 dB...
Need help?
Do you have a question about the 9” Dual Screen Portable DVD Player and is the answer not in the manual?
Questions and answers
Hello, the dvd I tried (tried 2) as soon as it starts to turn it makes a horrible loud sound while turning. The machine wasn't fully charged so not sure if that has anything to do with it. The loud sound is kind of like u want to grease it cuz it sounds like it's scraping as it's turning. That's the best way I can explain it. It just kept loading also. I never got it to play.
Possible causes of a loud scraping sound and loading issue when playing DVDs on the Fluid 9” Dual Screen Portable DVD Player include:
- Disc dirty or deformed: Clean the disc or try a different one.
- Disc inserted incorrectly: Insert the disc with the label facing up.
- Moisture on the lens: Remove the disc and turn off the DVD player for at least 2 hours.
- Disc tray not closed properly: Ensure the disc tray is fully closed.
This answer is automatically generated