Table of Contents
Advertisement
Advertisement
Table of Contents

Summary of Contents for PRESONUS PS49
- Page 1 PS49 USB MIDI Keyboard Owner’s Manual ® English www.presonus.com...
-
Page 2: Table Of Contents
Hookup — 3 Front-Panel Controls — 3 Rear-Panel Connections — 4 Connecting to a Computer — 5 Mapping your PS49 Controls in Studio One — 5 Edit Mode — 6 Control Map — 6 Control Assign — 6 MIDI Channel — 8 Program Change —... -
Page 3: Overview
This will help you avoid problems during installation and setup. Throughout this guide you will find Power User Tips. These tips provide useful hints on how to best use the PS49 and take advantage of unique workflow functions and features. -
Page 4: Ps49 Features
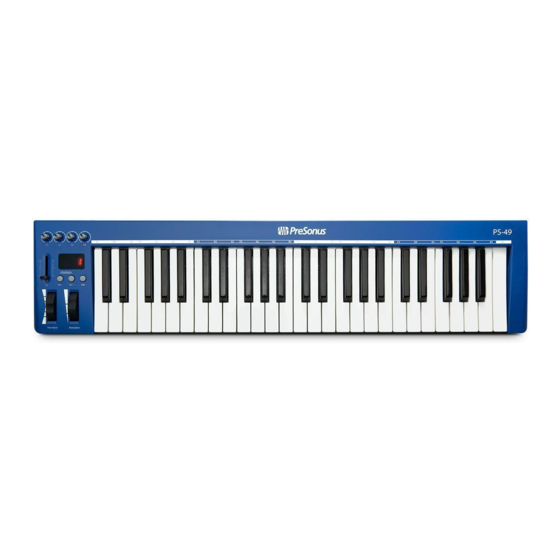
Overview PS49 PS49 Features Owner’s Manual PS49 Features • 49-key, velocity-sensitive keyboard • Pitch bend and modulation wheels (assignable) • 1 assignable fader • 4 assignable knobs for real-time control • 3-character, red LED segment display • 1 sustain-pedal input jack, type-sensing (pedal not included) •... -
Page 5: Hookup
Power User Tip: You can use the modulation wheel while playing keys on your PS49 or to control MIDI information being played back from your DAW application. -
Page 6: Rear-Panel Connections
Because of this, it is important to never depress the sustain pedal while your PS49 is powering on; otherwise your sustain pedal will work backward. On/Off Switch. This powers your PS49 on or off. Make sure this switch is in the “off” position the first time you connect your PS49 to your computer. -
Page 7: Connecting To A Computer
Studio One user manual. This is a brief tutorial to get you started. By default, the four controller knobs and the fader on your PS49 are already setup for Control Link. All you have to do is pick the plug-in parameters you want them to control. -
Page 8: Edit Mode
See Section 4.1 for details. • D#1: MIDI Channel. By default, your PS49 uses MIDI channel 1 to transmit all of its MIDI data. Use this key to change the MIDI channel. See Section 4.2 for details. -
Page 9: Control Assign
7. Press C5: Enter to make your change effective and exit Edit mode. Power User Tip: If you change the default CC number for any of the controls on your PS49, you will need to reconfigure the control to work with Studio One and its Control Link... -
Page 10: Midi Channel
Owner’s Manual MIDI Channel By default, your PS49 uses MIDI channel 1 to transmit all of its MIDI data. You can assign the Octave Shift buttons to change the channel. In some situations, you may know exactly the MIDI channel you’d like to use, and it can be faster to simply use Edit Mode to enter the MIDI channel you want. -
Page 11: Program Change
Edit Mode PS49 Program Change Owner’s Manual Program Change Use this key to send Program Change messages to any MIDI instrument, device, or DAW. 1. Press the Edit button. Pitch Bend Modulation 2. The LED display will blink “Edi. ”... -
Page 12: Bank Lsb And Bank Msb
Edit Mode PS49 Bank LSB and Bank MSB Owner’s Manual Bank LSB and Bank MSB Use these keys to send Bank Change messages to any MIDI instrument, device, or DAW. 1. Press the Edit button. Pitch Bend Modulation 2. The LED display will blink “Edi. ”... -
Page 13: All Notes Off
2. The LED display will blink “Edi. ” 3. Press the C#2: All Notes Off key. 4. The LED display will blink “NOF. ” 5. Your PS49 will exit Edit mode, and you should no longer hear stuck notes on the selected MIDI channel. Reset All Controllers Resetting MIDI controller values can be a quick and easy way to troubleshoot problems in your MIDI environment. - Page 14 Edit Mode PS49 Reset All Controllers Owner’s Manual 3. Press the D#2: Reset All Controllers key. 4. The LED display will blink “res. ” 5. Your PS49 will exit Edit mode, and unexpected modulation or effects should stop.
-
Page 15: Resources
To reset your PS49 USB MIDI Keyboard to its factory default state: 1. Turn the power switch to the “Off” position. 2. Hold down the [Oct -] and [Oct +] buttons while turning the PS49 on. The LED display will read “888, ” and all the default MIDI CC assignments will be restored to their factory defaults as described in this manual. - Page 17 PreSonus Audio Electronics, Inc. Capture, Impact, Mixverb, Presence, RedLightDist, SampleOne, Studio One, and Tricomp are trademarks or registered trademarks of PreSonus Software Ltd. Mac and Mac OS are registered trademarks of Apple, Inc., in the U.S. and other countries. Windows is a registered trademark of Microsoft, Inc., in the U.S.
- Page 18 PS49 USB MIDI Keyboard Owner’s Manual 18011 Grand Bay Ct. • Baton Rouge, ® Louisiana 70809 USA• 1-225-216-7887 Part# 820-PS0042-A www.presonus.com...
Need help?
Do you have a question about the PS49 and is the answer not in the manual?
Questions and answers