Table of Contents
Advertisement
Quick Links
User's Manual
CNPS7000C Series
Intel Socket 1156/775 CPUs
AMD Socket AM2/754/939/940 CPUs
To ensure safe and easy installation,
please read the following precautions.
Core i7
Core i5
Core i3
Core 2 Quad
Core 2 Duo
Pentium Dual Core
Pentium D
Pentium 4
Celeron D
Athlon 64
Athlon 64 X2 Dual-Core
Sempron
www.ZALMAN.com
V 2.3
Advertisement
Table of Contents

Related Manuals for ZALMAN CNPS7000C-Cu


Summary of Contents for ZALMAN CNPS7000C-Cu
- Page 1 Core 2 Quad Core 2 Duo Pentium Dual Core Pentium D Pentium 4 Celeron D AMD Socket AM2/754/939/940 CPUs Athlon 64 Athlon 64 X2 Dual-Core Sempron To ensure safe and easy installation, please read the following precautions. www.ZALMAN.com V 2.3...
-
Page 2: Specifications
Check the components list and condition of the product before installation. If any problem is found, contact the retailer to obtain a replacement. Zalman Tech Co., Ltd. is not responsible for any damages due to overclocking. During transportation of the system, the cooler must be removed. -
Page 3: Common Components
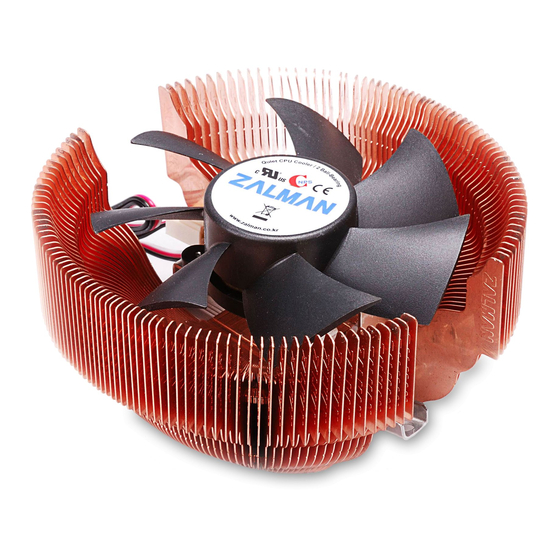
3. Components 1) Common Components Cooler Clip Support Washers Clip Support Fixing Bolts Nuts Fan Mate 2 Cable Fan Mate 2 Double-Sided Tape Thermal Grease User’s Manual 2) Intel Components 3) AMD Components Socket 1156 / 775 Socket AM2 / 754 / 939 / 940 Intel Clip AMD Clip AMD Clip Lever... -
Page 4: Space Requirements
4. Installation Requirements 1) Space Requirements The cooler’s installation requires unobstructed space with dimensions of 112 (width), 110 (height), 62 (depth), and the CPU as a central reference point. Please check if components such as ODDs and PSU protrude into the required space. 2) Compatible CPUs Intel Socket 1156 / 775 CPUs Core i7 / i5 / i3... -
Page 5: Installation
5. Installation 1) Intel Socket 1156 / 775 Installation Install the Clip Support to the motherboard according to the socket-type. Bolt(silver) Clip Support Socket 1156 Socket 775 Washer Caution Lever Slot Please make note of the Lever Slot’s direction when installing the Clip Support. - Page 6 Insert the Clip Fixing Bolts to the Clip’s Installation Holes and fasten with a screwdriver. The 7000C comes pre-installed with the Intel Clip, so Intel user’s can proceed with installation out of the box. If the Intel Clip needs to be reinstalled, please follow the directions in the diagram below.
- Page 7 Clear off any particles or residue from the CPU’s surface then spread (outwards from center) a thorough layer of Thermal Grease on the CPU and the base of the cooler. Insert the AMD Clip Lever in the AMD Clip and align the Lever’s Lug Slot with the Lug.
- Page 8 2) Fan Mate 2 Operation Fan Speed Control Knob Ajust the Fan Speed Control Knob for RPM control. BIOS Booting Error In the case that you get a BIOS error beep: Rotate the Fan Speed Control Knob clockwise to the maximum setting. Disable CPU Fan Detected in BIOS setting or set the system monitoring program’s CPU Fan RPM to the lowest setting.
Need help?
Do you have a question about the CNPS7000C-Cu and is the answer not in the manual?
Questions and answers