Advertisement
Advertisement
Table of Contents

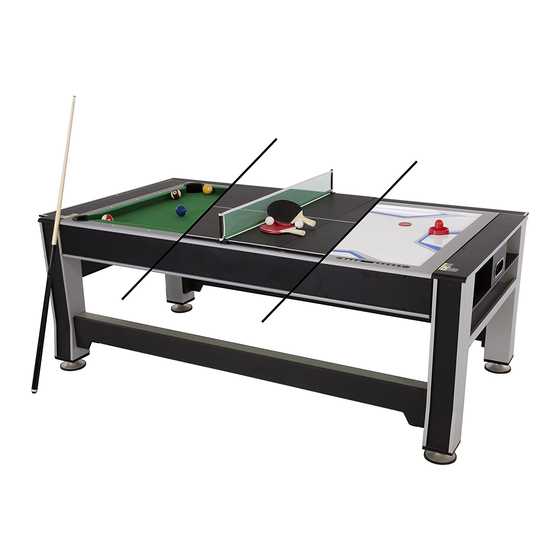
Summary of Contents for Triumph 3-in 1 Rotating Table
- Page 1 Meijer.com Item # 45-6066 3-in1 Rotating Table Inch BILLIARDS AIR HOCKEY TABLE TENNIS...
- Page 2 Meijer.com WARNING: Rotating game should be done under adult supervision. Rotating table may cause a pinching hazard for young children and pets. Please exercise caution. At least two adults are needed to put this game table together. 1. Read all instructions: All the safety and operating instructions should be read carefully before this table can be operated or played.
- Page 3 Meijer.com...
- Page 4 Meijer.com Step 1 Remove all components from the carton. NOTE: Parts are packed inside the table top. Remove the pool table surface (#2), inside the table top you will find all the parts needed to assemble your table. When all the parts are out of the table top, replace the pool table surface.
- Page 5 Meijer.com Step 3 Identify part (#12), leg base to FIG: 3C, add glue drops to both sides of image. FIG: 3A Assemble the legs (#9). Run a bead of glue (#27) in the groves on the inside edges of the leg (#9). FIG: 3B Slide leg brace (#11) into glued groves on leg (#9).
- Page 6 Meijer.com Step 5 Assemble the outside rails (#14) by screwing the apron-end board (#13) to each end of the outside rail (#14) with screw (#20). Step 6 With the help of another person attach the outside rails (#14) (flat side up) to the assembled leg pedes- tals by aligning the holes in the outside rails (#14) with the predrilled holes in the leg using screw (#22).
- Page 7 Meijer.com Step 7 Preparing the table top for mounting. The threaded shaft in the cabinet-hockey (#1) cannot be removed, be sure to pull it out as far as pos- sible, about 2 to 3 inches on the end with the electric plug. On the opposite end, slide ½” washer (#24) and ½”...
- Page 8 Meijer.com Step 8 Attach top side panel (#15) to the assembled leg pedestal (#3) by aligning the holes in the side panel (#15) with the predrilled holes in the top of the leg pedestal (#3) with screw (#20). Step 9 Assemble the hockey striker (#35) by attaching the hockey felt (#36) by removing the protective paper and adhering the hockey felt (#36) to the striker (#35).
- Page 9 Meijer.com Step 10 Place the tennis top-support (#29) in the center of the table. Unfold the tennis surface-B (#17) and tennis surface-A (#16) and place on the table surface. WARNING: Tennis top must be removed before rotating table top! Trouble Shooting: If the pool table side is not level first try to level by using the leg levelers on each leg.
- Page 10 Meijer.com BILLIARDS: After the break, regardless of whether any balls were pocketed on the break, the table is Open, with the choice of stripes or solids determined by the next legally pocketed ball. In the course of play, a player must call each shot in advance, by indicating the ball to be made and the pocket into which it will be made.
- Page 11 Meijer.com TABLE TENNIS: In singles, the server first makes a good service and then the receiver makes a good return. Thereaf- ter, server and receiver alternately each make a good return. In doubles, the server first makes a good service and the receiver returns the ball. Then the partner of the server makes a good return, followed by the partner of the receiver returning the ball.
- Page 12 90 days from date of purchase. Normal play wear and usage is not covered under the warranty or improper use of any TSU game. This will void any and all TSU warranty. Triumph Sports USA Aurora, IL 60504 www.triumphsportsusa.com 2008 Triumph Sports USA. All Rights Reserved. ©...

Need help?
Do you have a question about the 3-in 1 Rotating Table and is the answer not in the manual?
Questions and answers