Table of Contents
Advertisement
Quick Links
Advertisement
Table of Contents

Summary of Contents for Novation Remote 25SL
- Page 1 Rev - 3.0...
- Page 2 If wanting to control hardware MIDI devices (e.g. sound modules) with the ReMOTE SL then an external power supply (Novation PSU-6, not supplied) will need connecting first or batteries will need inserting. To insert batteries, turn the SL over, remove the battery cover and install 4 C-size batteries. Once done, the ReMOTE SL can be connected using standard MIDI cables (not supplied) to and from the hardware device.
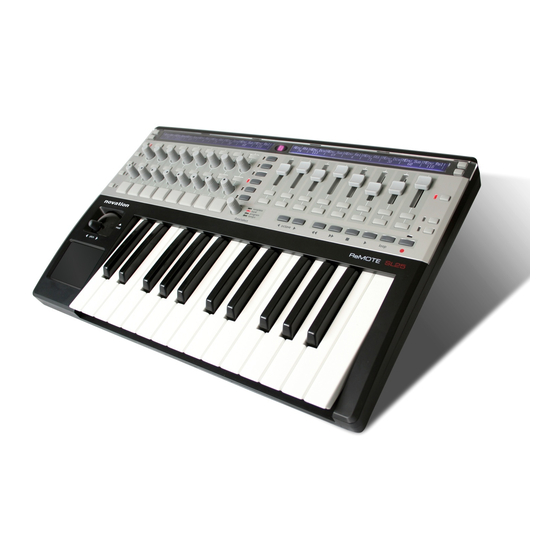
- Page 3 MIDI In (Port 1) USING THE SL If you are not familiar with Novation controllers, the ReMOTE SL is a comprehensive hardware surface for easy and rapid remote control of any sequencing software, plug-ins or external MIDI devices. There are 40 (36 programmable, 4 automap) onboard memory slots, all of which have been factory preset so that the ReMOTE SL works with all popular software and hardware from the moment the unit is first powered up.
- Page 4 The ReMOTE SL must be selected as the MIDI controller within the application in use. See sequencer documentation if unsure of the MIDI setup process. Full details are available in the SL user guide on the Resources CD/Novation website. EDIT MODE (TEMPLATE INDIVIDUAL EDIT)
- Page 5 LCD SCREEN BUTTONS INCREASE X INCREASE X/ ENCODERS DECREASE X BUTTONS DECREASE X INCREASE X/ POTS DECREASE X CONTROLS THAT EFFECT X Press the scroll up/down keys to the left of the screen to move to the additional edit page(s) for each control. The DATA/TEMPO encoder is inactive in this mode.
- Page 6 Use the Octave up and down buttons to transpose the ReMOTE SL keyboard across the entire MIDI note range. The content of this User Guide is correct as of 31/10/05. Novation products are subject to continual updates in order to achieve maximum usability. As such, certain sections of this document may be incorrect at the time of reading.


![Recording Equipment Novation Launchpad Mini [MK3] User Manual](https://static-data2.manualslib.com/product-images/282/1649453/60x60/novation-launchpad-mini-mk3-.jpg)


Need help?
Do you have a question about the Remote 25SL and is the answer not in the manual?
Questions and answers