Table of Contents
Advertisement
Advertisement
Table of Contents

Related Manuals for TDK Sound Cube


Summary of Contents for TDK Sound Cube
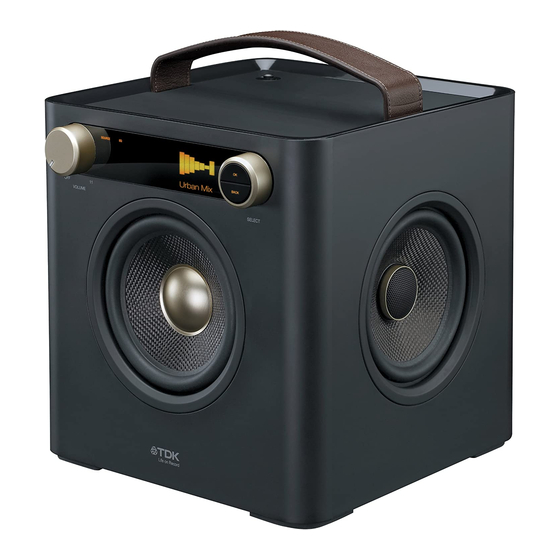
- Page 1 Sound Cube HIGH-FIDELITY STEREO BOOMBOX USER GUIDE TP6701BLK...
-
Page 2: Important Safety Instructions
Apple Computer, Inc., registered in the U.S. and other countries. The TDK Life on Record logo is a trademark of TDK Corporation used under license. WARNING: TO PREVENT FIRE OR SHOCK HAZARD, DO NOT EXPOSE THIS... -
Page 3: Surge Protectors
IMPORTANT SAFETY INSTRUCTIONS WARNING: TO REDUCE THE RISK OF FIRE OR ELECTRIC SHOCK, AND ANNOYING INTERFERENCE, USE THE RECOMMENDED ACCESSORIES ONLY. SURGE PROTECTORS: It is recommended to use a surge protector for AC connection. Lightning and power surges ARE NOT covered under warranty for this product. INFORMATION: This equipment complies with Class B digital device regulations. - Page 4 IMPORTANT SAFETY INSTRUCTIONS 1. Read these Instructions. 2. Keep these Instructions. 3. Heed all Warnings. 4. Follow all instructions. 5. Do not use this apparatus near water. 6. Clean only with a dry cloth. 7. Do not block any of the ventilation openings. Install in accordance with the Manufacturer’s instructions.
-
Page 5: Location Of Controls
LOCATION OF CONTROLS FRONT 7 8 9 12 1314 ®p SOURCE Power Indicator Play/Pause ®p Button/Indicator Volume/Power Control Skip n Button/Indicator FM Antenna (FM ANTENNA PART 10. Display NO. 188-YS7158001-E*) 11. Carrying Handle Source Button/Indicator 12. Select Control EQ Button/Indicator 13. - Page 6 LOCATION OF CONTROLS (CONTINUED) REAR 5. INST (Instrument) Jack 1. DC IN Jack 18V z 6. Battery Compartment (AC ADAPTER PART NO. (Bottom of Unit) 151-UGPE30200-E*) (BATTERY COVER PART NO. 2. USB Jack 309-ABS-05134-0BAE* (USB CABLE PART NO. BATTERY SCREW PART NO. 174-9USBBGBW-E*) 353-0607176-E*) 3.
-
Page 7: Power Sources
POWER SOURCES AC CONNECTION Insert the small end of the AC adapter into the jack on the rear of the unit. Insert the other end (with the 2 Tomada de CA blades) into a conveniently located AC outlet having 120V AC, 60Hz. AC ADAPTER SPECIFICATIONS: Plugue do adaptador C DC 18V Z... -
Page 8: Operation
OPERATION The following controls operate most or all of the functions. TURNING THE UNIT ON/OFF AND ADJUSTING THE VOLUME SOURCE SOURCE Rotate the Volume/Power control until a Rotate the Volume/Power control click is heard and the Power indicator clockwise to increase or counter- lights to turn the unit on. -
Page 9: Using The Fm Radio
OPERATION (CONTINUED) USING THE FM RADIO SOURCE SOURCE ®p Turn this unit on by rotating the Press the Source button/indicator 1; Volume/Power control until a click is the Source menu will appear in the heard and the Power indicator lights to display. - Page 10 OPERATION (CONTINUED) SETTING THE FM PRESETS (FIVE PRESETS) Saved #3 99.5 SOURCE Follow Steps 1-4 on the previous page to tune a station. Press and hold one of the five Preset buttons/indicators. Saved #X (e.g. Saved #3) will appear briefly in the display and the preset will be set.
-
Page 11: Using An Ipod
PLAYBACK NOTES: • Refer to the owner’s manual of the iPod for detailed connection instructions. • The controls on your iPod will determine music playback. Volume is controlled on the Sound Cube. CONTINUED ON THE NEXT PAGE... - Page 12 OPERATION (CONTINUED) USING A USB DEVICE (i.e. USB DRIVE) SOURCE Turn this unit on by rotating the Insert a USB drive (support up to Volume/Power control until a click is 32GB) into the USB jack. heard and the Power indicator lights to This unit supports MP3/WMA with a Bit turn the unit on.
- Page 13 OPERATION (CONTINUED) SOURCE ®p SOURCE ®p Repeat step 4 until you are in the Press the Play/Pause ®p button/ desired folder. Select a song/file using indicator to pause playback; p will the Select control 1 and then press the appear in the display. Press the OK button 2;...
-
Page 14: Shuffle Playback
OPERATION (CONTINUED) SHUFFLE PLAYBACK Shuffle Shuffle Repeat Repeat SOURCE ®p SOURCE ®p While in the Play or Paused USB mode Select Shuffle using the Select control. and with a USB device inserted, press the OK button; Shuffle and Repeat will appear in the display. -
Page 15: Repeat Playback
OPERATION (CONTINUED) REPEAT PLAYBACK Shuffle Shuffle Repeat Repeat ®p SOURCE SOURCE ®p While in the Play or Pause USB mode Select Repeat using the Select control. and with a USB device inserted, press the OK button; Shuffle and Repeat will appear in the display. - Page 16 OPERATION (CONTINUED) USING AN EXTERNAL UNIT CONNECTED TO THE LINE IN OR RCA JACKS SOURCE Turn this unit on by rotating the To use the LINE IN Jack: Insert one Volume/Power control until a click is end of an audio cable into the heard and the Power indicator lights to AUX/LINE OUT jack on your external turn the unit on.
- Page 17 OPERATION (CONTINUED) USING THE INSTRUMENT FUNCTION SOURCE Turn this unit on by rotating the Insert one end of an instrument cable Volume/Power control until a click is into the OUTPUT jack on your heard and the Power indicator lights to instrument and the other end into the turn the unit on.
- Page 18 OPERATION (CONTINUED) AUX1 INST INST ®p SOURCE ®p SOURCE If the MIX menu has disappeared from Select the desired ratio using the Select control. For example, to make the display, press the OK button 1 or the Instrument more dominant, rotate BACK button 2 to bring it back.
-
Page 19: Troubleshooting Guide
• Consider using the headphone audio out for music playback. The following screen appears: • There is no USB device connected; connect to the USB jack. • If USB device is connected, keep Sound Cube powered on, remove the USB plug from the Sound Cube and then No device reconnect. -
Page 20: Specifications
WEBSITE AT: TDKPERFORMANCE.COM FOR CONSUMER REPLACEABLE PART(S), CONTACT OUR PARTS AND ACCESSORIES FULFILLMENT CENTER AT: 1-800-379-8439. Imation Enterprises Corp. 1 Imation Way, Oakdale, MN 55128-3414 USA The TDK Life on Record logo is a trademark of TDK Corporation used under license. - Page 21 USER GUIDE Imation Enterprises Corp. 1 Imation Way, Oakdale, MN 55128-3414 USA The TDK Life on Record logo is a trademark of TDK Corporation used under license. TP6701BLK TP6701BLK 63952297-C...
Need help?
Do you have a question about the Sound Cube and is the answer not in the manual?
Questions and answers