Table of Contents
Advertisement
Advertisement
Table of Contents

Subscribe to Our Youtube Channel
Related Manuals for Newer Technology Voyager Q

Summary of Contents for Newer Technology Voyager Q
- Page 1 User Manual...
-
Page 2: Table Of Contents
Table of Contents Introduction Package Contents Ports & Interfaces Usage Instructions Attaching to Your Computer Attaching a Drive Using a Hard Drive Docked in Voyager Macintosh Windows Warranty Registration & Support... -
Page 3: Package Contents
Introduction Thank you for purchasing the Newer Technology Voyager Q SATA Hard Drive Docking Solution. This guide will help you familiarize yourself with the basic functions of the Voyager Q. Package Contents • Newer Technology Voyager Q SATA Drive Docking Solution • Power Adapter... -
Page 4: Ports & Interfaces
Ports & Interfaces Familiarize yourself with the connections on your Voyager Q SATA Hard Drive Docking Solution. You will use these when using Voyager Q to mount hard drives on your desktop. Top View 1. 2.5” & 3.5” SATA I/II ➀... -
Page 5: Attaching To Your Computer
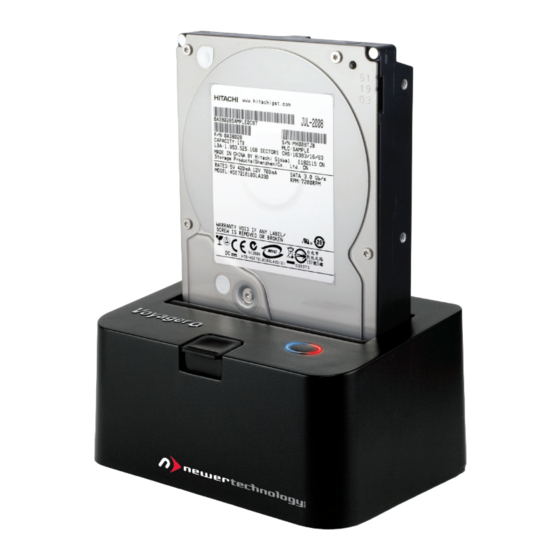
3. Connect Voyager Q to your computer via the USB 3.0 connector. Attaching a Drive 1. Make sure Voyager Q is turned off by pressing the power button until the blue power LED is not illuminated. 2. Insert your SATA hard drive into the base, as shown below. -
Page 6: Using A Hard Drive Docked In Voyager
Using a Hard Drive Docked in Voyager Q Macintosh If the drive has been previously formatted or has data on it, an icon for the drive will show on the Desktop, and you may use it like you would any other external drive. -
Page 7: Windows
Windows Special drivers are not required for use with Windows 98SE & higher. If the drive has been previously formatted, the drive will appear under “My Computer” as an external device, and you may use it like any other external drive. Please note, volumes larger than 2.2TB are not supported under Windows versions previous to Windows Vista. - Page 8 NWTVOYQMAN VOYAGER trademark used under a license from the owner of U.S. Registration No. 3,089,301. All rights reserved. ©2011 Newer Technology, Inc. All Rights Reserved Revision 1, 2/11 - JD...
Need help?
Do you have a question about the Voyager Q and is the answer not in the manual?
Questions and answers