Table of Contents
Advertisement
Advertisement
Table of Contents

Related Manuals for Dish TV S7070r


Summary of Contents for Dish TV S7070r
-
Page 1: User Manual
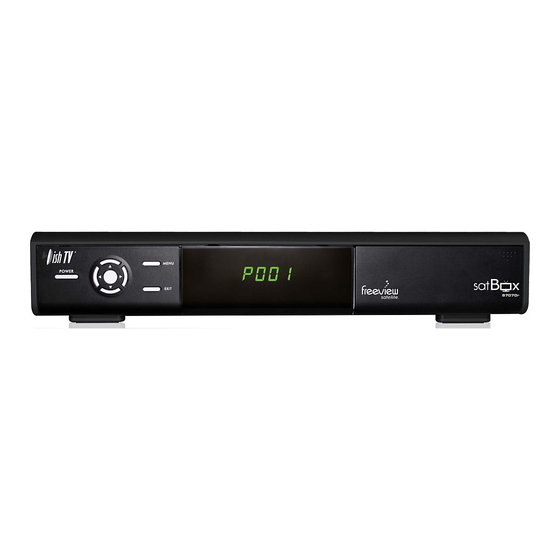
DishTV S7070r DVB-S Single tuner USB PVR Satellite Receiver User Manual... - Page 2 Thank you for choosing this DishTV Freeview Satellite Digital Set Top Box. You will be able to receive all Freeview Satellite digital TV channels and radio channels, as well as detailed Freeview program information with the Freeview 8 Day Electronic Program Guide, can also be tuned to nonfreeview satellite channels.
- Page 3 AV Cable SAT IN LOOP OUT Factory upgrade +HDD connection...
-
Page 4: Table Of Contents
Page Your Remote Control Connecting your satBox Getting Started Main Menu User Settings - Favourite View - Organizer - User Preference Installation - Tuning Wizard - Blind Scan - Satellite Scan - System Setting - Country Setup - Factory Default - S/W uprade via OTA System Con guration - Wakeup Timer... -
Page 5: Your Remote Control
TV/RADIO Switches between TV and Radio. INFO V +/- CH +/- EXIT Menu Electronic Programme SUBT Displays subtitles Guide, open programme whe available. guide window. Brings up Teletext. Library, Displays TIMER Displays the wakeup timer. recorded programmes list. JUMP Brings up Teletext. Beginning/End Fast Forward/Rewind Stop... -
Page 6: Connecting Your Satbox
Connecting your satBox Connect the cable that comes from your Satellite dish to the LNB IN socket in the back of your set top box. If you have If you have an HDMI cable connect this between the HDMI port on your satBox and one of the HDMI inputs on your HDTV. -
Page 7: Getting Started
Switch your TV On and select the correct video input. Please make sure you don’t have a USB device plugged in while going through the setup process. Once you are setup you can then plug your device in. -
Page 8: Main Menu
Main Menu Main Menu: All other settings and tuning menus are selected from this main menu. This menu is the gateway for all other menus. You can invoke the main menu by pressing the MENU button. This main menu contains several options: User Settings Installation System Con guration... -
Page 9: Favourite View
Favourite View/Organizer Main Menu - User Settings - Favourite View: To enter this menu you will be prompted for your password (Default is 0000) This menu allows you to view your favourite channel list and allows you to classify channels and group them together to be viewed through favourites later. -
Page 10: User Preference
User Preference Main Menu - User Settings - User Preference: Note: To adjust a preference use the right arrow on your remote not the OK button. The OK button will save the changes you have made. Here you can adjust your brightness and contrast levels. The Visual Impaired option turns discriptive audio on/o . -
Page 11: Blind Scan
Blind Scan Main Menu - Installation - Tuning Wizard - To enter this menu you will be prompted for your password (Default is 0000) Blind Scan Allows you to specify what frequency range to scan. You can also select the polarity, or to scan FTA or scrambled channels. -
Page 12: Satellite Scan
Satellite Scan Main Menu - Installation - Tuning wizard - Satellite Scan: From here you can set all the necessary parameters i.e. LNB settings, DiSEqC, tone switch and positioner details for each satellite. All options are displayed along the bottom of the window and accessed through there. -
Page 13: System Setting
System Setting Main Menu - Installation - Note: To adjust a setting use the right arrow on your remote. To select a setting use the OK button. Aspect Ratio – This is to set the output picture shape depending on your TV. If you have a modern LCD or Plasma TV or a wide screen, then you most likely need to set it to 16:9. -
Page 14: Country Setup
Country setup/Factory Default/ S/W upgrade via OTA Main Menu - Installation - Country Setup Here you can change your Region. Setting this to the nearest region to you will ensure you view the Ads for your area. Factory Default This will reset all settings back to factory, deleting all channels and user settings. Default password is 0000. -
Page 15: Wakeup Timer
Wakeup Timer/Version Main Menu - System Configuration - Wakeup Timer You can set a service to be recorded at a speci c time. Even if the digital receiver is in standby mode, it will start recording at a speci ed time. When the recording comes to the end the unit will stay in standby until you press the standby button. -
Page 16: Esg
Main Menu - The ESG is an Electronic Service Guide. This is in addition to the freeview EPG (accessed using the EPG button) . Usually you will only use the ESG for non-freeview satellite channels. The ESG will be displayed when selecting the ESG option from the Main Menu. -
Page 17: Thumbnail Browser
Thumbnail Browser Main Menu - Media Manager - Here you can browse through your recorded programs as thumbnails, the title and information for your recording is displayed below for the selected thumbnail/recording. The information displayed icludes the duration of your recording, the size, the age rating(eg G, PGR, AO), the recordings created date and also the access date. -
Page 18: Recorded Book List
Recorded Book List/Media Information Main Menu - Media Manager - Here you can view all your programs waiting to record. You can use the Red button on your remote to delete a booking. The Green button on your remote will change the selected booking between a single record or a series booking. -
Page 19: Recording
Recording Recording functionality requires a USB drive formatted in FAT32 connected to the receiver to operate Please note: This unit has a single tuner so this mean there will be some limitations to what channels you can watch while you are recording. Freeview Satellite has two channel groups, when recording a channel you can only watch another channel from the same group as the one you are recording. -
Page 20: Recording
Recording Once you have a recording set you will see a small R or S to the righthand side of your program. The R indicates the program will only be recorded once, the S indicates the program will be recorded every time it appears on TV. -
Page 21: Recordings Library
Recordings Library To view recorded programmes, press the Library button. It will be labeled LIB on the remote. From here you can select the programme you wish to play. To play a recording press the OK button, this will then ask you if you want to play from the beginning or from your last viewed position. -
Page 22: Bookmarking
Bookmarking What is Bookmarking? You can mark favourite parts of a recording by creating bookmarks, and then jump to them. You can also use bookmarks to skip ads, just place a bookmark at the end of each ad break and when you next play your recording you can easly skip the ads by pressing the Right Arrow button next to the OK button. -
Page 23: Editing Recordings
Editing Recordings To enter the Record Edit window select your recording from the Library or Thumbnail Browser, then push the Green button on your remote then the OK button. Here you can remove sections of your recordings. In the record edit window your recording will play in the top right of the screen, you can use all your normal play, fast forward, rewind, pause functions to get to where you want to edit. -
Page 24: Firmware Upgrade
One way to perform a rmware upgrade on your receiver is via USB using the USB connection in the back of your unit. To do this just follow the instructions below... 1. Download updated rmware from www.dishtv.co.nz and unzip it onto a USB ashdrive, make sure the rmware le/s is directly inside a folder called DishTV 2. -
Page 25: Frequently Asked Questions
A. Power spike can lock the processor, Power you unit o and on from the wall to make it work again. Q. Can I use the satBox S7070r to receive DVB-S2 HD channels? A. No the S7070r is DVB-S only which is the format Freeview Satellite and most other channels available in NZ are broadcast in. -
Page 26: Troubleshooting
When recording 1 channel Because the S7070r only has 1 tuner this means you can only look at 1 channel group cannot go to another at a time (there are two channel groups) so while you are recording 1 channel you can channel only watch other channels in the same group. -
Page 27: Technical Specifications
Technical Specifications Item Specification DVB-S Tuner Frequency Range 950MHz to 2150MHz Input Impedance 75Ohms unbalanced Signal Input Level -65 ~ -25dBm Symbol Rate 2-45Mbps LNB Power 13/18V,Max 500mA LNB IN F connector Connections LOOP OUT F connector YPbPr Connect to your TV component Input terminals Analog audio L/R signal SPDIF... -
Page 28: Warranty
● The manufacturer disclaims any liability or incidental or consequential damaged. Warranty & Product Registration Please register your product to assist with warranty and product updates. To do this please visit www.dishtv.co.nz and click on Warranty & Registration...
Need help?
Do you have a question about the S7070r and is the answer not in the manual?
Questions and answers