Advertisement
Quick Links
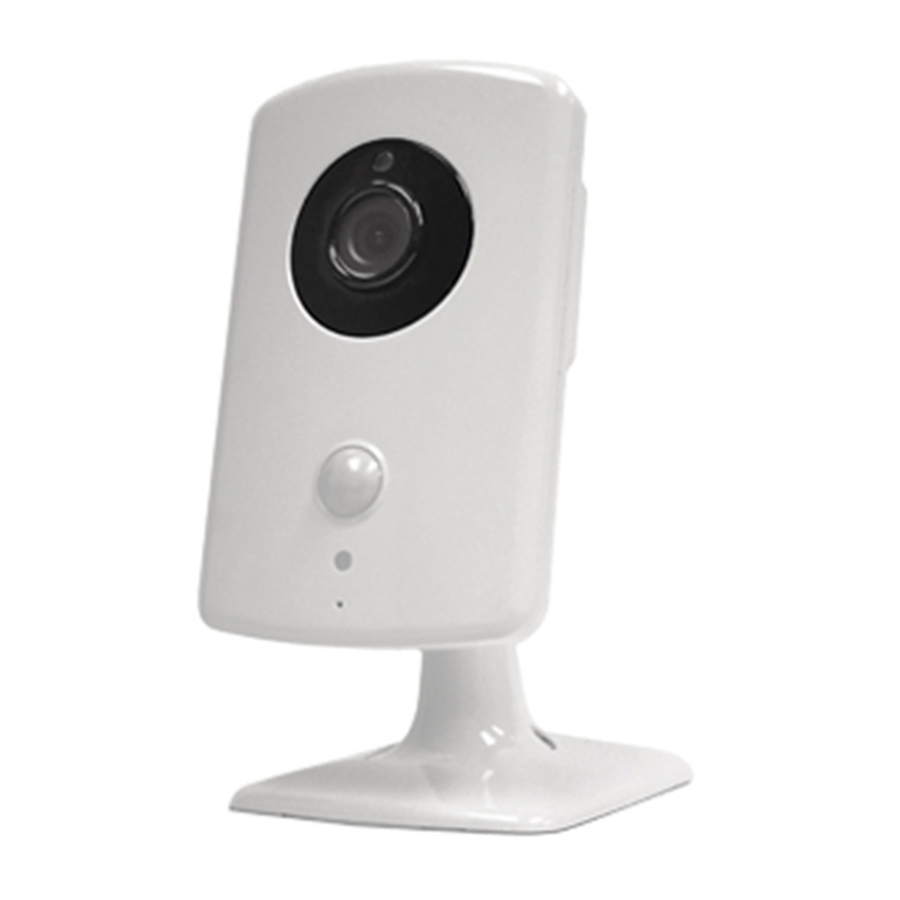
2GIG HD100 CAMERA
Indoor HD camera with night vision
INSTALL INSTRUCTIONS
This document describes the basic installation information for the 2GIG
Technologies HD100 Camera (2GIG‐CAM‐HD100). To install the HD100
Camera, you will need a PC with internet access.
Box Contents
• Camera
• Camera base
• Wire retention clip
• Power adapter
• 4 non‐slip adhesive feet
SPECIFICATIONS
Ethernet
10/100Mbps
WiFi
802.11b/g/n
PIR
Max 5m coverage
IR LED
5m illumination
Adapter
12V 1A
HD Video
Up to 720p 15fps
Protocols
H.264, MJPEG
INSTALLING THE HD100 CAMERA
WiFi to the On-Site Router (WPS)
If the on‐site router supports WPS, press the WPS button until the
1
router goes into WPS mode (this will differ slightly from router to
router). This action causes the router to listen for a new WPS device.
Press the WPS button (A) on the HD100 Camera. This action causes
2
the camera to announce itself to the router as a WPS device. While
the camera is in WPS mode, the camera displays a blinking yellow
LED.
Do not press any buttons on the HD100 Camera until the camera LED
3
displays green, indicating that the camera has successfully connected
to the network.
From the Alarm.com website add and configure the camera.
4
2GI
http://dealer.2gig.com/qr/hd100
WiFi to the On-Site Router
Connect the camera directly to the router using an Ethernet cable.
1
From the Alarm.com website add and configure the camera to
2
connect using WiFi.
Disconnect the Ethernet cable from the camera. A WiFi connection
3
will be established.
Ethernet to the Router
Connect the camera directly to the router using an Ethernet cable.
1
From the Alarm.com website add and configure the camera.
2
RESET TO DEFAULTS
• Press and hold button (B) until the camera LED changes to yellow
(approximately 10 seconds). When the camera LED changes to yellow,
release button (B) to reset the camera to factory defaults.
LED States
State
Normal Operation
Connectivity Problems
WPS Transaction in Progress Blinking Yellow
Booting
2GI
LED Pattern
Solid Green
Blinking Red
Solid Yellow
Advertisement

Related Manuals for 2gig Technologies HD100

Summary of Contents for 2gig Technologies HD100
-
Page 1: Box Contents
IR LED 5m illumination Adapter 12V 1A LED Pattern State HD Video Up to 720p 15fps Normal Operation Solid Green Protocols H.264, MJPEG Connectivity Problems Blinking Red WPS Transaction in Progress Blinking Yellow INSTALLING THE HD100 CAMERA Booting Solid Yellow WiFi to the On-Site Router (WPS) If the on‐site router supports WPS, press the WPS button until the router goes into WPS mode (this will differ slightly from router to router). This action causes the router to listen for a new WPS device. Press the WPS button (A) on the HD100 Camera. This action causes the camera to announce itself to the router as a WPS device. While the camera is in WPS mode, the camera displays a blinking yellow LED. Do not press any buttons on the HD100 Camera until the camera LED displays green, indicating that the camera has successfully connected to the network. From the Alarm.com website add and configure the camera. -
Page 2: Important Safety Instructions
IMPORTANT SAFETY INSTRUCTIONS IC approval This device complies with Industry Canada license‐exempt RSS Do not install this device near water. standard(s). Operation is subject to the following two conditions: (1) this Do not install near any heat sources such as radiators, heat registers, device may not cause interference, and (2) this device must accept any stoves, or other apparatus (including amplifiers) that produce heat. interference, including interference that may cause undesired operation of the device. Only use attachments and accessories specified by 2GIG Technologies. RÉGLEMENTATION IC: Cet appareil est conforme avec Industrie Canada Protect the power cord from being walked on or pinched particularly exempts de license standard RSS (s). L'opération est soumise aux deux at the point where it exits from the device. (See figure below) conditions suivantes: (1) cet appareil ne peut causer d'interférences, et (2) cet appareil doit accepter toute interférence, y compris les interférences qui peuvent causer un mauvais fonctionnement du l'appareil. Cet équipement est conforme aux limites IC exposition au rayonnement pour un environnement non contrôlé. Cet équipement doit être installé et utilisé avec distance minimum de 20cm entre l'utilisateur et l'élément rayonnant de l'appareil. Remarque: le fabricant n'est pas responsable des interférences radio ou télévision causé par des modifications non autorisées de cet équipement. Une telle modification pourrait annuler l'autorité de l'utilisateur d'exploiter cet équipement. This Class B digital apparatus complies with Canadian ICES‐003 Cet appareil numérique de classe B est conforme Ia á norme NMB‐003 du Canada. LIMITED WARRANTY This 2GIG Technologies product is warranted against defects in material and workmanship for 1 year. This warranty extends only to wholesale customers who buy direct from 2GIG Technologies or through 2GIG Technologies’ normal distribution channels. 2GIG Technologies does not REGULATORY INFORMATION warrant this product to consumers. Consumers should inquire from their ...
Need help?
Do you have a question about the HD100 and is the answer not in the manual?
Questions and answers