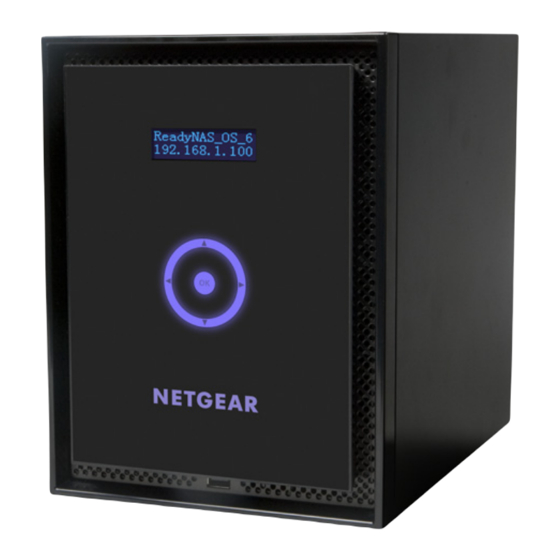
NETGEAR ReadyNAS OS 6 Desktop Storage Systems Installation Manual
Desktop storage systems
Hide thumbs
Also See for ReadyNAS OS 6 Desktop Storage Systems:
- Installation manual (12 pages) ,
- Hardware manual (213 pages) ,
- Hardware manual (126 pages)
Advertisement
Quick Links
Advertisement

Summary of Contents for NETGEAR ReadyNAS OS 6 Desktop Storage Systems
- Page 1 ReadyNAS OS 6 Desktop Storage Systems Installation Guide...
- Page 2 Contents Package Contents ........3 Basic Setup .
-
Page 3: Package Contents
Package Contents ReadyNAS system Resource CD Ethernet cable Power adapter and power cord (varies by model) IMPORTANT: Read all safety warnings in the hardware manual for your system before connecting the system to the power supply. -
Page 4: Basic Setup
See Reformat Disks on page 7. For a list of supported disks, see the Hardware Compatibility List at http://www.netgear.com/readynas-hcl. For information about installing disks, see the hardware manual for your system. Place your system in a location that provides adequate ventilation. - Page 5 Visit http://readycloud.netgear.com on a computer that uses the same local area network (LAN) and Internet connection as your ReadyNAS system. Note: If your computer does not have Internet access, install and run the RAIDar utility instead. RAIDar is on the resource CD that came with your system.
- Page 6 OK button. Note: You can change these credentials when you configure your system. NETGEAR recommends that you change your password as soon as possible. The ReadyNAS local admin page displays in your browser and launches a setup wizard.
-
Page 7: Reformat Disks
9. Install the previously formatted disks. For a list of supported disks, see the Hardware Compatibility List at http://www.netgear.com/readynas-hcl. For information about installing disks, see the hardware manual for your system. Using a straightened paper clip, press and hold the Reset button. - Page 8 Select the factory default option from the boot menu. • If you have a 2-bay storage system, do the following: Scroll through the boot menu options by pressing the Backup button. When only the Disk 1 LED is lit, press and release the Reset button.
-
Page 9: Additional Information
Links to these manuals are included on the resource CD that came with your system and are also available at http://support.netgear.com/product/ReadyNAS-OS6 or through a link in the product’s user interface. - Page 12 Trademarks NETGEAR, the NETGEAR logo, and Connect with Innovation are trademarks and/or registered trademarks of NETGEAR, Inc. and/or its subsidiaries in the United States and/or other countries. Information is subject to change without notice. © NETGEAR, Inc. All rights reserved.


Need help?
Do you have a question about the ReadyNAS OS 6 Desktop Storage Systems and is the answer not in the manual?
Questions and answers