
Related Manuals for DRIFT GHOST-S


Summary of Contents for DRIFT GHOST-S
-
Page 1: User Manual
P R O F E S S I O N A L H D A C T I O N C A M E R A S DRIFT GHOST-S USER MANUAL W W W . D R I F T I N N O V A T I O N . C O M... -
Page 2: Table Of Contents
Powering On and Off Shot Setup Charging Formatting a Micro SD Card Fixing the Camera to the Universal Clip Selecting a Micro SD Card Mounting the Camera to a Drift Mount Lens Rotation Camera Menu System Zoom Video Mode Connectivity... -
Page 3: Precautions
Precautions General Precautions Attention Please take note of the following guidelines when using your Ghost-S camera: Rechargeable batteries are only to be charged under adult supervision • The camera is 2m shock resistant, but not shock proof—please take care of your camera and accessories, mounting and storing them securely. -
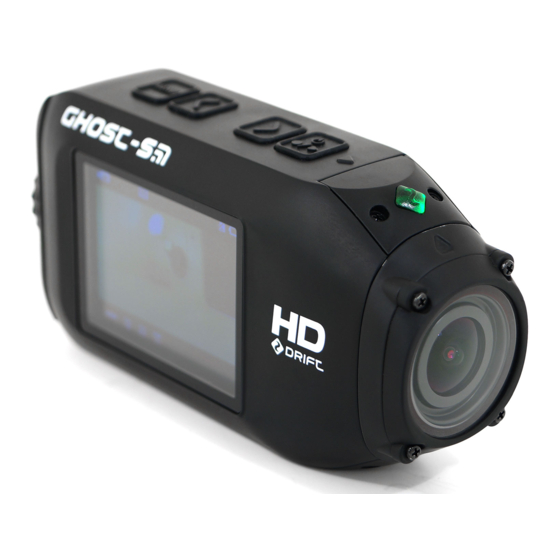
Page 4: Overview
Overview MENU Button (Video Tag/ Simultaneous Photo) LEFT Button (Zoom Out) RIGHT Button (Zoom In) ACTION Button (On/Off/Rec/Stop) Figure 2: Top View Camera LED Indicator 2.0” LCD Screen 300° Rotating/Replaceable Lens ¼”-20 Thread Speaker HDMI Port (Mini Type C) USB Port (Mini Type B) Figure 3: Screen View Battery Slot Cover Micro SD Card Slot... -
Page 5: Using The Camera
The camera can be powered by an external power supply such as a USB power a click. The card slot is spring loaded and adaptor, Drift Power Pack or Drift 12V Charger. We recommend you to power off the card will slide from the slot. -
Page 6: Camera Menu System
RIGHT Button (Zoom In) ACTION Button (On/Off/Rec/Stop) Camera LED Indicator Figure 9: Ghost-S Top View The Drift Ghost-S has an easy-to-use menu system which can be navigated using the camera’s four control buttons. Mode Selection Playback Main Menu (Figure 10) To open the Main Menu, press MENU while the camera is powered on. -
Page 7: Video Mode
Pressing MENU on the camera (or ACTION on the remote control) while recording video will simultaneously take a still photo. Taking a simultaneous photo will result in an 8MP photo if the Ghost-S is recording at 30 or 25fps in any Video Tagging resolution. - Page 8 Video Mode (cont’d) Video Tagging Figure 15: Video Tagging Graphic Representation When activated, this feature allows the camera to continuously record video, but save only ‘tagged’ footage. For example, with Video Tagging turned on and a Video Tagging Interval of 30s selected, pressing MENU while recording video will save the previous 30s, current 30s and an additional 30s—a total of 1m30s of tagged footage.
-
Page 9: Car Dvr
Video Mode (cont’d) Car DVR mode ENGINE STARTS ENGINE STOPS START RECORDING New clip New clip New clip STOP RECORDING CAR DVR INTERVAL* CAR DVR INTERVAL CAR DVR INTERVAL CAR DVR INTERVAL Camera turns on Camera turns o Figure 16: Car DVR Graphic Representation (Automatically) (Automatically) Car DVR mode can be turned on or off in the Video Settings menu... -
Page 10: Photo Mode
Photo Mode PHOTO MODE (YELLOW LED) Photo Mode Settings While the camera is powered on and in Photo Mode—with a Micro SD card 12MP inserted with available memory—it will capture a 5, 8 or 12MP still image when Resolution ACTION is pressed on the camera or the remote control. 1. -
Page 11: Timelapse Mode
Low Light Default Settings The Ghost-S will not render the timelapse still images into a video, you must Cancel insert the still sequences produced by the Ghost-S into third party post- production software in order to render a timelapse video. -
Page 12: Photoburst Mode
CYAN (light blue) once the file is saved and ready to shoot another Default Settings Cancel photoburst. The Ghost-S does not automatically make composite images from the Resolution Capture Rate Burst Duration photoburst sequence shot. This can be done on third party post-production software. -
Page 13: Playback
Playback Video Playback Photo Playback On opening Playback from the Main Menu, the screen will display the four camera mode icons. A number will be displayed beside each camera mode icon to indicate how many files are stored on the memory card for each mode. To select a highlighted camera mode, press ACTION. -
Page 14: Camera Settings
Camera Settings Upon opening Camera Settings from AUTO the Main Menu, the screen will display Wi-Fi 1080P HDMI Out the list of adjustable camera settings. Resolution Wi-Fi Network 1080i Use LEFT and RIGHT to move between ‘000’ Name 720P settings. Use ACTION to edit and confirm settings;... -
Page 15: Clone Mode
Camera Settings (cont’d) Clone Mode The ultimate tool for any video production, Drift Innovation’s Clone Mode allows simultaneous recording and synchronized setting adjustments for linked cameras. Users can sync up to five cameras connected to the same Clone Network via Wi-Fi. Start just one camera and all networked cameras start. -
Page 16: The Two-Way Remote Control
Two-Way Remote Control Powering On and Off 1. Ensure the camera is powered on, see p5. 2. Press and hold the ACTION button on the remote—the LED will power on and indicate the current camera mode. The remote will automatically power off if it does not find a camera after 15s. Charging Connect the remote control using the Mini USB cable (provided) to a powered USB port. -
Page 17: Using The Remote Control One To All
Two-Way Remote Control (cont’d) Pairing Camera to a Remote Control - One to All A single remote control can be paired to an infinite number of cameras in a 10m range from the remote control, to enable footage to be captured from every angle. -
Page 18: Shot Setup
Mounting the Camera to a Drift Mount Be sure to rotate the lens back to the 0° position (so the ‘up’ Included with the camera are several Drift mounts which will help you find the indicator on the lens is aligned with shot you want. -
Page 19: Connectivity
3. Select the network found in step 2 to connect your device and your camera. Manual HDMI Out The Ghost-S will automatically connect via HDMI to an HD ready TV. However, it is also capable of manually setting the HDMI out to either 1080p, 1080i or 720p. -
Page 20: Conserving Battery
Spare 1700mAh Fortunately, the Ghost-S comes with a number of features to conserve the battery Ghost batteries and Power Packs are life. -
Page 21: Updating Firmware
‘’Ghost_S.bin’’ firmware file into the root folder of the ‘’Drift Card’’ Micro SD card. 4. Safely eject your Drift Ghost-S and Micro SD as a storage device from your computer. 5. Power on the camera and wait for it to automatically update itself. You will get a “Firmware Update in Progress”... -
Page 22: Camera Care
Camera Care The Ghost-S is specifically designed for extreme sports. It is a very durable piece of equipment. However, to ensure a long and healthy life for your camera, please follow the guidelines below. Cleaning the Camera During your sporting activities, the camera will inevitably get dirty or wet. -
Page 23: Technical Specifications
Technical Specifications Video Resolution 1080p, 960p (4:3), 720p and WVGA (16:9) File Format .MP4 (H.264 codec) Sensor Type 12 MP Sony CMOS sensor with back illuminated technology 1080P: 25 / 30 / 50 / 60 fps 960p: 25 / 30 / 48 / 50/ 60 fps Frame Rate 720p: 25 / 30 / 50 / 60 / 100/ 120 fps... -
Page 24: Warranty
Warranty Drift Innovation (“Manufacturer”) warrants to the original End User (“Purchaser”) Service that this product purchased from us or any authorized dealer is free from To obtain our warranty service, register manufacturing defects in material and workmanship for the applicable warranty your product at driftinnovation.com. -
Page 25: Disclosures
Disclosures Motorcycle Disclaimer FCC Information This device complies with Part 15 of the FCC Rules. Interacting with the camera while riding could cause a crash and you or others Operation is subject to the following two conditions: may be seriously injured or killed. 1.
Need help?
Do you have a question about the GHOST-S and is the answer not in the manual?
Questions and answers