Advertisement
Table of Contents
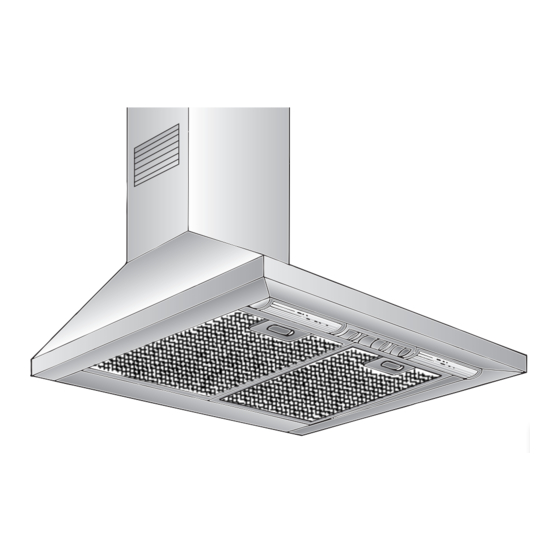
- 1 Appliance Description
- 2 Operating Modes
- 3 Operating Instructions
- 4 Before Using for the First Time
- 5 If You Encounter a Problem
- 6 Operating Procedure
- 7 Filters and Maintenance
- 8 Cleaning and Care
- 9 Replacing the Light Bulbs
- 10 Installation Instructions
- 11 Prior to Installation
- 12 Exhaust-Air Mode
- 13 Electrical Connection
- 14 Electrical Data
- 15 Installation
- Download this manual
Advertisement
Table of Contents

Summary of Contents for Tecnik Cooker hood
- Page 1 How to use and look after your built-in cooker hoods...
- Page 2 Fig. 1 Abb. 1 ELECTR. mind. mind.
-
Page 3: Appliance Description
Operating Instructions Appliance description Operating modes This can be achieved if combustion air can Chimney flow through non-lockable openings, e.g. in panelling doors, windows and via the air- intake/exhaust-air wall box or by other Light / fan technical measures, such as reciprocal switches interlocking, etc. -
Page 4: Before Using For The First Time
Before using for the first time Important notes: Do not flambé food directly under the extractor hood. The Instructions for Use apply to several Risk of grease filter catching fire due versions of this appliance. Accordingly, you may find descriptions of individual to flames. -
Page 5: Operating Procedure
Operating procedure Filters and maintenance Grease filters: The most effective method of removing vapours produced during cooking is to: Metal filters are used to trap the greasy Switch the ventilator ON element of the vapours that develop as soon as you begin cooking. during cooking. - Page 6 Filters and maintenance Removing and inserting the metal grease Activated carbon filter: filters: For neutralizing odours in recirculating mode. 1. Press the catch on the grease filters inwards and fold the filters down. Inserting the filter: 1. Remove the metal filters (see "Removing and inserting the metal grease filters").
-
Page 7: Cleaning And Care
Cleaning and care Replacing the light bulbs Disconnect the extractor hood from the 1. Switch off the extractor hood and pull electricity supply by pulling out the out the mains plug or switch off the mains plug or switching it off at the fuse electricity supply at the fuse box. -
Page 8: Installation Instructions
Installation Instructions: Important information The installation of the extractor hood Old appliances are not worthless above gas cooking devices, at a rubbish. If they are disposed of in an minimum height of 650 mm – Fig. 1 – is environment-friendly manner, valuable raw permitted provided that the following materials can be recovered for use again. -
Page 9: Prior To Installation
Prior to installation Exhaust-air mode 31-318 max. 1080 mind. 793 The exhaust air is discharged upwards This can be achieved if combustion air can through a ventilation shaft or directly flow through non-lockable openings, e.g. in through the outside wall into the open. doors, windows and via the air- intake/exhaust-air wall box or by other Exhaust air should neither be directed... - Page 10 Prior to installation For operating in exhaust-air mode, a Flat ducts must have an internal cross- one-way flap should be mounted inside the section that equates to that of round extractor hood unless there is already one pipes. fitted in the outlet duct or wall ventilation There should be no sharp bends.
- Page 11 Prior to installation Recirculating mode Preparing the wall (If there is no possibility of operating in The wall must be flat and perpendicular. exhaust-air mode) Ensure that the wall is capable of providing a firm hold for mounting screws and plugs. 51-318 max.
-
Page 12: Electrical Connection
Electrical connection WARNING: THIS APPLIANCE MUST BE Electrical data: EARTHED Are to be found on the name plate inside IMPORTANT: Fitting a Different Plug: the appliance after removal of the filter frame. The wires in the mains lead are coloured in accordance with the following code: Before undertaking any repairs, Green and Yellow... -
Page 13: Installation
Installation This extractor hood is intended to be Note: Take into account any special mounted onto the kitchen wall. accessories that are going to be fitted. 1. Remove the grease filter (refer to 5. Screw on the 2 brackets for fixing the Operating Instructions). - Page 14 Installation 08. Insert the other 4 screws with washers. 11. Stainless steel model: Remove the protective film from the Before the 4 screws are tightened two flue ducts. down, align the extractor hood properly. Take care not to damage the stainless steel surfaces which are susceptible to scratches etc..
- Page 15 Before you call for service: Please read the information given in the user manual In the event a technician is called out for any of the reasons stated above or for consultation purposes charges will be made to the customer either at the time of visit or at a later time in administration.
- Page 16 5750 204 493 Printed in Germany 0504 Es.
Need help?
Do you have a question about the Cooker hood and is the answer not in the manual?
Questions and answers