Advertisement
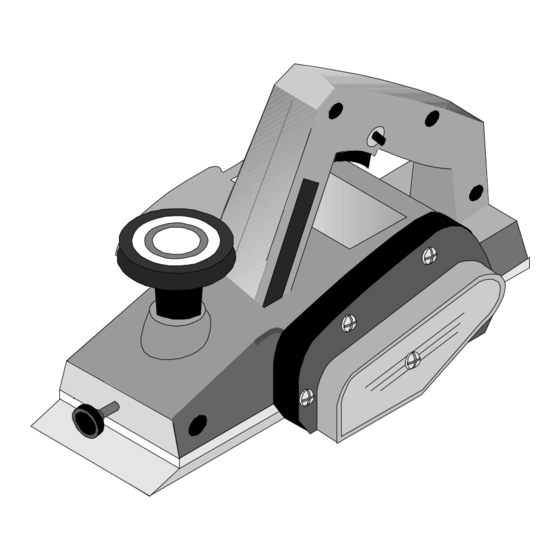
3-1/4" PLANER
ASSEMBLY and OPERATING INSTRUCTIONS
Due to continuing improvements, actual product may differ slightly from the product described herein.
3491 Mission Oaks Blvd. / Camarillo, CA 93011
Copyright © 1997 by Harbor Freight Tools
. All rights reserved.
®
No portion of this manual or any artwork contained herein may be reproduced in any
shape or form without the express written consent of Harbor Freight Tools.
For technical questions and replacement parts, please call 1-800-444-3353.
Advertisement
Table of Contents

Related Manuals for Chicago Electric 32222


Summary of Contents for Chicago Electric 32222
- Page 1 . All rights reserved. ® No portion of this manual or any artwork contained herein may be reproduced in any shape or form without the express written consent of Harbor Freight Tools. For technical questions and replacement parts, please call 1-800-444-3353.
-
Page 2: Specifications
7. DRESS PROPERLY. Do not wear loose clothing or jewelry as they can be caught in moving parts. Protective, electrically non-conductive clothes and non-skid footwear are recommended when working. Wear restrictive hair covering to contain long hair. Page 2 -- SKU: 32222 SPECIFICATIONS 32222... - Page 3 DO NOT OPERATE TOOL IF UNDER THE INFLUENCE OF ALCOHOL OR DRUGS. Read warning labels on prescriptions to determine if your judgment or reflexes are impaired while taking drugs. If there is any doubt, do not operate the tool. Page 3 -- SKU: 32222...
-
Page 4: Grounding Instructions
21. REMOVE FOREIGN OBJECTS FORM STOCK. All nails, screws, and all other hardware must be removed from wood before planing. Never allow planer to come in contact with any metal when operating. This will chip the blades. 22. DO NOT LEAVE BLADE EXPOSED WHEN NOT IN USE. Never lay planer on its shoe while cutter head is exposed. -
Page 5: Extension Cords
Tools can supply UL listed and outdoor rated cords in multiple AWG rating if needed. When unpacking, check to make sure the following parts are included. All sizes listed below are approximate. If any parts are missing or broken, please call Harbor Freight Tools at the number on the cover of this manual. -
Page 6: Basic Procedures
Note that several light passes will create a finer finish than one or two deep cuts. See Figure #1. Step 5: The DEPTH SET KNOB is also used to guide the planer when operating. Apply only light pressure. - Page 7 Step 6: Set the fence so that it rests against the edge of the stock and so that the cutterhead is positioned to plane the desired area. Step 7: Tighten the KNOB by turning clockwise. Page 7 -- SKU: 32222 Figure 2 — Using the Fence Fence...
-
Page 8: Maintenance
Step 2: Do not allow cutterhead to engage stock until it has reached full speed. Step 3: Engage motor and move planer slowly forward so that the cutterhead begins to plane. Use slightly more pressure on both handles, move the planer very slowly, and keep a steady hand. - Page 9 (#19) Shoe Assembly Figure 6 — Placing the Blade onto the Cutter Block Step 6: Replace the BLADE HOLDER (#21) using the three BOLTS (#23). Page 9 -- SKU: 32222 Sharpening Angle Sharpening Jig (#63) Figure 4 — Removing the Blade and...
-
Page 10: Pulley Replacement
Step 2: Remove both BRUSH CAPS (#59). Step 3: Remove BRUSHES from BRUSH HOLDERS (#3) and replace with new BRUSHES. Step 4: Replace BRUSH CAPS and CHIP CHUTE COVER. Page 10 -- SKU: 32222 Belt (#56) Figure 7 — Removing the Pulley... -
Page 11: Troubleshooting
Planer starts, but cutterhead does not move Planer starts, cutterhead moves, but wood remains uncut Operation interrupted Rough/fuzzy grain Grain is torn grain Page 11 -- SKU: 32222 TROUBLE SHOOTING PROBABLE CAUSE Not plugged in Fuse or circuit blown Socket Worn brushes... -
Page 12: Parts List
End Bracket Tapping Screw Washer Front Foot Rubber Packing Spring Washer Depth Set Knob Scale Washer Page 12 -- SKU: 32222 PARTS LIST DESCRIPTION Thrust Washer Trigger/Switch Noise Suppresser Terminal Cord Assembly Cord Strain Relief Cord Clip Internal Wire Assembly... -
Page 13: Exploded View Drawing
EXPLODED VIEW DRAWING Page 13 -- SKU: 32222...
Need help?
Do you have a question about the 32222 and is the answer not in the manual?
Questions and answers