Miele EGW 4060-14 Operating Instructions Manual
Built-in plate warmer
Hide thumbs
Also See for EGW 4060-14:
- Operating instructions manual (24 pages) ,
- Operating and installation manual (28 pages) ,
- Dimensions (3 pages)

Related Manuals for Miele EGW 4060-14


Summary of Contents for Miele EGW 4060-14
-
Page 1: Operating Instructions
Operating instructions Built-in Plate Warmer EGW 4060-14 To prevent accidents and machine damage read these instructions before installation or use. M.-Nr. 06 543 300... -
Page 3: Table Of Contents
Contents IMPORTANT SAFETY INSTRUCTIONS ....... . . 4 Guide to the machine..........6 Before using the plate warmer . -
Page 4: Important Safety Instructions
IMPORTANT SAFETY INSTRUCTIONS Installation This appliance is intended for Before installation make sure that residential use only. Only use the the voltage and frequency listed on appliance for its intended purpose. the data plate correspond with the household electrical supply. This data Improper use of the appliance can must correspond in order to prevent lead to personal injury and material... - Page 5 Installation, repair and Do not use the plate warmer to maintenance work should be reheat, cook or keep food and performed by a Miele authorized drinks warm. The condensation from service technician. Work by unqualified food or drinks could lead to moisture persons could be dangerous and may damage in the appliance.
-
Page 6: Guide To The Machine
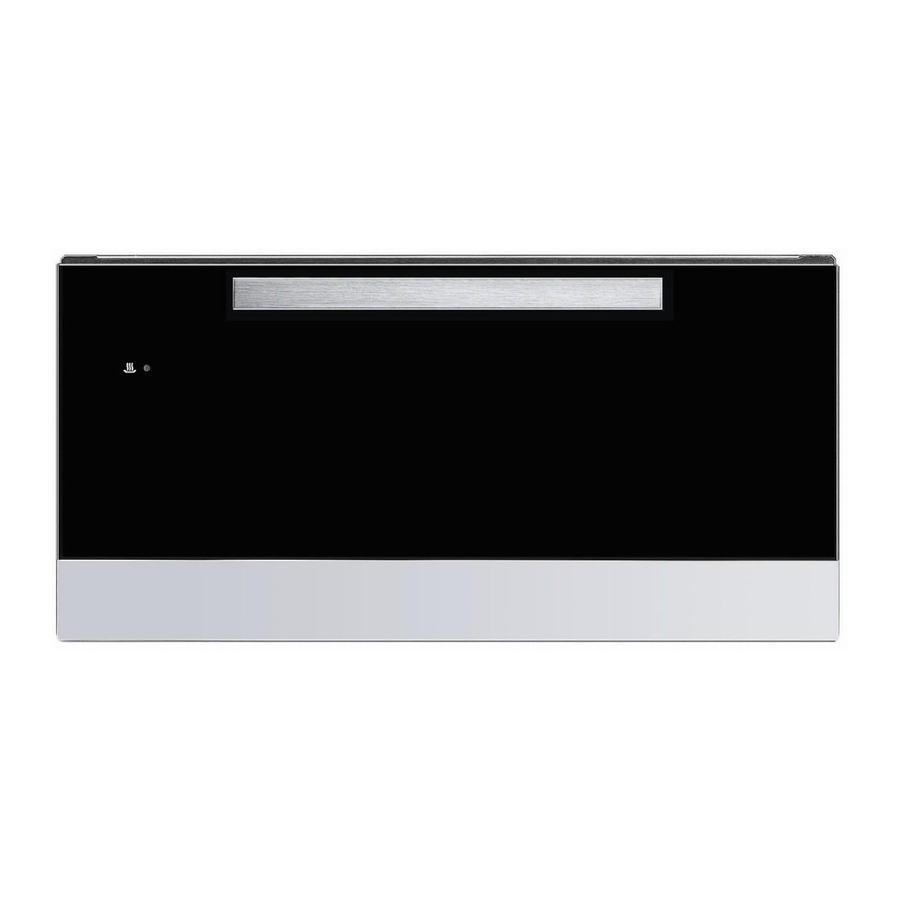
Guide to the machine a On/Off button b Temperature selector c Warming drawer d Non-slip mat e Indicators... -
Page 7: Before Using The Plate Warmer
Before using the plate warmer ^ Clean the plate warmer with a damp cloth and wipe dry. ^ Heat the empty plate warmer for a minimum of 2 hours. Turn the temperature selector to "Maximum" (see "Selecting a temperature"). ^ Vent the room when heating the drawer for the first time. -
Page 8: Use
Controls The plate warmer is only intended for warming dishes. Do not use the plate warmer to reheat, cook or keep food and drinks warm. Condensation from food or drinks may cause moisture damage to the appliance. Use pot holders when removing dishes. -
Page 9: Operating
Operating Selecting a temperature ^ Place the dishes in the drawer. The temperature selector allows you to select a temperature between 86° and ^ Select a temperature. 122 °F (30 and 50 °C). ^ Turn the appliance on (j). Do not turn the knob The button will light. -
Page 10: Warming Times
Warming times Capacity Various factors will affect the warming The capacity of the appliance depends times: on the dish sizes. – type and thickness of dishes, The maximum load is 55 lbs (25 kg). – quantity, The following assembly picture is an example. -
Page 11: Cleaning And Care
Cleaning and care Cleaning the plate warmer Non-slip mat The mat can be removed to clean the Let the drawer cool before cleaning. bottom of the drawer. ^ Clean the mat by hand with warm Never use abrasive cleaners, scouring pads, steel wool or caustic water and liquid dish soap. -
Page 12: Frequently Asked Questions
Frequently asked questions Repairs should only be carried out by an authorized technician in accordance with local and national safety regulations. Unauthorized repairs could cause injury or machine damage. The manufacturer cannot be held responsible for unauthorized work. Why are the dishes not warm enough? Possible fault The appliance is turned off. -
Page 13: After Sales Service
After sales service In the event of a fault which you cannot correct yourself please contact the Miele Technical Service Department. 1-800-999-1360 techserv@mieleusa.com 1-800-565-6435 service@miele.ca When contacting the Technical Service Department, please quote the model and serial number of your appliance both of which are shown on the enclosed data plate. - Page 15 Installation Instructions...
-
Page 16: Help Protect Our Environment
Help protect our environment Disposal of the packing Disposal of an old appliance material Old appliances contain materials which can be recycled. Please contact your The transport and protective packing local recycling center about potential materials are environmentally safe for recycling. -
Page 17: Installation
However, under consult a qualified technician. certain conditions it may be possible for an installation in these applications. The electrical outlet should be Please contact the Miele Technical easily accessible after installing the Service Department with specific unit. requirements. -
Page 18: Combinations Egw 40X0 -14
Installation Combinations EGW 40x0 -14 Oven H 4120, H 4220 Microwave-compact oven... - Page 19 Installation Steam ovens...
-
Page 20: Installing The Appliance
Installation Installing the appliance The installation kit contains 3 metal strips with adhesive on the back side. ^ Set the plate warmer into the niche, push is all the way in and align it at a Fix the metal strips on the plate warmer right angle. -
Page 21: Aligning The Appliance Front
Installation Aligning the appliance front After installing the combination appliance it might be necessary to align the appliance front and/or to even the gap between the plate warmer and the combination machine. Flat washers are supplied beneath the knurled nuts, which fix the drawer to the telescopic runners. -
Page 22: Electrical Connection
Installation Electrical connection Note to the installer The electrical installation instructions Please leave these instructions with for any appliance installed in the consumer. combination with the plate warmer must be observed. Power supply This appliance is equipped with an When another appliance is installed approx. - Page 24 All rights reserved/1605 M.-Nr. 06 543 300 / 00 en - US...