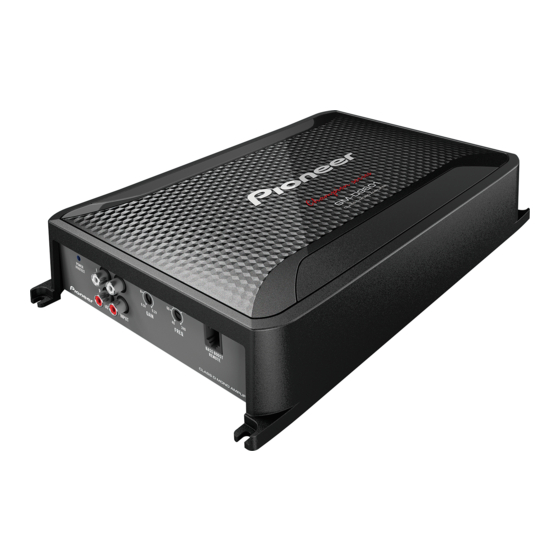
Pioneer GM-D8601 Owner's Manual
Class d mono amplifier
Hide thumbs
Also See for GM-D8601:
- Owner's manual (45 pages) ,
- Owner's manual (92 pages) ,
- Owner's manual (49 pages)
Table of Contents
Advertisement
Advertisement
Table of Contents

Summary of Contents for Pioneer GM-D8601
- Page 1 CLASS D MONO AMPLIFIER GM-D8601 GM-D9601 Owner’s Manual...
-
Page 2: Before You Start
Section Before you start If you experience problems Thank you for purchasing this PIONEER product Should this product fail to operate properly, please contact your dealer or nearest author- To ensure proper use, please read through this ized Pioneer Service Station. -
Page 3: About This Product
Section Before you start ! Always use a fuse of the rating prescribed. BE SURE TO OBSERVE THE FOLLOWING GUIDELINES: The use of an improper fuse could result in ! Do not turn up the volume so high that you overheating and smoke, damage to the pro- can’t hear what’s around you. - Page 4 500 W (GM-D8601) / 800 W (GM-D9601) or larger nominal input and an impedance 2 W or 3: a subwoofer with a 800 W (GM-D8601) / 1 200 W (GM-D9601) or larger nominal input and an impedance 1 W.
-
Page 5: Setting Gain Properly
Front side (standard output of 500 mV), set to the NORMAL position. For use with an RCA equipped Pioneer car stereo, with maxi- mum output of 4 V or more, adjust level to match that of the car stereo output. - Page 6 In such cases, please contact the nearest Signal waveform distorted with high output, if authorized Pioneer Service Station. you raise the gain of the amplifier the power changes only slightly. Gain control of this unit...
-
Page 7: Before Connecting The Amplifier
1 Battery wire (sold separately) when using the speaker input wire on page 9. ! The maximum length of the wire be- h Fuse 40 A × 2 (GM-D8601) / 40 A × 3 (GM- tween the fuse and the positive + term- D9601) inal of the battery is 30 cm (12 in.). -
Page 8: Connecting The Speakers
Section Connecting the units ! Never band together multiple speaker’s nega- When connecting to one speaker tive cables. ! If the system remote control wire of the ampli- fier is connected to the power terminal via the ignition switch (12 V DC), the amplifier will re- main on with the ignition whether the car stereo is on or off, which may exhaust battery if the engine is at rest or idling. -
Page 9: Connections When Using The Speaker Input Wire
Section Connecting the units Connections when using Solderless terminal the speaker input wire connections ! Since the wire will become loose over time, Connect the car stereo speaker output wires to the amplifier using the supplied speaker it must be periodically inspected and tigh- input wire with RCA pin cord. -
Page 10: Connecting The Speaker Output Terminals
Use wire cutters or a utility knife to battery is 30 cm (12 in.). strip the end of the speaker wires to ex- 3 Fuse 100 A (GM-D8601) / 150 A (GM-D9601) pose about 10 mm (3/8 in.) of wire and (sold separately) then twist the wire. -
Page 11: Before Installing The Amplifier
Section Installation Before installing the amplifier Attaching the Bass boost remote control WARNING ! To ensure proper installation, use the supplied Attach with tapping screws (3 mm × 10 mm (1/8 in. × 3/8 in.)) at an easily accessible loca- parts in the manner specified. - Page 12 2 Drill a 2.5 mm (3/32 in.) diameter hole. 3 Floor mat or chassis 4 Hole-to-hole distance: 257 mm (10-1/8 in.) (GM-D8601) / 307 mm (12-1/8 in.) (GM- D9601) 5 Hole-to-hole distance: 181 mm (7-1/8 in.) (GM-D8601) / 181 mm (7-1/8 in.) (GM-...
-
Page 13: Additional Information
Power output ......300 W RMS × 1 Channel (at 14.4 V, 4 W, 20 Hz to 240 Hz and ≦ 1 % THD+N) GM-D8601 500 W RMS × 1 Channel (at Power source ......14.4 V DC (10.8 V to 15.1 V 14.4 V, 2 W, 100 Hz and ≦... - Page 14 ! The average current drawn is nearly the maxi- mum current drawn by this unit when an audio signal is input. Use this value when working out total current drawn by multiple power amplifiers. CAR AUDIO SYSTEMS PIONEER CAR STEREOS...


Need help?
Do you have a question about the GM-D8601 and is the answer not in the manual?
Questions and answers
Hi, I **** trying to hook up my amplifier to my stero but not sure what I'm doing wrong I have two rca out lines but those aren't working
To connect a Pioneer GM-D8601 amplifier to your stereo using RCA outputs:
1. Check Compatibility: Ensure your stereo has RCA outputs. The GM-D8601 can accept both high-level (speaker-level) and low-level (RCA-level) signals.
2. Use the RCA Outputs: Connect the RCA cables from the RCA output jacks of your stereo to the RCA input jacks on the amplifier.
3. Automatic Signal Detection: The GM-D8601 automatically detects the input signal mode (RCA level or speaker level), so there’s no need for additional adjustment.
4. Power Connections: Ensure the amplifier is properly powered with connections to power, ground, and remote turn-on.
5. Remote Turn-On: If your stereo has a remote turn-on output, connect it to the amplifier's remote input. If not, the amplifier can automatically turn on when it detects a signal from the RCA inputs.
6. Speaker Connections: Connect your subwoofer or speakers to the amplifier’s speaker output terminals.
7. Test the System: Once everything is connected, turn on your stereo and verify that the amplifier powers on and produces sound through the connected speakers or subwoofer.
Make sure all connections are secure and properly insulated to avoid shorts.
This answer is automatically generated