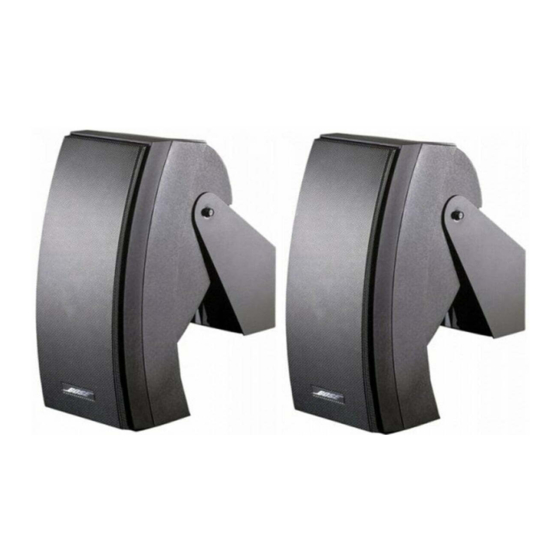
Bose 302 A Installer's Manual
Bose 302 a loudspeaker
Hide thumbs
Also See for 302 A:
- Technical data sheet (2 pages) ,
- Installer's manual (8 pages) ,
- Service manual (10 pages)
Table of Contents
Advertisement
Advertisement
Table of Contents

Summary of Contents for Bose 302 A
- Page 1 ® Bose A Loudspeaker Installer’s Guide...
-
Page 2: Safety Information
In accordance with EMC Directive 89/336/EEC and Article 10(1) of the Directive, is in compliance with the following norm(s) or document(s): Technical regulations: EN50081-1, EN50082-1 Accredited by: Bose Corporation, The Mountain, Framingham, MA 01701-9168 USA 29 April 2000 Bose Products B.V. Nic Merks... -
Page 3: Installation
Installation 1.0 Package contents 2.0 Steps for loudspeaker installation To install the Bose 302 A loudspeaker, first remove the transformer cover from the bracket. 2.1 Changing the voltage and tap setting The transformer is set at the factory for 70V, 100W operation. -
Page 4: Mounting The Bracket
Installation 2.2 Mounting the bracket Caution: Install the loudspeakers in compliance with local building and electrical codes. In the U.S., this version is designed for installation using Class 2 wiring methods in accordance with Articles 640 and 725 of NFPA 70, National Electrical Code. Wall mounted Ceiling mounted 2.2.1 Prepare the mounting surface... - Page 5 Installation 2.2.2 Make an allowance for the wiring Consider how the amplifier wires will thread into the bracket. • To use the rear opening on the bracket, be sure to insert the wires first, before you mount the bracket. • To use the bottom opening, remove the plug from that opening.
- Page 6 Installation 2.3 Connecting the amplifier wires Be sure to observe polarity as you connect the amplifier wires. Attach the positive lead to the positive terminal, directly opposite the terminal with the orange (for 70V) or yellow (for 100V) wire attached. 2.4 Attaching the speaker to the bracket Partially insert the screws into the speaker, but do not fully tighten them.
-
Page 7: Connecting The Speaker Wires
Installation 2.5 Connecting the speaker wires With the speaker supported by the bracket, connect the speaker wires that run though the small opening on the bottom of the bracket to the terminals on the speaker. Be sure to observe polarity, attach- ing the red wire to the red terminal (+ to +). -
Page 8: Adjusting The Speaker
Installation 2.6 Adjusting the speaker With the speaker wires connected and the bracket screws only hand tightened, adjust the speaker angle as preferred. Then use a wrench to tighten the mounting screws firmly, securing the speaker position. -
Page 9: Specifications
Specifications Loudspeaker specifications Frequency Range 75Hz to 16kHz ( 3 dB) Configurations 70V/100V (12W, 25W, 50W, 100W taps) Sensitivity 82dB-SPL @ 1W, 1m (pink noise) Maximum Acoustic Output 102dB-SPL @ 1m (pink noise) 102dB-SPL @ 1m (IEC noise) Dispersion (–6dB point, average, 1-4kHz) Horizontal 178˚... -
Page 10: Warranty
Bose’s maximum liability shall not exceed the actual purchase price paid by you for the product. In no event shall Bose be liable for special, incidental, consequential or indirect damages. This warranty does not cover a defect that has resulted from improper or unreasonable use or maintenance, accident, improper packing, or unauthorized tampering, alteration or modification as determined solely by us. - Page 12 ©2000 Bose Corporation The Mountain Framingham, MA 01701-9168 USA 255917 AM Rev.02 English...


Need help?
Do you have a question about the 302 A and is the answer not in the manual?
Questions and answers