Dacor ETT304-1 Installation Instructions Manual
Hide thumbs
Also See for ETT304-1:
- Use and care manual (13 pages) ,
- Installation instructions manual (12 pages) ,
- Planning manual (3 pages)
Table of Contents

Related Manuals for Dacor ETT304-1


Summary of Contents for Dacor ETT304-1
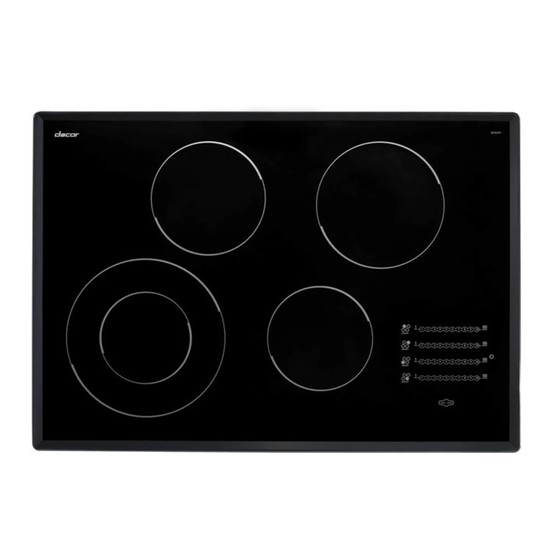
- Page 1 Installation Instructions Electric Cooktop For use with models ETT304-1, ETT365-2, MET304 and METB365-1 TESTED IN ACCORDANCE WITH THE LATEST EDITION OF ANSI Z21.1 AND UL 858 STANDARD FOR HOUSEHOLD COOKING APPLIANCES. Pa_ No. 65170 Rev. K...
-
Page 2: Table Of Contents
If you have questions or problems with installation, contact • The product data label contains the model and serial your Dacor dealer or the Dacor Customer Service Team. number information and the electrical requirements. For repairs to Dacor appliances under warranty call the •... -
Page 3: Before You Begin
0r areas (!nclud!ng ab0ve ating this or any other appliance. and below the cooktop)..........• Always contact the Dacor Customer Service Team WARNING about problems and conditions that you don't under- stand. See Customer Service Information. -
Page 4: General Safety Precautions
SO that they know Where and how tO turn • Do not wear loose or hanging apparel while using the off power tothe cooktop. Dacor !s not responsible for cooktop. Do not allow clothing to come into contact the COst Of Correcting PrOblems caused by improper... -
Page 5: Installation Specifications
Load** leads in a flexibJe metal conduit. These leads may be a 240 Vac, 60 Hz. 6.9 kW ETT304-1 sma ler gage than the standard household wiring of the 3 wire* 40 Amp. (29 Amp.) dediCatect supply circuit, but they are SUitable for connec_ 240 Vac, 60 Hz. -
Page 6: Planning The Location
Cooktop Models Approved Raised Vent Models the duct installation instructions for cutout req u_re- ments. ETT304-1 MET304 ERV30, PRV30 or RV30 ETT365-2 METB365-1 ERV36, PRV36 or RV36 Planning the Location Raised vent installation must allow room for the stiffener bar on the back of the raised vent chassis. See below. - Page 7 27 3/4" (57.2 cm) (7.0 cm) (1.0 cm) (73.0 cm) (70.5 cm) 22 1/4" 2 1/2" 5/8" ETT304-1 or MET304 cooktop with RV30 raised vent. (56.5 cm) (6.4 cm) (1.6 cm) 22 1/2" 2 3/4" 3/8" ETT365-2 or METB365-1 cooktop with ERV36 or PRV36 raised vent.
-
Page 8: Installation Instructions
Foam tape (PN 13208) • Mounting bracket (PN 27251) w/bolt (PN, 83065) QTY 2 • Glass scraper (PN 82499) • Dacor Cooktop Cleaning Creme (PN A300) • Product literature Chassis Installation Electrical Connection WARNING WARNING If the electrical Service provided does not meet the speci- fications on page&do... - Page 9 Three Wire Electrical Connection Incoming power See dJagram on rJght. Wire nut, Separate the wJres comJng out of the applJance conduJt. Junction 3 places Connect the black wJre from the applJance conduJt to the black (L1) supply wJre Jn the junction box. Connect the red wJre from the applJance conduJt to the red (L2) supply wJre Jn the junction box.
-
Page 10: Verifying Proper Operation
For safety, when the self-check is complete, the cooktop controls will go into locked mode. Unlock the element controls: On ETT series models, push and hold the Dacor logo key for three seconds. Three beeps should sound and the Dacor logo indicator light should go out. - Page 11 ®o /Ill ON/OFF Outer element o® ON/OFF ®o ON/OFF @® ON/OFF Cooktop Controls - Model MET304 sill /Ill ON/OFF Outer element 4 _ 6 7 8 _ 10 /ISl I lvE'_ ON/OFF /Ill ON/OFF /l_l ON/OFF _A?_:_t:_LP Bridge element key Cooktop Controls - Model METB365=I...
- Page 12 ® Family Owned American Made The Life of the Kitchen? Dacor • 600 Anton Blvd. Suite 1000 Costa Mesa, CA 92626 • Phone: (800) 793-0093 • Fax: (626)403-3130 • www.dacor.com...
Need help?
Do you have a question about the ETT304-1 and is the answer not in the manual?
Questions and answers