Table of Contents
Advertisement
Advertisement
Table of Contents

Related Manuals for VistaQuest VQ8224


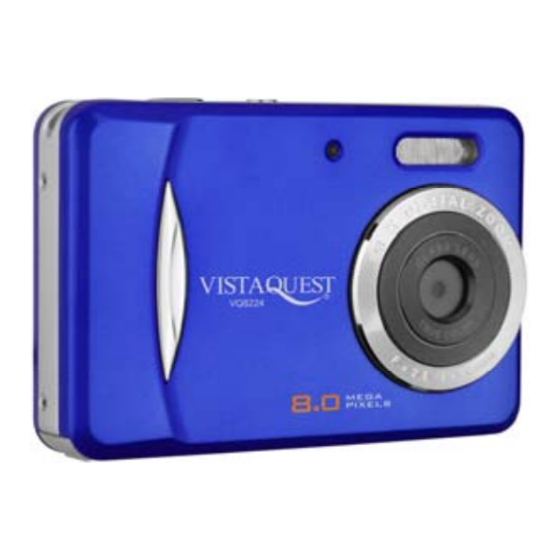
Summary of Contents for VistaQuest VQ8224
- Page 1 VQ8224 User’s Manual...
-
Page 2: Get To Know Your Camera
1. Get to know your camera 1.1 Features 8.0 Mega pixels resolution Video clips Audio record Web camera Built-in Microphone Voice recorder Built-in flash Light TV output 2.4” LTPS real color display Internal 16MB flash memory and SD card support Driver free for Windows XP/Vista and MAC 9.x and X.x Macro mode 1.2 Specifications... -
Page 3: System Requirement
of the scene) 8.0M: (3264x2448) – 14 Pictures External memory card SD card supports up to 8GB File format Picture: JPEG, Video: AVI, Voice: WAV Self timer 2/10/10+2 seconds PC interface USB 2.0 TV-out NTSC/PAL Power source 2xAAA alkaline batteries. 1.3 System requirement Windows XP/Vista or above Operating System... - Page 4 Strap hook Hook for attaching the wrist strap to the camera. Press this button to take photographs or to start/stop recording a short Shutter video clip. Power on/off Press this button to turn on, press again to turn off. button Self-timer Blinking when the self-timer function is operating.
-
Page 5: Details For Camera Setting
3. Details for camera setting 3264 x 2448 8.0M pixel resolution 5.0M pixel resolution 2560 x 1920 Size 3.1M pixel resolution 2048 x 1536 1.3M pixel resolution 1280 x 960 VGA resolution 640 x 480 Fine(Default)/Standard/ Quality Picture quality set Economy Auto(Default)/Sport/Night/ Scene mode... -
Page 6: Explanation Of The Status Icons
Continuous Can continuously shoot up to 3 pictures Continuous shoot shoot within 10 seconds. Format Execute/cancel Format the memory card. English(Default)/T-Chinese/ Language S-Chinese/French/German/ Select display language Italian/Spanish/Portuguese Auto power Auto power off in1min, 3min(default) or 1/3/5 min and Off 5 min if no operation Sys. - Page 7 Item Function Description The batteries are full. Battery indicator The batteries are empty. Setting for photographs taking Recording mode Setting for videos capture Date stamp Displays the date day/month/year Indicates memory or SD card Memory or SD card Pictures stored in built-in memory indicator Pictures stored in SD card Photo mode :No.
-
Page 8: Using The Camera
5. Using the camera 5.1 Installing the batteries 1. Open the battery door. 2. Insert 2 AAA alkaline batteries into the camera. 3. Turn on the camera. Press the POWER button to turn it on (press it again to turn off). 5.2 Inserting a memory card (not included) This camera has built-in internal memory. -
Page 9: Zoom In And Out
3. Depending on the distance to the object being photographed, use Macro switch to adjust the distance. Select the flower symbol ( ) if you wish to take a close-up photograph (11cm –18cm). If you wish to take photograph of surroundings or people (0.5m – infinity), set the Macro switch to Normal mode ( 4. -
Page 10: Installing The Camera Driver
5.9 Playback photographs 1. Press PLAYBACK button, press to select the video clip or photo. ▲, ▲ 2. Press it will go to 2x zoom, press again to 3x zoom…… up to 8x. ▲ ▼ 3. Press “OK” and then Press to shift the image. -
Page 11: Connecting The Camera
6.1 Uninstalling old drivers and devices There is a chance for a conflict between the new driver and an existing driver in the computer. In that case, it is better to remove those drivers before installing the new driver. 1. Enter Windows ‘Safe Mode’ (press F8 when starting Windows and then select ‘Safe Mode’ from the menu which will be displayed). -
Page 12: Troubleshooting
5. Press OK to confirm. 6. Connect the camera to the computer. 7. Windows will automatically detect the camera. You can use this camera as a removable disk. 6.3.2 Connecting as a PC camera When you connect the camera as a PC camera, you can use the camera as a web cam for video conferencing on the Internet by using Windows NetMeeting or Windows Messenger. - Page 13 PC cam mode refer to section 6.3.2 (system properly. setting, USB connection). Cannot preview image in PC “Preview” is not selected Click “preview” in the “option” menu Camera mode. in option Menu in PC. to select it. ©2010 VistaQuest Corporation﹒www.vistaquestcorp.com AM-D592-EN-HAO-R...
Need help?
Do you have a question about the VQ8224 and is the answer not in the manual?
Questions and answers