Advertisement
Table of Contents
- 1 Table of Contents
- 2 Introduction and Warranty
- 3 An Overview of the Cordless Finish Nailer
- 4 Safety Instructions
- 5 Battery and Charging System
- 6 Battery and Charger
- 7 Fuel Cell and Metering Valve
- 8 Preparing the Cordless Finish Nailer for Use
- 9 Cordless Finish Nailer Operation
- 10 Fasteners and Applications
- 11 Servicing
- 12 Troubleshooting
- Download this manual
CORDLESS
IMPORTANT!
DO NOT DESTROY
It is the customer's responsibility to have
all operators and service personnel read
and understand this manual.
Printed in U.S.A.
© 2001 Illinois Tool Works, Inc.
405606-6
11/01
Model: IM250 II
Part No. 900400
Cordless 16 Gauge Finish Nailer
IM250 F-16 II
CORDLESS
FINISH NAILER
OPERATING MANUAL
19
Advertisement
Table of Contents

Related Manuals for Paslode IM250 II


Summary of Contents for Paslode IM250 II
- Page 1 Model: IM250 II Part No. 900400 Cordless 16 Gauge Finish Nailer CORDLESS IM250 F-16 II CORDLESS FINISH NAILER OPERATING MANUAL IMPORTANT! DO NOT DESTROY It is the customer's responsibility to have all operators and service personnel read and understand this manual.
-
Page 2: Table Of Contents
Servicing ............... 15 Troubleshooting ............17 The battery charger system meets all safety requirements for power tools. is a trademark Paslode CORDLESS An Ilinois Tool Works Company 888 Forest Edge Drive Vernon Hills, Illinois 60061 Power Nailers are made in the U.S.A. and are CORDLESS protected by one or more of the following U.S. -
Page 3: Introduction And Warranty
Paslode's sole liability hereunder will be to replace any part or accessory delivery to the original user. which proves to be defective within the specific time period. Any replacement... -
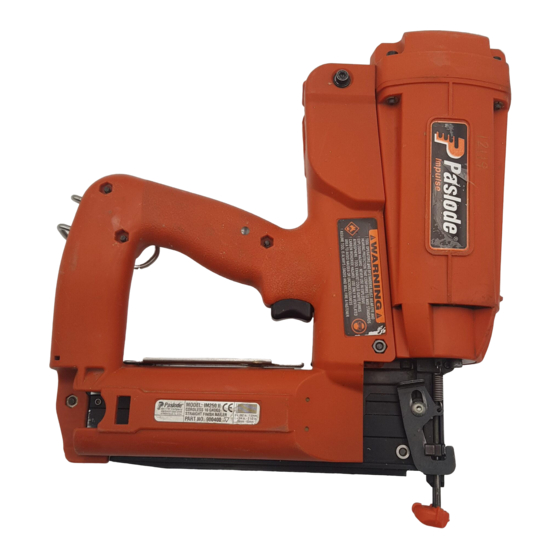
Page 4: An Overview Of The Cordless Finish Nailer
Continuous Operation – 500 nails Paslode Cordless Finish nailer. As you can see in the per hour illustration below, the Paslode Cordless Finish nailer is made up of three separable assemblies: handle ,motor and NOTE: Exceeding these rates could cause tool to overheat, magazine. -
Page 5: Safety Instructions
The following safety instructions have been included in this booklet to provide you with basic information necessary for WARNING safe operation of the Paslode Cordless Finish nailer. DO NOT ATTEMPT TO OPERATE THIS TOOL UNTIL YOU HAVE READ AND UNDERSTAND ALL SAFETY Do not expose the tool to PRECAUTIONS AND MANUAL INSTRUCTIONS. - Page 6 3. NEVER ENGAGE IN "HORSEPLAY" WITH THE TOOL. IF PARTS ARE LOOSE, DAMAGED OR MISSING. The Paslode Cordless Finish nailer is not a toy – it is a 10. DO NOT DRIVE FASTENERS INTO KNOTS OR ON tool. Careless and improper use may result in a serious TOP OF OTHER FASTENERS.
- Page 7 AND BATTERY REMOVED. loss of balance. Always be aware of edges and Store the fuel cell in the case with the Paslode Cordless drop-offs when nailing on Finish nailer. rooftops and other high 17. KEEP THE TOOL CLEAN.
-
Page 8: Battery And Charger
Paslode Cordless tool. The first step in mount unit’s plug into plug receptacle on the back of preparing a new tool for operation is to fully charge the charger (see picture). - Page 9 Battery and Charging System Battery Indicator Light The illustration is a close-up of the side of the Paslode Cordless Finish nailer handle. On the back side of the handle is a small plastic lens. This is the battery indicator light.
-
Page 10: Fuel Cell And Metering Valve
E X P L O S I O N / F I R E fuel container, much as you squeeze a tube of toothpaste. HAZARD This squeezing action ensures that all the fuel is used, and that the Paslode Cordless Finish nailer can operate in any Read safety instructions before using position. - Page 11 Fuel Cell and Metering Valve Attaching Metering Valve to Fuel Cell To attach the metering valve to a fuel cell: 1. Press downward on the front side of the valve (stem side) until it seats. 2. Press downward on the rear side of the valve until it seats. 3.
- Page 12 Close the actuator cover to complete the loading of fuel in the Paslode Cordless Finish nailer. Do this by swinging it up and over the fuel valve/cylinder assembly, and pushing down until the actuator cover snaps into position.
-
Page 13: Preparing The Cordless Finish Nailer For Use
10-15 minutes or until the tool operates normally. An overheated tool may not drive nails completely or may operate erratically. 2. Insert one or two strips of Paslode finish nails between COLD WEATHER OPERATION the wear strips. Let them fall forward to the nail guide. -
Page 14: Cordless Finish Nailer Operation
Blank firing will create driver blade marks on the workpiece, and excessive impact on the bumper which may result in premature failure of the bumper.Therefore, load the Paslode Cordless Finish Nailer when required and only cycle it when nails are in place. -
Page 15: Fasteners And Applications
Fasteners and Applications Applications The Paslode Cordless Finish nailer is suited for a variety of applications. Some of these are securing trim to door and window casings; attaching baseboards where walls meet floors; attaching moldings where walls meet ceilings; securing paneling; securing chair rails, picture molding and other decorative trim. -
Page 16: Servicing
Restrict Field Service to the Following Fuel Cell Check CHECKING THE ENERGY LEVEL OF THE BATTERY If the Paslode Cordless Finish nailer's fan operates and the indicator light is green, but the tool will not cycle or does not RECHARGING THE BATTERY drive fasteners completely, check the fuel cell. - Page 17 Tap the filter GENTLY to remove any dust. Check and clean the air filter every two days. Soap and water restores the Accessories filter to a "like new" condition. A variety of accessories are available for the Paslode Cordless Finish Nailer: No-Mar Replacement Tip - Part No. 900352 COVER Battery - Part No.
-
Page 18: Troubleshooting
Spark wire out of spark plug. Remove cap and check spark lead, insert in spark plug and replace cover. Spark plug is dirty. Clean tool cylinder head. No spark is generated. Return tool to authorized Paslode ® dealer for service. -
Page 19: Forest Edge Drive Vernon Hills, Illinois
Wrong fasteners being used. Use only fasteners meeting Paslode ® Tool operates, but no fastener is driven. specifications. Check Fasteners and Applications section for fastener types and sizes recommended for use in Cordless tool. - Page 20 IM-250F 900400 PASLODE MODEL NUMBER DESIGNATION The model number of each Paslode tool contains information about the tool and the fasteners that are used with it. The following example illustrates the information contained in this tool model number. Finish Nailer (16ga)
Need help?
Do you have a question about the IM250 II and is the answer not in the manual?
Questions and answers