Table of Contents
Advertisement
Advertisement
Table of Contents

Related Manuals for Kawai ES1


Summary of Contents for Kawai ES1
- Page 1 DIGITAL PIANO OWNER'S MANUAL...
-
Page 2: Table Of Contents
Your new ES1 is a high-quality instrument offering the very latest in leading-edge music technology. This manual contains valuable information that will help you make full use of your ES1’s many capabilities. Please read it carefully and keep it handy for further reference. -
Page 3: Important Safety Instructions
Indicates a potential hazard that could result in death WARNING or serious injury if the product is handled incorrectly. Use the AC adapter supplied with the product The product should be connected to or one recommended by Kawai. an AC outlet of the specified 120V 230V 240V If you are going to use an AC power cord, voltage. - Page 4 Do not disassemble, repair or modify Doing so may result in product breakdown, electric the product. shock or short-circuit. When disconnecting the AC power cord' s Pulling the AC power cord itself may damage the cord, causing a fire, electric shock or plug, always hold the plug short-circuit.
- Page 5 Doing so may result in discoloration or deformation Do not wipe the product with benzene of the product. or thinner. When cleaning the product, put a soft cloth in lukewarm water, squeeze it well, then wipe the product. Doing so may cause the product to become Do not stand on the product or exert deformed or fall over, resulting in breakdown excessive force.
-
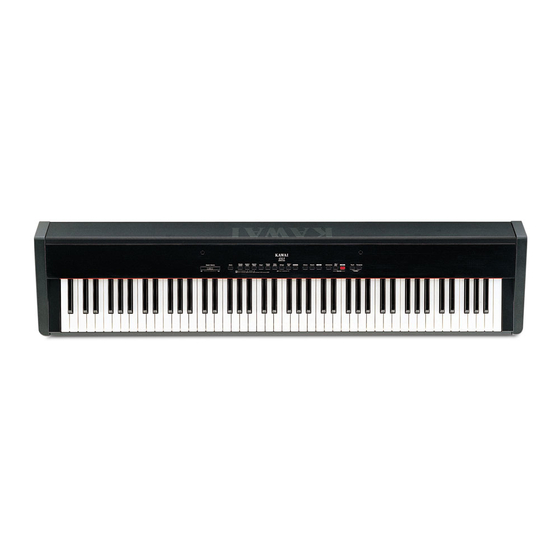
Page 6: Part Names
Press this button and the demo for Classic Grand will start. When the Classic Grand demo is finished, the ES1 piano will play all the other demos one at a time in random order. To select a specific demo, press the desired Sound button while the demo is playing. To stop the demo, press this button again. - Page 7 This button turns the instrument on and off. Be sure to turn off the instrument when you are finished playing. MIDI Jacks (K) Use these jacks to connect the ES1 piano with external MIDI devices. COMPUTER Interface (L) This jack is used to connect with a personal computer and exchange MIDI data. Select the proper setting for your computer using the selector.
-
Page 8: Getting Started
-Reverb adds reverberation to the sound simulating the acoustic enviroment of a recital room, stage, or concert hall. There are three types of Reverb in the ES1. They are Room, Stage and Hall. To change the Reverb type, press one of the following Sound buttons while holding down the Reverb button. -
Page 9: Transpose
When playing a piano, the volume of the sound produced increases in direct relation to how hard a key is struck. The ES1 piano offers the realistic feel of an acoustic piano for practicing music. The Touch Response function simulates the standard touch of an acoustic piano when the Touch LED is off. -
Page 10: Digital Recording Functions
METRONOME/SELECT TIME AND TEMPO The ES1 piano’s metronome function can help you record a song by providing a steady beat for you to play along with. The metronome beats however, are not recorded. (1) To start the metronome, press the Metronome button. You can change the beat (time signature) of the metronome. -
Page 11: Advanced Recording/Playback Functions
(1) While holding down the Rec button, press the Electric Piano (song 3) button to select song No.3. Part 1 of song No.3 will be selected and the ES1 piano will be ready to record. To cancel without recording, press the Rec button again. - Page 12 (6) Now play the right-hand part. Pressing any key will start play back of the recorded left-hand part (part 1) while you play (and record) the right-hand part. You can also start recording by pressing the Play/Stop button. After pressing the Play/Stop button the left-hand part will begin playing back, you can then begin playing (recording) the right hand part from any point in the song you like.
-
Page 13: Deleting A Song/Track
NOTE: – The total memory capacity of the recorder is approximately 1,800 notes. When the recorder reaches its maximum capacity, the es1 piano will stop recording at this point. Any data recorded before the interruption will be retained. – The recorder memory will be saved after turning off the power. However, memory may be lost if the power remains off for more than 10 days. -
Page 14: Function Mode
FUNCTION MODE The Function Mode gives you access to many other useful features on your ES1 piano. To enter the Function Mode, press the Touch and Transpose buttons simultaneously. The LED indicators for both buttons will start flashing. To exit the Function Mode, press either Touch or Transpose button. -
Page 15: Midi Local Control On/Off
“Multi Timbral” is derived from the ability to play multiple timbres simultaneously. NOTE: You can assign any sound of the ES1 piano to any channel in the way you like by sending the correct Program Change Number to the ES1 piano from an external MIDI device. Please refer to the list on page 19 for assignment of sound and program number. -
Page 16: Transmit Midi Program Change On/Off
(1) Press the “Trans prg” key while the LED indicators for Touch and Transpose buttons are flashing. (2) If you press the “-” key, this function is set to “off” and the ES1 piano does not transmit the program change data corresponding to the sound selected on the panel. If you press the “+” key, this function returns to “on”... -
Page 17: Midi
When connected as shown in the illustration, data on how the digital piano is played (which keys are struck) can be sent to another MIDI instrument. Plus, the sound from the ES1 can be layered over the sound of the other instrument. - Page 18 ES1’s sounds (such as piano, harpsichord and vibraphone, etc.) controlled by the ES1’s MULTI-TIMBRAL MODE function to create a multi-layer MIDI recording. In case you use the KAWAI DRP-10 or ACR-20, you can play its tones from the keyboard of the ES1.
-
Page 19: Program Change Number Mapping
Program Change Number Mapping Program Number Sound Button When Multi-Timbral mode is ON When Multi-Timbral mode is OFF Classic Grand (Variation) Modern Piano (Variation) Electric Piano (Variation) Organ (Variation) Harpsichord (Variation) Vibraphone (Variation) Strings (Variation) Choir/Pad (Variation) – 19 –... -
Page 20: Specifications
SPECIFICATIONS Keyboard 88 Weighted Keys with Hammer Mechanism Touch Type 4 Types (Normal, Light, Heavy, Constant) Max Polyphony 32 Notes Sounds 16 Sounds Effects Chorus, Reverb (Room, Stage, Hall), EQ (1, 2) Digital Recorder 3-Song, 2-Part, 1,800-Notes Other Functions Transpose, Tuning, MIDI Functions, 8 Demo Songs Jacks Headphones x 2, PEDAL, MIDI IN/OUT, LINE IN (STEREO), LINE OUT (L/MONO, R), PC Interface... -
Page 21: Midi Implementation Chart
MIDI IMPLEMENTATION CHART KAWAI DIGITAL PIANO Date: June 2000 MODEL: ES1 Version: 1.0 FUNCTION TRANSMITTED RECEIVED REMARKS Basic Channel (Default) (Changed) 1-16 1-16 Mode (Default) (Message) 1, 3* *Omni Off by setting (Altered) MIDI channel Note Number 15-113* 0-127 *with Transpose... - Page 22 ES1 Owner's Manual OM954E-L Printed in Japan...
Need help?
Do you have a question about the ES1 and is the answer not in the manual?
Questions and answers