Advertisement
Advertisement
Table of Contents

Related Manuals for Michley MINI ELECTRIC SEWING MACHINE


Summary of Contents for Michley MINI ELECTRIC SEWING MACHINE
- Page 1 MINI ELECTRIC SEWING MACHINE OPERATION MANUAL...
-
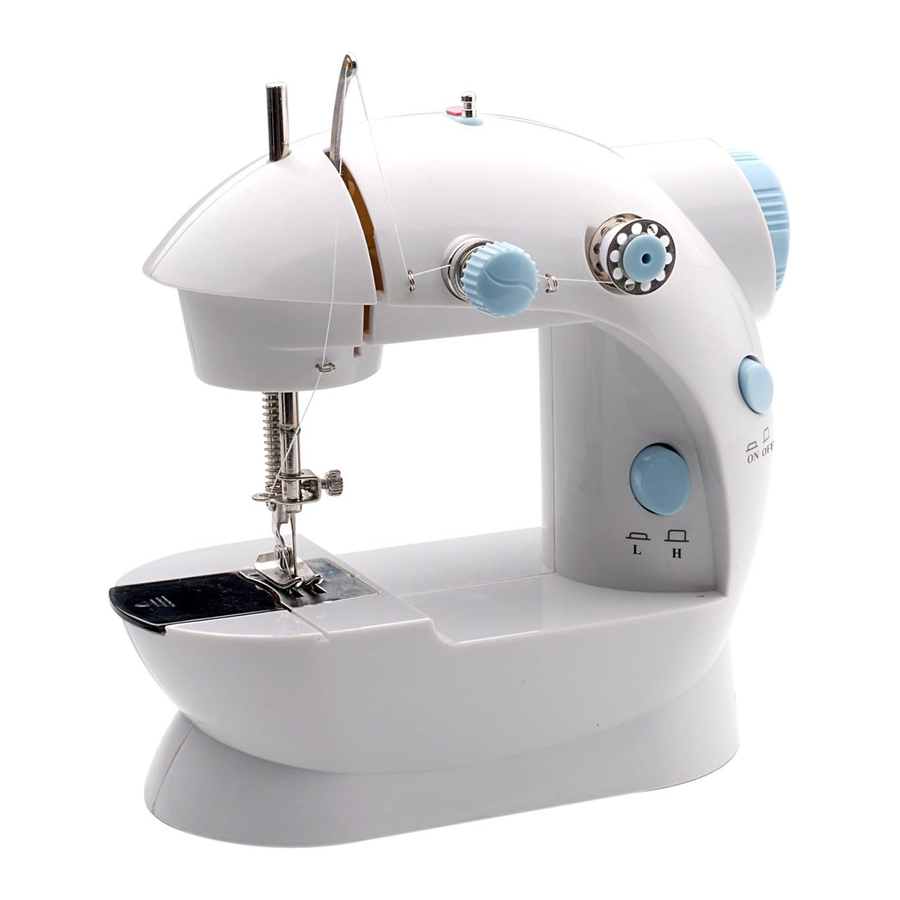
Page 2: Main Unit
Parts & Accessories Thread Spindle(C) Thread Spool(E) Takeup Lever(D) Bobbin MAIN UNIT Holder(V) Bobbin winder Spool(T) Hand Needle Clamp Screw(O) Wheel(K) Bobbin Adjusting Screw(Q) Spindle(U) On/Off switch(A) Needle Clamp(P) Speed Needle(R) Button(L) Bobbin Tension Screw(N) Compartment(I) Bobbin(S) Battery Compartment(B) Thread Gap(H) (on underside of machine) Presser Foot(F) Bobbin Holder(J) -
Page 3: Getting Started
GETTING STARTED (Refer to illustrations for locations and configuration of components). AFTER REMOVING THE MACHINE FROM THE PACKING BOX 1. Make certain the on/off switch (A) is in the off position before inserting the batteries. 2. Put 4 AA batteries into the battery compartment (B) on the underside of the machine or insert the power adapter into the DC jack. - Page 4 BOTTOM BOBBIN REPLACEMENT 1. Remove the bobbin compartment cover (I). 2. Place the bobbin with a thread of your choice in the bobbin holder (J) leaving approximately 25cm of thread extended out from the bobbin holder (J). 3. Extend the thread into the thread gap (H). 4.
-
Page 5: Adjusting The Tension
7. Turn the power switch (A) to the on position. 8. Gently guide the fabric to keep the seam straight by pressing lightly down with your finger tips on both sides as it feeds through the presser foot (F). 9. When the seam is finished turn the switch (A) off. 10. -
Page 6: Winding The Bobbin
WINDING THE BOBBIN 1. Always remove the bobbin (S) from the bobbin case on the machine before you wind a new bobbin. 2. Place the thread spool (E) on the thread spindle (C) 3. Put the bobbin pin into the hole on the hand wheel and turn it slightly anti-clockwise. 4.
Need help?
Do you have a question about the MINI ELECTRIC SEWING MACHINE and is the answer not in the manual?
Questions and answers