Advertisement
Quick Links
VIPER
www.usviper.com
IMPORTANT: READ OWNERS MANUAL CAREFULLY
Please fill out & return your warranty card!
VIPER NORTH AMERICA
P.O. BOX 104
HAMILTON, MI 49419
(866) 418-4737
(866) 41 - VIPER
OWNERS MANUAL
MODEL#
SERIAL#
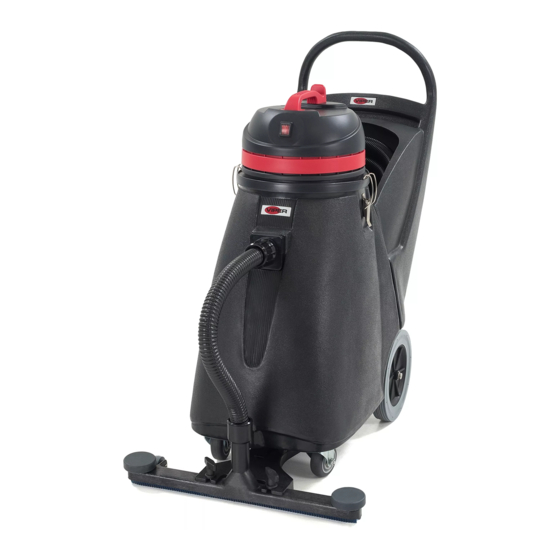
SHOVELNOSE
WET & DRY VAC
SN18WD
VIPER ...exceptional
value
REV.06(01-07)
VA41129
Advertisement

Related Manuals for Viper SHOVELNOSE SN18WD


Summary of Contents for Viper SHOVELNOSE SN18WD
-
Page 1: Owners Manual
WET & DRY VAC www.usviper.com OWNERS MANUAL IMPORTANT: READ OWNERS MANUAL CAREFULLY Please fill out & return your warranty card! SN18WD MODEL# SERIAL# VIPER NORTH AMERICA VIPER ...exceptional P.O. BOX 104 value HAMILTON, MI 49419 (866) 418-4737 REV.06(01-07) (866) 41 - VIPER VA41129... -
Page 2: Table Of Contents
CONGRATULATIONS on your purchase of a Viper product, and welcome to the V.I.P. family. We appreciate your business and will do everything in our power to keep you happy with your purchase for many years to come. As part of the V.I.P. family, you are entitled to the best protection by one of the most comprehensive warranties in the industry. -
Page 3: Safety Precautions
SAFETY PRECAUTIONS !!! This machine must be grounded! - Without bag / filters in place. Grounding provides the path of least - With the use of extension cords. resistance for electrical current. To reduce the risk of electrical shock 2) Before operating machine: should the machine malfunction, the - Make sure all safety devices are machine has a special grounding plug. -
Page 4: Handle Assembly
HANDLE ASSEMBLY HANDLE ASSEMBLY INSTRUCTIONS Figure 4 Figure 1 Figure 2 Figure 3 Attaching Handle 1] Remove handle from ship position and remove upper handle mounting screws from machine (Figure 1). 2] Realign handle as shown and replace screws & washers (Figure 2). 3] Attach rear hose dump clamp (Figure 3). -
Page 5: Machine Operation
Operation of Wet & Dry Vacuum machine. * Read operators manual thoroughly prior to operating or servicing this machine. * The shovelnose wet –dry vacuum includes the GV25014”bubble buster” blue nylon foam WET PICKUP suppression bag. This bag must be used in all 1] Remove vacuum head and remove the cloth wet pick-up applications. - Page 6 MAINTENANCE To keep the machine performing well for many years, please follow following maintenance procedures. Always confirm that the machine is unplugged prior to performing any maintenance or repairs. 1] Drain and rinse recovery tank after each use. 2] Clean float shut-off after each use. 3] Check bag to see if it is full after each use.
-
Page 7: Parts Lists
PARTS LIST SN18WD... - Page 8 VACUUM GROUP PARTS LIST FOR SN18WD PART DESCRIPTION NUMBER REQ'D GT10004 HANDLE VF40994 READ MANUAL LABEL VA21544A SERIAL TAG VA20453 DECAL, WARNING GT10003B COVER, VAC HEAD GT13001 ST5 x 12,PH GT10019 UPPER COVER, MOTOR GT13004 ST5 x 20,PH GT13034 ST5 x 50,PH GT13033 ST5 x 44,PH...
- Page 9 PARTS LIST SN18WD...
- Page 10 TANK GROUP PARTS LIST FOR SN18WD PART DESCRIPTION NUMBER REQ'D VF47035A "VIPER" LOGO VA75001 TANK GT13022 NUT, M5, NYLON INSERT VF13474A WASHER VA21595 CATCH VA14010 SCREW, M5 x 20 VA14004 SELF-TAPPING SCREW, ST4 x 20 VA13483 WASHER VA21514 GASKET VA21513A...
- Page 11 ACCESSORIES...
- Page 12 ACCESSORIES PARTS LIST FOR SN18WD PART DESCRIPTION NUMBER REQ'D VA20803 DUSTING TOOL VA20248 TUBE VA20209 WAND GV0040-D DRY PICK-UP TOOL GV0040-W WET PICK-UP TOOL VA20207-8 RUBBER BLADES, 400mm VA20207-5A SEAT, BLADE, 400mm VA20413 PIN, WHEEL VA20207-4 SEAT, WHEEL VA20207-3 CLIP, FLOOR TOOL ADAPTER...
-
Page 13: Wiring Diagram
Wiring Diagram SN18WD Switch Black Blue White White Motor Green SJT 16/3C Power Supply Cord...
Need help?
Do you have a question about the SHOVELNOSE SN18WD and is the answer not in the manual?
Questions and answers