Table of Contents
Advertisement
Advertisement
Table of Contents

Related Manuals for Astone Media Gear AP-32B

Summary of Contents for Astone Media Gear AP-32B
-
Page 2: Table Of Contents
Index Product Overview ..........................2 Panel Front side ..........................2 Panel Back side ..........................2 Remote Control ..........................3 Connect..............................4 Setup..............................4 Initial setup............................4 Setup Menu...........................5 Multimedia Jukebox ..........................8 Playback the media files .......................8 Movie .............................8 Music ........................... 11 Photo ........................... 12 Slide show with Music......................12 Zoom in and pan the focus.................... -
Page 3: Product Overview
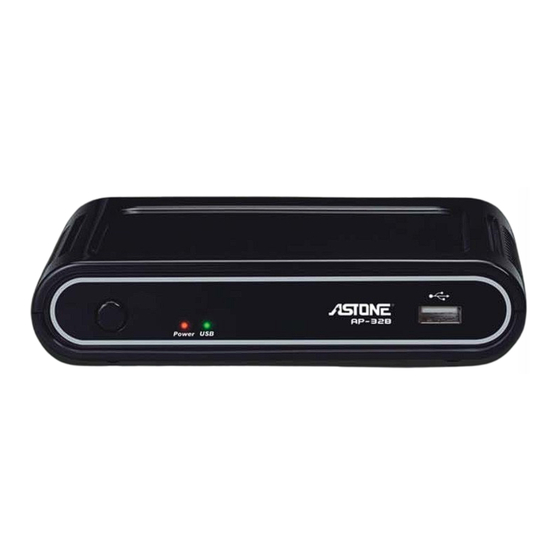
Product Overview Panel Front side 2. 3. LED/button/connector: (1) POWER STANDBY: Press it to power on the device or put it into standby mode. (2) POWER indicator: It lights on when the power is plugged in. (3) USB indicator: It lights when the USB Storage is plugged in and ready. It may take 5 seconds to get ready when the USB storage is plugged in. -
Page 4: Remote Control
Remote Control MUTE: Mute POWER: Power on/Suspend MUSIC: Hotkey to view the music file PHOTO: Hotkey to view the photo file MOVIE: Hotkey to view the movie file RED / GREEN / YELLOW / BLUE: Special function Function Video File browser playback/DVD Menu Open DVD Menu... -
Page 5: Connect
Connect Basic connection: Power Cord: Connect the DC input in the device. Audio cable output: Connect the cables to TV set. CVBS video output (480i or 576i): Connect to TV set Advanced connection: Power Cord: Connect the DC input in the device. Audio cable output: connect the cables to TV set. -
Page 6: Setup Menu
The second item is to setup the aspect ratio for your TV set. If your TV set is 4:3 then you can choose Pan Scan 4:3 or Letter Box 4:3. If you have wide-screen TV then you can choose 16:9. Use ▲▼ button to select one and press “ENTER”... - Page 7 The menu structure and options are listed below. 1. System Select this option to open the detail setting for the system. Menu Language: Select the OSD language among English, Chinese Traditional, Español, Fran ais, Deutsch, Italiano, Dutch and Chinese Simplified. Subtitle Encoding: Select the encoding for subtitle file, file name and folder name display from Unicode (UTF8), Chinese Simplified (GBK), and Chinese Traditional (BIG5).
- Page 8 System Info: It displays the firmware version. 2. Video Select this option to open the detail setting for video display. Aspect Ratio: Select one among these options “Pan Scan 4:3, Letter Box 4:3, 16:9”. Pan Scan 4:3: Select for a full-height picture with both sides cut. Letter Box 4:3: Select for the “wide screen”...
-
Page 9: Multimedia Jukebox
format according to your decoding device. If your decoder doesn’t detect the digital automatically, you have to select “HDMI RAW” format for 5.1 channel audio playback and “HDMI LPCM” for the stereo audio playback. Multimedia Jukebox Playback the media files You can playback the movies, music and photos in the connected USB storage via this device. - Page 10 Press the file title and it starts to playback the video. When the movie begins to play, the four key “Red, Green, Yellow, Blue” will be showed in the top of the TV screen. Red, Green, Yellow, Blue: When playing the video files supporting DVD menu such as ISO/IFO file, you can press red key for “Menu”, green key for “Audio”, yellow key for “Subtitle”...
- Page 11 Blue key: In the browser, press it to go to the root directory. Yellow key: While playing ISO/IFO file which supports DVD menu, you can press it to switch the language of the subtitle. When playing the other formats of video file, you can press it to change the subtitle code among “OFF”...
-
Page 12: Music
Music Press the “MUSIC” button to enter the interface. Navigate to highlight the file and press enter to playback the file. When the file is highlighted, the right panel shows the detail information about the file. It will continue to play next file till the last file. You can also use the playback control while playing the video. -
Page 13: Photo
Photo Press the “PHOTO” button to enter the interface. Navigate to highlight the file and press “ENTER” to playback the file. When the file is highlighted, the right panel shows the detail information about the file. It will continue to play next file till the last file. You can also use the playback control while viewing photo. -
Page 14: Zoom In And Pan The Focus
Zoom in and pan the focus When viewing the photos, press “+” to zoom in and then “-” to zoom out. You can switch the rate between 2X, 4X, 8X and 16X. When zoom-in to the photo, press ▲▼◄► arrow keys to move the focus on the photo. -
Page 15: Edit The Media Files
browse all files including Movies, Music and Photo. Navigate to highlight the file and press “ENTER” to playback the file. When the file is highlighted, the right panel shows the detail information about the file. It will continue to play next file which is in the same kind of media till the last file. -
Page 16: Delete
Delete Choose the “Delete” and the confirm window will pop up. Select “OK” to delete the file or “Return” to cancel. -
Page 17: Maintenance
Maintenance Reset the device You can press “MENU” to open the setup menu. To Reset the device, navigate to Setup menu and select “Restore Default” and press “ENTER”. Please refer to setup section for the details. Firmware Upgrade The vendor may release the updated firmware for the device. When you receive the updated information, check the firmware version to verify the version number and see if it needs to be upgraded. -
Page 18: Black Screen
Black screen If you get black screen while starting to play Movie or Photo files, please check the connection from TV to the device. If the HD output is enabled, the video connection should be component YPbPr. In case of not connecting YPbPr but CVBS, you can press “MENU” button to open the menu. It should show menu picture via CVBS, so you should be able to see the setup menu. -
Page 19: Video/Audio Codec Support
Video/Audio codec support Codec Feature Others File container MPEG-1 MPEG-1 MPEG MPEG-2 MP@HL / MP@ML 480i/480p/576i/576p/720p/1080i MPEG Video Xvid Xvid 480i/480p/576i/576p/720p/1080i RPR unsupport, 640x480, 30fps Real Video Real Video 9 RM/RMVB Average 500 kbps, Peak 1000kbps MPEG4 MJPEG unsupport AAC, MJPEG MPEG-Audio, u-law 2 channels... -
Page 20: Specification
Specification AP-32B Specification Model name FAT16/FAT32/NTFS (Read only)/UDF/EXT3 Disc format Chinese Traditional/Chinese Simplified/UTF8 Subtitle Pan Scan 4:3 / Letterbox 4:3 /16:9 Aspect ratio 1x CVBS composite RCA Video 480i Interface Video 1x Y/Pb/Pr Up to HD 1080i 1x HDMI Up to HD 1080i...
Need help?
Do you have a question about the Media Gear AP-32B and is the answer not in the manual?
Questions and answers