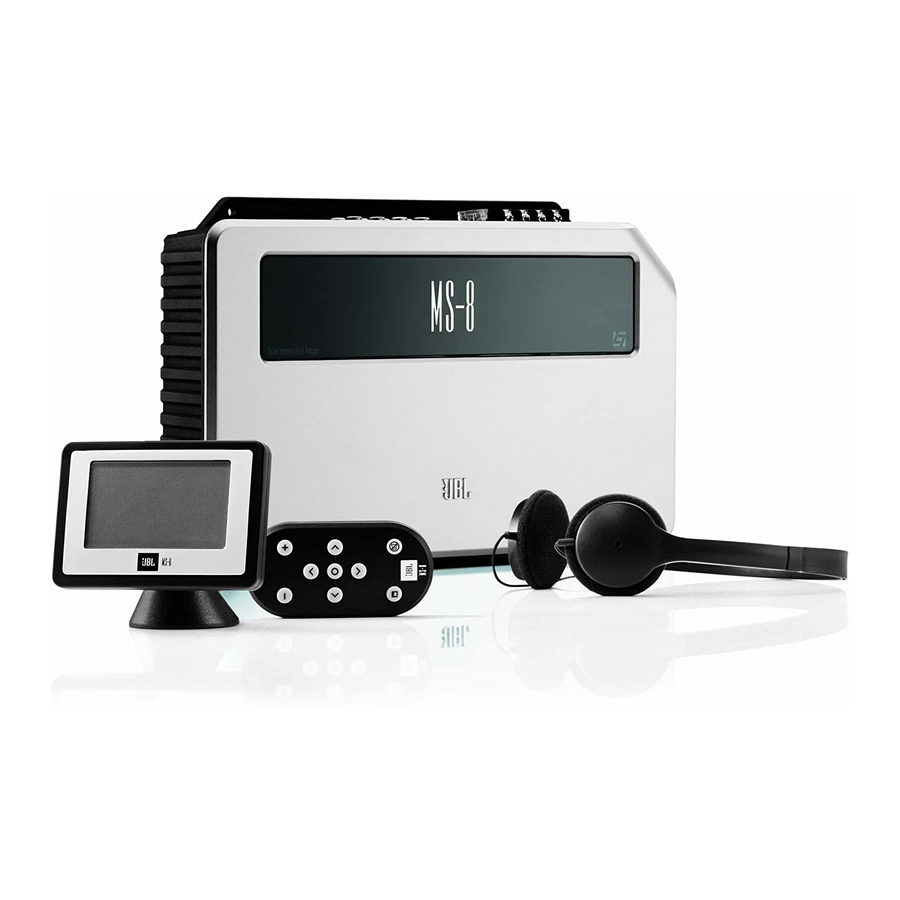
JBL MS-8 User Manual
System integration digital processor
Hide thumbs
Also See for MS-8:
- User manual (59 pages) ,
- Service manual (111 pages) ,
- Installing (2 pages)
Table of Contents
Advertisement
Quick Links
Advertisement
Table of Contents

Related Manuals for JBL MS-8


Summary of Contents for JBL MS-8
- Page 1 Ms-8 ® System integration digital processor User GUide...
-
Page 2: Table Of Contents
Mounting the Remote Control Using the Remote Control Calibration/Setup Language Selection Input Setup Output Setup Acoustic Calibration Using the MS-8 Volume Up and Volume Down Buttons Main Menu Input Selection Menu Audio Controls Menu Favorites Menu System Settings Menu Resetting the Microprocessor... -
Page 3: Introduction
This manual explains how to install, set up and use your MS-8 in a general sense but will not indicate the specific wiring codes, connections and locations for your particular vehicle. There are many online resources that provide wiring codes and diagrams for vehicles. -
Page 4: Important! Read Before You Begin
Replacing the Fuse If you must replace the MS-8’s fuse, use only the same type and rating as that of the original. Do not substitute another kind. BOX CONTENTS... -
Page 5: Connections
Reset Update button connection POWER IMPORTANT: Perform the power connections in the following order. 1. Gnd: Connect this terminal to a paint-free location on the vehicle chassis. IMPORTANT: Use at least 12-gauge wire for this connection. Chassis ground (unpainted) www.jbl.com... - Page 6 MS-8 in the signal path. If your system includes a factory-installed outboard amplifier, the turn-on signal may be available at the amplifier. If your factory amplifier has a turn-on wire, cut it and connect the head-unit side of the wire to the MS-8’s Rem In terminal and the amplifier side of the wire to the MS-8’s Rem Out terminal. This arrangement will allow the factory stereo to turn the MS-8 on whenever the stereo is turned on and will allow the MS-8 to turn the factory amplifier on and off.
-
Page 7: Audio Inputs
Rem In: Connect this terminal to the remote turn-on output of the system’s source unit, if the source unit has a remote turn-on output. Alternately, you can connect this terminal to the vehicle’s accessory (ACC) power circuit. Any voltage over +4V DC at this terminal will trigger the MS-8 to turn on. - Page 8 If you’re using the MS-8 with an aftermarket head unit that has RCA-type outputs, connect the head unit’s front left and front right outputs to the MS-8’s line inputs 1 and 2 only. Do NOT connect any other head-unit output signals to the MS-8’s line inputs 3 – 8. During the calibration/setup process, the MS-8 will “normalize”...
- Page 9 Level inputs. Be sure to connect the outputs for all speakers that are part of the vehicle’s front left and front right speakers. You can connect the factory front speaker outputs to any MS-8 Hi Level inputs, but factory stereo or amplifier subwoofer outputs MUST be connected ONLY to the MS-8’s channel 7 and/or 8 inputs. During the calibration/ setup process, the MS-8 will “normalize”...
- Page 10 Aux input: If you will be using a portable music player or CD player as an auxiliary audio-source unit, connect its line or headphone output to the MS-8's Aux input using a cable that terminates in stereo RCA audio connections. You can switch between the MS-8's Head Unit inputs and Aux input in the MS-8's Input Selection menu.
-
Page 11: Audio Outputs
AUDIO OUTPUTS Configurations You can configure the MS-8’s eight outputs in a variety of ways, depending on the speakers that are installed in your vehicle. You can configure the MS-8 for a system with one-way (full-range), two-way or three-way front speakers, a one-way or two-way center speaker, side speakers, rear speakers and one or two subwoofers. - Page 12 CONNeCTiONs Speaker Outputs If you’ll use the MS-8’s built-in power amplifiers to drive your system’s speakers, connect the speakers to the MS-8’s speaker outputs. Insert the included speaker-output wiring harness into the MS-8’s speaker output until it locks into place. See Main Menu, on page 35.
- Page 13 For example, output channel 1 may use the MS-8's amplifer OR an outboard amplifier, but not both. Be sure to use the chart above to note which speakers are connected to which MS-8 channels.
- Page 14 For example, Output Channel 1 may use the MS-8’s amplifier OR an outboard amplifier, but not both. Be sure to use the chart above to note which speakers you have connected to which of the MS-8’s channels.
-
Page 15: Display
CONNeCTiONs DISPLAY Use the included 6m (19.7 ft) cable to connect the display unit to the MS-8’s main unit’s display connection. Insert the cable’s straight connector into the main unit and the right-angle connector into the display. REMOVE SOFTWARE UPDATE... -
Page 16: Update
CONNeCTiONs UPDATE Use the Update port only for firmware upgrades. We have covered it with a sticker that you should leave in place until you are ready to install a firmware upgrade that you will download from www.JBL.com. REMOVE SOFTWARE... -
Page 17: Installation
• Do NOT mount the main unit in the engine compartment. Suitable mounting locations • Under a seat (provided that the unit and connecting cables don’t interfere with the seat- adjustment mechanism). • In the trunk. • In any other location that provides enough cooling air. www.jbl.com... -
Page 18: Mounting The Main Unit
NOTE: You may find it easier to attach the MS-8’s main unit to the mounting surface after you’ve made all connections to it (but before you reconnect the vehicle’s battery ground cable). -
Page 19: Installing The Display Unit
2. At the base, using the supplied 1.5mm hex wrench, loosen (but do not remove) the hex set screw. 3. You can install the display unit using one of the supplied adhesive pads or the supplied mounting screws. www.jbl.com... - Page 20 Tighten the hex set screw at the back of the base. 4. Connect the supplied cable to the display unit. If you haven’t already done so, route the cable to the main unit and plug it into the main unit’s display connector. www.jbl.com...
- Page 21 Though you can leave the MS-8 RF remote control unmounted, JBL supplies two mounting provisions to secure the remote, making it safe and convenient to operate. Since the remote operates via radio frequency, it is not necessary to aim the remote while using it. NOTE: You can...
-
Page 22: Mounting The Remote Control
Flush mounting NOTE: Flush mounting is a custom-installation procedure that may require additional materials that are not supplied with the MS-8. Mounting 1. Find a suitable location with a flat surface that’s large enough for the remote and has 1/2" (13mm) of clearance underneath. -
Page 23: Using The Remote Control
The volume range is between –80dB and 0dB. Navigation and select buttons: Use the four navigation buttons (Up, Down, Left and Right) to navigate through the MS-8’s various setup and operation screens. The Select button selects or otherwise changes the state of a highlighted item. -
Page 24: Calibration/Setup
Chart (see page 11) handy. It will make configuring the outputs easy. Start the MS-8 by turning on the vehicle radio or head unit (or turning the vehicle’s key to the ACC position if you’ve connected the Rem In terminal to ACC power). -
Page 25: Language Selection
CALiBrATiON/seTUP LANGUAGE SELECTION The first time you power up the MS-8, the Language screen will appear on the display. This screen determines the language the MS-8 will use to display all of its setup, calibration and operation menus. When this screen appears, choose a language. The following languages are available: English, Spanish, French, Portuguese, German, Dutch, Italian, Danish, Norwegian, Swedish and Finnish. -
Page 26: Output Setup
The MS-8 features a sophisticated crossover system that you can set to get the best performance from whatever type of speaker system is installed in your vehicle. - Page 27 Subwoofer 1. Select Sub (for subwoofer). 2. The MS-8 will then display None, 1, 2. Use the remote’s Up and Down navigation buttons to highlight one of these options, and press the Select button to select it. Your audio system’s subwoofer configuration determines which option you should select.
- Page 28 1. The MS-8 will then display Xover Setup > Sub, Front. Select Front. 2. The MS-8 will then display Front, with the options 1 way, 2 way, and 3 way. These options refer to the number of MS-8’s output channels that will be devoted to driving your front speakers.
- Page 29 1. The MS-8 will then display Xover Setup > Sub , Front , Center. Select Center. 2. The MS-8 will then display Center, with the options None, 1 way, 2 way. Use the Up and Down navigation buttons to highlight one of these options, and press the Select button to select it.
- Page 30 Up and Down navigation buttons to highlight one of these options, and press the Select button to select it. 3. The MS-8 will then display Side Hi Pass. This screen enables you to choose the high-pass filter for the side speakers. Use the remote’s Left and Right navigation buttons to display a frequency between 50Hz and 10kHz, and press the Select button to select it.
- Page 31 We recommend using at least 100Hz. 4. The MS-8 will then display Rear Hi Pass Slope. This screen enables you to choose the filter’s attenuation rate. Use the Up and Down navigation buttons to highlight a slope, and press the Select button to select it.
-
Page 32: Acoustic Calibration
CALiBrATiON/seTUP 3. If a speaker or amplifier is connected to the MS-8’s Channel 2, select Channel 2 from the Channel Selection menu and repeat the procedure from Step 2. 4. Repeat the procedure for each channel to which a speaker or amplifier is connected. - Page 33 CALiBrATiON/seTUP • If the MS-8’s internal amplifier is set to drive the front speakers, leave the volume set at –20dB. • If an external, higher-powered amplifier is driving the front speakers, use the remote’s Volume Down button to set the volume to a level lower than –20dB.
- Page 34 Done: Selecting this option will complete the calibration process if you do not wish to measure additional seating positions. The MS-8 will display Acoustic Measurement Complete > Please wait while it calibrates the system. When the calibration is complete, the MS-8 will display Main Menu.
-
Page 35: Using The
OK, OK, OK readings on the display during the setup process (see Input Setup, on page 25), and use the MS-8’s Volume Up and Volume Down buttons to control the system’s volume. You may also use the head unit’s volume control to control the system’s volume. -
Page 36: Input Selection Menu
System Settings Menu, on page 40. INPUT SELECTION MENU This menu lets you select between the MS-8’s Head Unit input (either the line-input connections or Hi Level input connections) and the Aux input connections. The word Active indicates which input is currently active. - Page 37 ±10dB of boost and cut at 650Hz. Use the Left and Right navigation buttons to vary the levels. Graphic EQ: The MS-8’s graphic equalizer is a sophisticated tone control that divides the audio spectrum into 31 bands, each approximately a third of an octave wide. This format allows you to fine-tune the system’s sound with extreme precision.
- Page 38 We have specifically tuned the MS-8’s Logic 7 for use in vehicles. It includes processing for the center-channel speaker (if one is present in the vehicle’s system).
-
Page 39: Favorites Menu
Seat: Driver FAVORITES MENU The MS-8 provides five Favorites positions that let you store the system’s currently active audio settings. The system stores all audio and input selection settings in a Favorites setting (except the Aux volume setting). This feature lets you tailor the sound for a certain type of music or a certain driver, and save and recall the settings at any time. -
Page 40: System Settings Menu
SYSTEM SETTINGS MENU This menu lets you adjust the MS-8’s various system settings: Turn off delay: This setting lets you select a delay time for the MS-8 to turn additional amplifiers off via its Remote Out terminal when the MS-8 goes into its standby mode. -
Page 41: Resetting The Microprocessor
UsiNG The Ms-8 RESETTING THE MICROPROCESSOR If your MS-8 stops responding to the remote control (even after you’ve replaced the remote’s battery) or fails to operate in the way this manual describes, use a pen or similar pointed object to press the Reset button on the main unit (see Connections, on page 5.) NOTE: Pressing the Reset button will NOT erase your... -
Page 42: Troubleshooting
TrOUBLeshOOTiNG If your MS-8 doesn’t seem to be working the way it should, read this section to see if the problem and possible solution are listed here. If, after you try all of the solutions listed here, the problem persists, contact JBL Customer Service at 516.255.4JBL (4525). - Page 43 Outputs, on page 10. If the speaker is connected to an outboard amplifier, confirm that the outboard- amplifier channel is properly connected to the MS-8. See Audio Outputs, on page 10. Improper speaker connection to Confirm that the speaker is outboard amplifier.
- Page 44 –20dB. If you have connected the front speakers to an external, higher-powered amplifier that is connected to the MS-8’s line outputs, set the MS-8’s System Volume to a level lower than –20dB. In either case, you should use the head unit’s volume control to control the system’s volume.
- Page 45 See Audio Controls Menu, on page 36. Music is dull, lifeless and The MS-8’s Logic 7 and digital Use the MS-8’s Audio confined-sounding, with poor signal processing (DSP) are Controls menu to activate stereo imaging.
- Page 46 Main Unit, on page 17. “No DSP Response…” There has been a possible If the message displays only electrostatic discharge within once and the MS-8 resets the main unit. without incident, no further involvement is necessary. If the message displays...
-
Page 47: Specifications
Display Unit Dimensions (H x W x D, including stand): 3-1/8" x 3-3/8" x 2-7/16" (79mm x 86mm x 62mm) Weight: Main unit – 6.4 lb (2.9kg) Display unit – 2.8 oz (80g) Remote control – 1.4 oz (40g) www.jbl.com... - Page 48 © 2010 Harman International Industries, Incorporated. All rights reserved. JBL and Logic 7 are trademarks of Harman International Industries, Incorporated, registered in the United States and/or other countries. Dolby and Pro Logic are registered trademarks of Dolby Laboratories. iPod is a trademark of Apple Inc., registered in the U.S.
Need help?
Do you have a question about the MS-8 and is the answer not in the manual?
Questions and answers