
Related Manuals for GE 2-9720


Summary of Contents for GE 2-9720
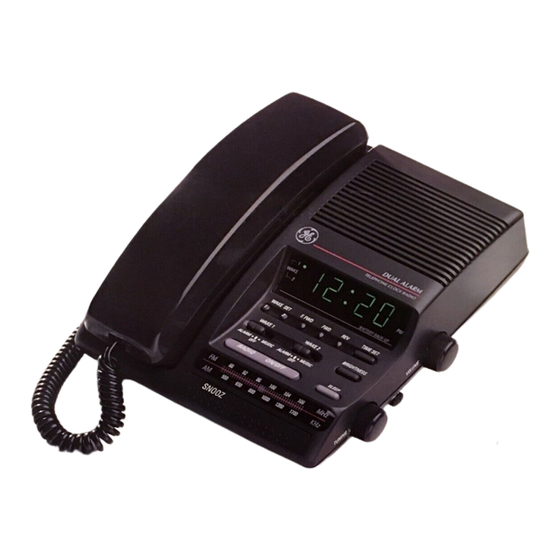
- Page 1 Telephone/FM=AM Clock Radio WARNING: TO PREVENT FIRE OR ELE~RIC SHOCK HA~RD, DO NOT =POSE THIS PRODU~ RAIN OR MOISTURE.
-
Page 2: Table Of Contents
It is designed to give you the quality and convenience you expect in a telephone andaclwk To familiarize yourself with all its features, please read the following instructions carefully. Retain this Guide for future reference. -
Page 3: Controls And Features
CONTROLS AND FEATURES EARPIECE 3 ONE-TOUCH QUICK DIAL BUTTONS CRADLE LITHIUM 00000 BATERY —00000 MICROPHONE — 00000 cOMPARTMENT For convenience, keep this page open while reading instructions... -
Page 4: Set-Up Operation
SEFUP OPERATION Plug coiled cord into the Hand- set Modular Jack. Plug telephone cord (on back of clock radio) into Modular (RJ1lC) telephone outlet. Plug the power cord into an AC outlet. Set Ringer Switch to “HI”. LO = sound will be lower. -
Page 5: Switch
MEMORY ;ach of the 12 MEMORY Locations is capable of storing a telephone lumber of up to 16 digits. The telephone number stored in the 3 :mergency/Quick Dial positions can be automatically dialed with one Duch. MEMORY positions 1-9 are automatically Duches (MEMORY DIAL &... -
Page 6: Frequently Called Numbers
‘ Used for storing a momentary delay in the dialing sequence of a stored telephone number. This is generally used when a “PAUSE” is needed to wait for a dial tone (e.g. after dialing 9 for an outside line) or a computer tone (e.g. for some long distance sewices) before you can proceed to dial. -
Page 7: Chain Dialing
UNPLUG handset cord. Use pointed object to remove telephone number pldc cover, card and battery cover to ex- pose battery holder. Using a small flat screwdriver, insert in opening at either end of battery holder and pop up. -
Page 8: Replaceable Telephone Cord
Lift off housing and unwrap cord around the strain relief, as il dicated in the illustration, and replace housing and screw. PRODUCT CARE To keep your GE Telephone working and looking good, follow these few simple rules: Avoid putting lele-... -
Page 9: Trouble Or Malfunction
If still inoperative, disconnect the phone and try another phone Of one is available) or another cord to determine whather the problem is in the telephone, the cord or the line. If in the phone, discontinue its use and follow the SERVICE line, notify the telephone company immediately. -
Page 10: Important Information
This telephone system is judged to be hearing aid compatible per FCC/DOC standards. FCC REGISTRATION INFORMATION Your GE telephone equipment is registered with the Federal Com- munications Commission and is in compliance with parts 15J and 68, FCC Rules and Regulations. 1. Notification to the Locai Teiephone... -
Page 11: Clock Radio Controls And Features
CLOCK RADIO CONTROLS AND FEATURES DIS~Y SET BU~NS FAST FORWARD FORWARD R~ERSE... -
Page 12: Operating The Radio
CLOCK RADIO OPERATION When AC power is interrupted (disconnected) for a shoti period, both time and alarm Stilngs will change (unless optional battery is install- ed). After AC power is restored (reconnected), the Digital Display will blink to indicate that power was interruptad and you may have to read- just the TIME and ALARM settings, To stop display from blinking, press any Display Set Button. -
Page 13: Wake To Alarm
4. Slide the corresponding WAKE FUNCTION Selector to the MUSIC position. The WAKE SET Indicator will light in the display. The radio will turn on at the wake time you have set and will turn itself off after approximately 1 hour. TOturn the radio off sooner, press RADIO ON/OFF button. -
Page 14: Adjusting The Display Brightness
ADJUSTING THE DISPLAY BRIGHTNESS The light intensity of the digital display can be adjusted for day/nigh! lighting conditions. With each press of the BRIGHTNESS brightness will toggle between high and low. ANTENNAS AM Antenna - A built-in ferrite rod antenna eliminates the need for an outside antenna for AM reception. -
Page 15: In Case Of Difficulty
IN CASE OF DIFFICULTY SERVICE FCC requires this product be serviced only by the manufacturer or its authorized service agents. For instructions on how to obtain ser- vice, refer to the warranty included in this Guide or call Consumer Information (309) 685-5563. your ~es receipt to the bklet for future reference or jot down... -
Page 16: Warranty
TWO-YEAR does your warranty covefl What Any defect in material or workmanship. how long afier the original purchase? Two years. The warranty for rental units begins with the first rental. What will we do? Provide you with a new, or at our option, a reconditioned unit. The exchange unit is warranted for the remainder of your pro- duct’s original two-year warrant y period.