Aprilaire 76 Installation Instructions Manual
Dehumidifier control
Hide thumbs
Also See for 76:
- Owner's manual (5 pages) ,
- Installation instructions manual (11 pages) ,
- User manual
Table of Contents
Advertisement
Quick Links
READ AND SAVE THESE INSTRUCTIONS
The Model 76 is for use with any dehumidifier as an EXTERNAL CONTROL,
including Aprilaire Models 1710A, 1730A, 1750A, 1770A, 1830, 1850 & 1870.
The Model 76 can also be used as a communicating REMOTE CONTROL
with Aprilaire Models 1710A, 1750A, 1770A, 1830, 1850 & 1870.
SAfETy INSTRUCTIONS
1. Improper installation may cause property damage or injury. Installation, service,
and maintenance must be performed by a qualified service technician.
2. 120 Volts may cause serious injury from electric shock. Disconnect electrical
power before starting installation or servicing. Leave power disconnected until
installation/service is completed. This control is not a 120 Volt (line voltage)
device.
1. Read all instructions before beginning installation.
2. Do not use in pool applications. Pool chemicals can damage the control.
3. Do not use solvents or cleaners on or near the display and circuit board.
Chemicals can damage components.
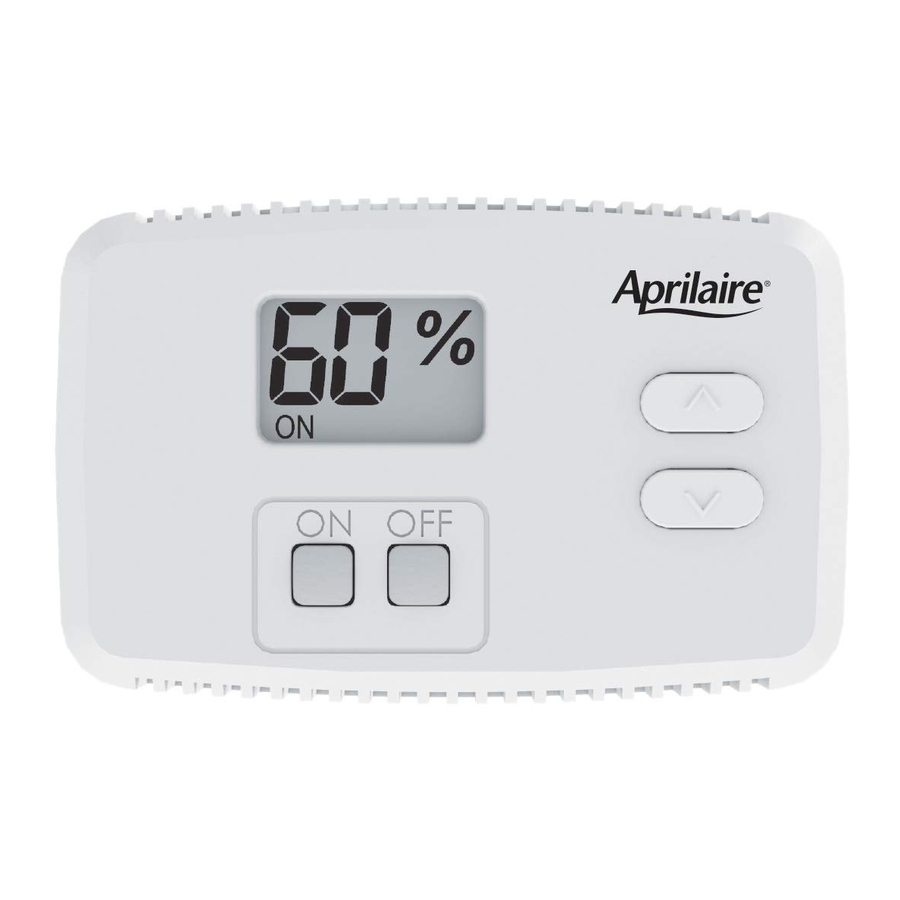
Model 76 Dehumidifier Control
(See OVERVIEW on page 3 for details.)
WARNING
CAUTION
Installation Instructions
1
Advertisement
Table of Contents

Related Manuals for Aprilaire 76


Summary of Contents for Aprilaire 76
- Page 1 Installation Instructions READ AND SAVE THESE INSTRUCTIONS The Model 76 is for use with any dehumidifier as an EXTERNAL CONTROL, including Aprilaire Models 1710A, 1730A, 1750A, 1770A, 1830, 1850 & 1870. The Model 76 can also be used as a communicating REMOTE CONTROL with Aprilaire Models 1710A, 1750A, 1770A, 1830, 1850 &...
-
Page 2: Table Of Contents
Location Recommendations . . . . . . . . . 4 this application, the Model 76 uses an onboard sensor to monitor the relative humidity (%RH) Turning On and Setting the Control . . . 18... -
Page 3: Location Recommendations
LOCATION RECOMMENDATIONS INSTALLATION As a REMOTE CONTROL, the Model 76 can be mounted wherever is convenient for the MOUNT CONTROL homeowner . If replacing a control mounted in the living space, see Control Mounted in Living Space on Follow the recommendations below when installing the Model 76 as an EXTERNAL CONTROL . -
Page 4: Replacing A 1730A Manual Dehumidistat
. 5 . Remove dehumidistat leads . 6 . The existing 2-wire cable can remain . The Model 76 wiring requires 4 wires . Install more wires as needed . 7 . Mount the Model 76 control following steps 1-5 in the MOUNT CONTROL section above . - Page 5 The Model 76 control requires 24VAC when installed as an EXTERNAL CONTROL . 3 . Connect one wire from the DH terminal on the Model 76 to the DH terminal on the control Pulling power from the HVAC system is the recommended method .
- Page 6 7. R epeatedly press the MODE button until “EXTERNAL DISABLED” shows on the display. (see figure 11) . 8. P ress the UP or DOWN button to change to “EXTERNAL ENABLED”. FILTER ACCESS DOOR 90-1884 90-1854 9. R epeatedly press the MODE button until “DONE” appears on the display. fIGURE 11 – Model 76 External Control to 1830/1850/1870 Wiring NO/NC SWITCH + - A B VENT DEH Remote Sensor Dampers NC NO...
- Page 7 2 . Remove the control door on the dehumidifier inlet panel . 2 . Remove the wiring access 3 . Connect one wire from the A terminal on the Model 76 to the A terminal on the control CONTROL WIRING cover next to the control on the board .
-
Page 8: External Control
2 . Plug in dehumidifier and restore power to the HVAC system . 3 . Turn on/off switch on dehumidifier ON . After a 4 second start up sequence all buttons on the Model 76 will be functional . 90-1854 5 . -
Page 9: Test Mode
1 . Press and hold the ON button for 5 seconds to enter Test Mode . a . Verify the measured humidity is displayed on the Model 76 screen . b . Verify dehumidifier turns on, and ON blinks on the Model 76 screen . Dryness Level Control must be c . -
Page 10: Turning On And Setting The Control
Note: This table is for reference only . dryness level set on the Model 76 Control . If the dew point of the incoming air is above the setting, the compressor turns on and ON will flash on the Model 76 screen . - Page 11 1 . Check the frost sensor connection at the power Cycle Power off and the Model 76 LCD will display an Error Code . See figure 20 for an example . The faults Capacity board . Terminal should be fully seated on the power board pins .
- Page 12 TAbLE 2 – Error Codes (continued) TAbLE 3 – Troubleshooting Guide Error Code failure Mode Action Reset Symptom Possible Reason Troubleshooting Procedure High Temperature 1 . Check the high temperature sensor connection at Cycle Power No power to the Incorrect wiring . Verify wiring connections between control, Thermistor Failure the power board .
- Page 13 P.O. Box 1467 • Madison, WI 53701-1467 • Phone: 800/334-6011 • Fax: 608/257-4357 www.aprilairepartners.com 10009850 11 .13 Printed in U .S .A . B2205738B © 2013 Aprilaire – A division of Research Products Corporation...
Need help?
Do you have a question about the 76 and is the answer not in the manual?
Questions and answers