Advertisement
Quick Links
Manual
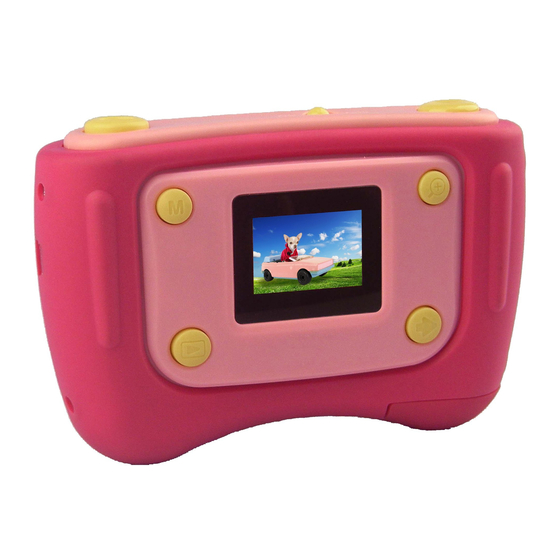
1. Get to know your camera
1.1 Features
1.3 Mega pixels resolution sensor
Video clips
Web camera
1.3" CSTN display
Internal 16MB memory
Driver free for Windows XP/Vista and MAC 9.x and X.x
1.2 Specifications
Sensor
1.3 Mega pixel CMOS sensor
5 Mega pixels: (2560 x 1920) (Hardware Interpolation)
Image resolution
3 Mega pixels: (2048x1536) (Hardware Interpolation)
1.3 Mega pixels: (1280x960)
VGA Mega pixels: (640x480)
Lens
F/2.8 f=8.5mm
Focus range
0.5m. ~ Infinity
Digital zoom
4x
LCD display
1.3" color CSTN
Video mode
UP to 30fps@QVGA & 20fps@VGA
Built-in memory
16MB flash memory
Picture Capacity in
5 M:(2560 x 1920)----15-35 Pictures
16M memory (The
3 M:(2048x1536)----- 20-50 Pictures
quantity of pictures
varies and depends
1.3 M:(1280x960)----40-100 Pictures
on the complexity of
the scene)
VGA: (640x480)-----120-260 Pictures
File format
Picture: JPEG, Video: AVI
Self timer
10 seconds
PC interface
USB 1.1
Power source
2xAAA alkaline batteries
1.3 System requirement:
Windows XP/Vista or above
Operating System
Mac 9.x or X. x
CPU
Pentium II or above
RAM
At least 64MB
Interface
USB port
CD
4x speed CD ROM or above
2. Functional parts
Turn on when slide to ON position, Turn off when, slide to OFF
Power on/off
1
position.
Press this button to take photographs or to start/stop
Shutter / OK
recording a short video clip. This button can be also used to
2
button
confirm changes.
Zoom button
Digital zoom in
3
Select DSC / Video recording mode by press this button.
Press and hold 2s this button to enter setup mode. Press this
Mode/Set button
4
button to wake up when device turns to sleep status.
Next and down selection.
Next button
5
Press this button to change mode between playback and preview
Playback button
6
mode.
Press this button to send out "smile" sound.
Smile button
7
Records the image to be taken.
Note: Keep the lens clean. Dirt and fingerprints affect the
Lens
8
outcome of the picture.
2xAAA alkaline batteries
Battery door
9
Hook for attaching the wrist strap to the camera.
Strap hook
10
View photographs and video clips, view camera setting and
LCD screen
11
menu.
SD card slot
SD card slot
12
For sound output.
Speaker
13
Via this connection, you can save photographs and video
clips to a computer, or use the camera as a PC cam to chat
USB interface
14
on the Internet.
Battery cover Lock
Slid this button to lock or release battery cover.
15
3. See following details to setting your digital
camera
5M, 3M, 1.3M,VGA
Resolution
10s
Self-timer shot
Load
Default setting
50Hz
Photo
Light-
60Hz
Frequency
Mass-storage mode
USB connection
PC-Camera mode
VGA, QVGA
Resolution
Video
Play-
back
Note: The camera will remain the last setting when it is turned off.
4. Explanation of the status icons on the LCD
screen
Item
Battery indicator
1
Recording mode
2
Set the picture resolution.
Set the self timer to/10S.
Camera resolution
3
Restore default setting.
Photo / Video counter
Main European electricity
4
Frequency.
Main American electricity
Frequency.
Memory or SD card
5
indicator
Work as are movable disk.
Work as are web camera.
5. Using the camera
5.1 Installing the batteries
1.
Open the battery door.
Level of pixel resolution.
2.
Insert 2 AAA alkaline batteries into the camera according to the correct polarity marked in
the battery compartment.
3.
Turn on the camera
Slide the power to activate. Slide it again to turn this Digital Camera off.
Delete the picture or video you
Delete One (Default)
selected.
Delete
Format storage
Format the memory card.
Format storage
Function
Description
The batteries are full.
The batteries are empty.
Setting for taking photographs
Setting for recording videos
Displays the resolution.
5M=2560x1920;
3M = 2048x1536;
1.3 M=1280x960;
VGA=640x480;
QVGA=320 x 240
Photo mode :Photo No. have, been taken.
Video mode: Video recording time in second;
Playback mode: current number. of pictures or video
clips
Indicates memory or SD card.
: Pictures stored in built-in memory.
: Pictures stored in SD card.
Advertisement

Related Manuals for Easypix V130


Summary of Contents for Easypix V130
-
Page 1: Using The Camera
Delete the picture or video you Delete One (Default) selected. Delete Play- back Manual Format storage Format the memory card. Format storage 1. Get to know your camera Note: The camera will remain the last setting when it is turned off. 1.1 Features Turn on when slide to ON position, Turn off when, slide to OFF Power on/off... -
Page 2: Trouble Shooting
Press playback button, enter playback mode. disk. 5.2 Inserting a memory card (not included) Select the photo or video clip you want to delete with NEXT key; 7.3.2 Connecting as a PC camera Press and hold MODE button to enter the menu, This camera has built-in internal memory.
Need help?
Do you have a question about the V130 and is the answer not in the manual?
Questions and answers