Advertisement
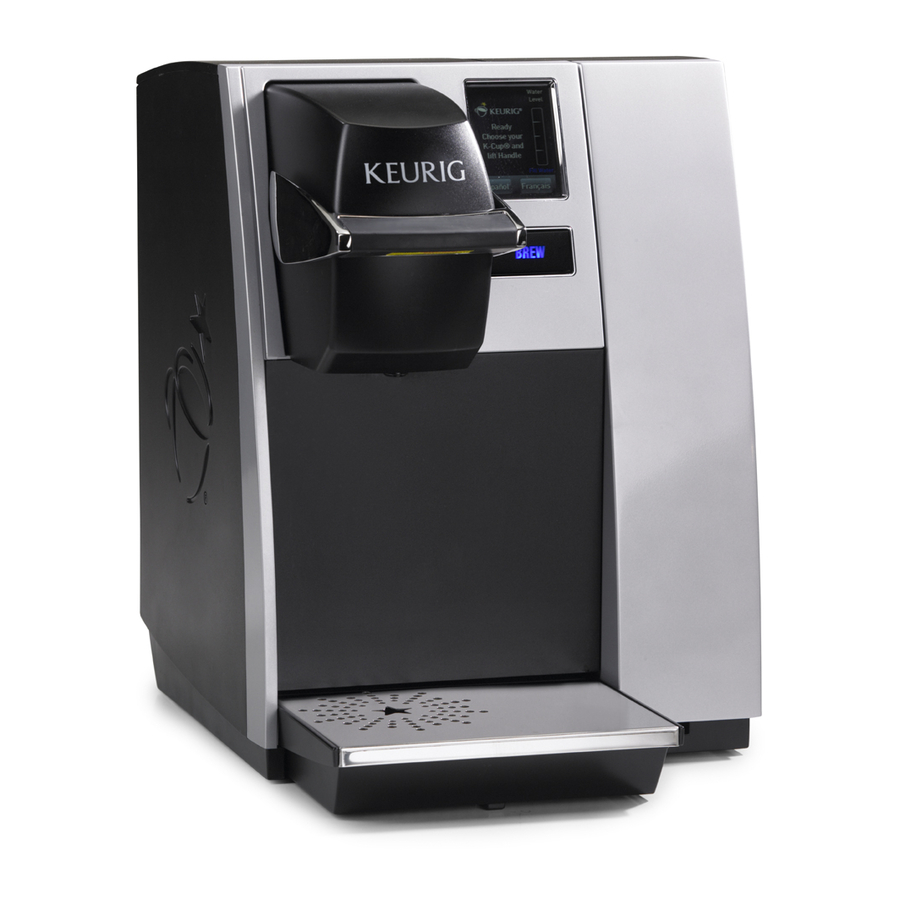
B150 Series Commercial Brewer
Welcome Keurig Authorized Dealer!
This manual provides:
• Installation of the Direct Plumb Kit (DPK) that allows you to connect your
customer's B150 brewer to municipal or independently pumped water supply.
• Maintenance Mode diagnostics that will provide you with system information and
tools so that you can fully diagnose any problems at the customer's site.
• Instructions on how to descale the brewer in the event of problems associated
with hard water.
Direct Plumb Kit
P/N 60-201142-000 Rev A 10/09
Advertisement
Table of Contents

Related Manuals for Keurig B150 Series


Summary of Contents for Keurig B150 Series
- Page 1 B150 Series Commercial Brewer Direct Plumb Kit Welcome Keurig Authorized Dealer! This manual provides: • Installation of the Direct Plumb Kit (DPK) that allows you to connect your customer’s B150 brewer to municipal or independently pumped water supply. • Maintenance Mode diagnostics that will provide you with system information and tools so that you can fully diagnose any problems at the customer’s site.
-
Page 2: Direct Plumb Unit Installation
B150 Direct Plumb Unit Installation Instructions The B150 brewer is designed to be easily transformed from the as-purchased, Pour Over configuration to a plumbed unit. Reconfiguration is designed to be easily and quickly accomplished by a technician using only a #2 Phillips screw driver. It is advised that prior to beginning installation that all water be drained from the system using the drain tubes located at rear of brewer (see Page 8 for Draining Instructions). - Page 3 5. On the side of the brewer locate the Connector Cover. Remove and reserve the screw. Remove the Connector Cover and expose DPK Interface Connector. FIGURES 5 & 6 FIGURE 5 FIGURE 6 6. Make the electrical connection between the DPK CWT and the brewer body. The Connector Cover has an alternate position that allows for cable exit and reattachment to the Brewer Body.
-
Page 4: Filter Installation & Requirements
Keurig requires the use of an external water filter such as the Omnipure KQ8A to maintain warranty. A filter kit (part number 5025) is available from Keurig. This kit contains a Omnipure KQ8A filter, filter head, and mounting bracket. NOTE: The KQ8A Filter assembly comes with 1/4 FPT ports for both inlet and... -
Page 5: Descaling
Keurig recommends that the brewer be descaled every 6 months or as needed depending on use and/or local water supply mineral content. Symptoms of scale build up are slow brewing and/or short cups. -
Page 6: Descaling Procedure
5. After removal of Top Plate, the Descaling Solution Access Port in the Water Reservoir will be clearly evident as shown below. Pour Descaling Solution here 6. Reconnect the brewer to AC Power Supply. 7. Proceed with descaling procedure as defined below: De-Scaling Procedure Preparation: Prepare at least 40 ounces of a commercial citric acid descale solution. - Page 7 At the end of the 40 minutes, lower the handle and the brewer should complete the brew (do not be concerned if the brewer does not complete the brew). Pour the dispensed liquid into the sink. 5. Shut down the brewer, disconnect it from AC power, and drain both (Hot and Cold) water tanks using the drain tubes located in the back panel of the brewer.
-
Page 8: Draining Procedure For Hot Water Tank/Dpk Cwt
Draining Procedure for Hot Water Tank and DPK CWT This procedure is to be performed prior to transportation of unit and when converting brewer between Pour Over usage and Direct Plumb usage. NOTICE THIS PROCEDURE MAY RESULT IN THE RELEASE OF WATER AT TEMPERATURES HOT ENOUGH TO RESULT IN BURNS. -
Page 9: Maintenance Mode Layout
Maintenance Purpose This section describes the Maintenance Mode and key sequences for entry into this mode for the B150 Brewer. Maintenance Mode Layout Entry: From STANDBY, press all 4 corners of the touchscreen (Upper Left/Right and Lower Left/Right in any order) within 3 seconds, – releasing after each touch 1.
Need help?
Do you have a question about the B150 Series and is the answer not in the manual?
Questions and answers