Advertisement
Table of Contents
- 1 Important Safety Instructions
- 2 Features
- 3 Vacuum Cleaner
- 4 Wand and Hose Assembly
- 5 Overheating Protection
- 6 Information Panel
- 7 Use of Standard Attachments
- 8 Operation
- 9 Using the Power Nozzle
- 10 Maintenance
- 11 To Replace Air Filters
- 12 To Clear Clogged Hose
- 13 Limited 5 Year Warranty
- Download this manual
Advertisement
Table of Contents

Related Manuals for Electrolux 2100


Summary of Contents for Electrolux 2100
- Page 1 2100 BEFORE OPERATING YOUR VACUUM, PLEASE READ THESE INSTRUCTIONS CAREFULLY. 947-1562 EA-02444 48599...
-
Page 2: Important Safety Instructions
Do not change the plug in any way. Do not use adapters. Save These Instructions Fill in and Save Stand your new 2100 cleaner upright and locate the serial number on the bottom side near the front wheel. Write it here and retain it for future reference. Serial No. ____________________________________________ Model No. -
Page 3: Features
21OO by Electrolux ® Vacuum Cleaner The 2100 vacuum cleaner is a durable and versatile cleaning system designed for convenience, ease of operation, and consumer safety. The 2100 is equipped with specially designed fans and a powerful motor manufactured to give the highest level of cleaning power. Its lightweight, sturdy construction is designed to give years of quiet, trouble-free service. - Page 4 Wand and Hose Assembly (A) Alignment Mark To install the power hose, align arrow (A) on hose with those on the suction end of cleaner. Insert hose until it clicks. To remove, press release tab (B) and pull hose out. Slip small accessories on end of wand or directly on hose handle and twist slightly to secure.
-
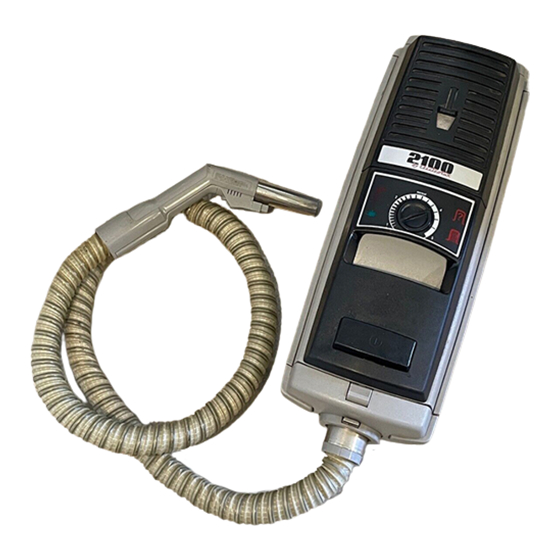
Page 5: Wand And Hose Assembly
Wand and Hose Assembly To attach power nozzle, slide end of wand into elbow on nozzle (Fig. E). Plug cord on power nozzle into connector in sheath (Fig. F). To disassemble unplug cord, press release button and pull wand out. CAUTION: Turn appliance off before connecting or disconnecting power nozzle. -
Page 6: Use Of Standard Attachments
Operation To connect the power cord, pull the cord out to the length required (Fig. G). A yellow band on the power cord indicates the limit of extension. Do not pull the cord beyond that point. Connect the plug into wall outlet. The green control light will illuminate to indicate that power is available. -
Page 7: Using The Power Nozzle
Using the Power Nozzle Use the power nozzle for every type of dry floor cleaning. It maneuvers easily around furniture and right up to walls, providing superior edge cleaning and two-sided corner cleaning (Fig. O). Fig. O Fig. P Fig. Q “I”... -
Page 8: Maintenance
Maintenance Follow the steps listed below in order to ensure peak cleaning performance. • Vacuum brushes with end of hose handle after use. • Wipe tools occasionally with damp cloth or sponge and mild detergent. • Change bags and/or filters regularly. The air filter should be replaced after each use of six filter bags. •... - Page 9 To replace filter bags Protect your Warranty! Always use genuine Aerus™ high-efficiency, Fig. Y four-ply, self-sealing filter bags. Used exclusively, the Aerus™ filter bag will promote longer motor life and more efficient cleaner operation. Be sure the filter bag is in place before operating the machine. When it is time to change filter bags, the bag change indicator on the information panel lights and the cleaner shuts off.
- Page 10 Using Sidekick ® (optional accessory) To further your cleaning capabilities, we offer an outstanding vacuum cleaner accessory (optional). The Sidekick ® accessory is a revolutionary tool powered by its own motor that combines superior cleaning action with easy maneuver- ability. The Sidekick ®...
-
Page 11: Limited 5 Year Warranty
What is Covered by this Warranty - Aerus warrants its products to the consumer, subject to the conditions below, against defects in workmanship or material, provided that the products are returned to an Aeurs location within the following time period: 2100 by Electrolux ®... - Page 12 Service For prompt service, call your Aerus representative or the nearest Aerus location listed in your telephone directory. Your authorized Aerus location offers you the best in service both during and after the warranty period, as well as gen- uine Aerus parts and supplies Every effort is made to ensure that customers receive an up-to-date instruction manual on the use of Aerus™...
Need help?
Do you have a question about the 2100 and is the answer not in the manual?
Questions and answers
The vacuum will not turn on. Cannot turn circular dial to normal; it's stuck.
The Electrolux vacuum model 2100 may not turn on if the power cord is not properly plugged in, the toe switch is not pressed correctly, or if the vacuum motor has shut off due to overheating or an obstruction. The circular dial may be stuck due to debris, incorrect use, or internal damage. Make sure the unit is off, check for obstructions, and inspect the dial for any physical blockage or misalignment.
This answer is automatically generated
The control dial is stuck. Cannot move it to normal. Vacuum won't start. The power symbol doesn't illuminate.
To fix a stuck control dial on an Electrolux 2100 vacuum that won’t start and has a non-illuminating power symbol, follow these steps:
1. Check Power Cord: Ensure the power cord is properly plugged in and fed slowly into the unit. Do not let it whip into the cord winder.
2. Toe Switch: Press the toe switch gently on top of the unit to start the vacuum. If it doesn’t start, press it again to ensure it's not stuck.
3. Control Dial: Adjust the control dial to a known working setting like “NORMAL.” If the dial is stuck, try gently turning it back and forth to free it. Avoid using force.
4. Suction Control: Open the suction control to prevent excess resistance that may affect startup.
5. Check Full Bag Indicator: Make sure the vacuum bag is not full and is installed correctly. A full or misaligned bag can prevent the vacuum from starting.
6. Filter Lock: Ensure the filter is locked in place, as an unlocked filter may stop the vacuum from operating.
If the vacuum still won't start and the power symbol does not light up, the issue may involve internal wiring, a faulty switch, or a failed motor, which may require professional repair.
This answer is automatically generated
The replace bag light is on but that isn't the issue. There are no clogs or kinks or overheating. I think it's possible it may have been run over damp carpet briefly, but I'm not certain. Is there a reset I can do or something I can replace?
To reset or fix the "replace bag" light issue on an Electrolux 2100 vacuum:
1. Check and Replace the Filter Bag: Ensure you are using an official Aerus (Electrolux) filter bag. A non-Aerus bag can cause dirt leakage, triggering the light.
2. Install the Bag Correctly: Make sure the bag is properly seated in the vacuum. An incorrectly installed bag may cause the sensor to think the bag is full or missing.
3. Clean Dust Build-Up: Dust or debris around the bag compartment or sensor can cause false readings. Clean the area before inserting a new bag.
4. Inspect the Bag Check Switch: The vacuum includes a full bag check switch. If this switch is dirty or faulty, it may trigger the light. Clean or inspect it for damage.
5. Check for Electrical Issues: Loose or uninsulated wires around the sensor or bag check switch may affect operation. Ensure connections are secure and insulated.
If these steps do not resolve the issue, further inspection or repair may be needed.
This answer is automatically generated
How to replace the off,on switch on a 2100 diplomat