JVC KD-X200 Instruction Manual
Digital media receiver
Hide thumbs
Also See for KD-X200:
- Instruction manual (62 pages) ,
- Instruction manual (39 pages) ,
- Instruction manual (20 pages)
Table of Contents
Advertisement
JVC
KD-X200
DIGITAL MEDIA RECEIVER
INSTRUCTION MANUAL
RECEPTOR DE MEDIOS DIGIT ALES
MANUAL DE INSTRUCCIONES
RECEPTEUR MULTIMEDIA NUMERIQUE
MANUEL D'INSTRUCTIONS
JVC KENWOOD Corporation
Made for
works with
~
iPod
0
iPhone
PANDORA
Please read all instructions carefully before operation to obtain the best
possible performance from the unit.
Por favor lea detenidamente este manual para comprender a fondo todas las
instrucciones y obtener un maximo disfrute de esta unidad.
Veuillez lires les instructions attentivement avant d'utiliser l'appareil afin
d'obtenir les meilleures performances possibles de l'appareil.
For Customer Use:
Enter below the Model No. and Serial No. which are located on the top
or bottom of the cabinet. Retain this information for future reference.
Model No.
Serial No.
ENGLISH
ESPANOL
FRAN(AIS
r-
\
GET0878-001 B
[J]
Advertisement
Table of Contents

Related Manuals for JVC KD-X200


Summary of Contents for JVC KD-X200
- Page 1 KD-X200 DIGITAL MEDIA RECEIVER INSTRUCTION MANUAL RECEPTOR DE MEDIOS DIGIT ALES MANUAL DE INSTRUCCIONES RECEPTEUR MULTIMEDIA NUMERIQUE MANUEL D'INSTRUCTIONS JVC KENWOOD Corporation Made for works with iPod iPhone PANDORA Please read all instructions carefully before operation to obtain the best possible performance from the unit.
-
Page 3: Table Of Contents
Contents Preparation ............3 Bluetooth® ............11 Canceling the display demonstration Sound adjustments .......... 12 Setting the clock Menu operations ..........13 Basic operations ........... 4 Additional information ........15 Remote control ............ Troubleshooting ..........17 Specifications ............. 18 Radio ................ 6 USB ................ -
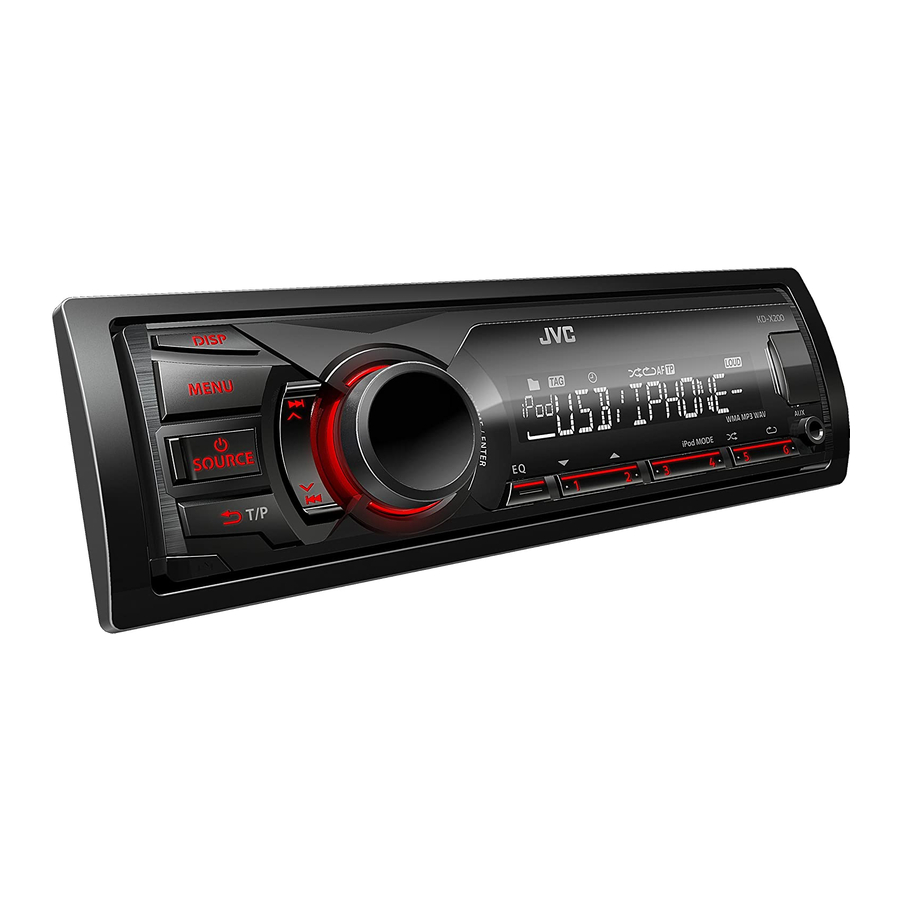
Page 4: Basic Operations
Basic operations Faceplate Remote control ~isplal=i=n=d=ow======r"' Volume knob iPodMOOE Detaches the faceplate AUX input jack Remote sensor USB input terminal • Aim the remote control directly at the sensor. • DO NOT expose to bright sunlight. When you press or hold the following button(s) ... •... -
Page 6: Radio
Radio Searching for a station Select <FM> or <AM>. Auto search. (Press) Manual search. (Hold) flashes, then press the button repeatedly. I l M / I IlST/I lights up when receiving an FM stereo broadcast with sufficient signal strength. Auto presetting (FM only) Storing stations in memory SSM (Strong-station Sequential Memory) Manual presetting... -
Page 10: Ipod/Iphone
iPod/iPhone Creating a new station Pandora® You can create a new station based on the currently playing song or artist. Preparation 1 Search for "Pandora" in the Apple iTunes App Store to find and install the most current version of the Pandora application +<NEW STATION>... -
Page 11: External Components
External components You can connect an external component to the AUX (auxiliary) input jack on the faceplate. For details, refer also to the instructions supplied with the external components. 1 Connect to AUX terminal on the faceplate. Playing an external component 2 Select <AUX>. -
Page 12: Sound Adjustments
Sound adjustments This unit memorizes sound settings adjusted for each individual source. Selecting the preset sound Pro Equalizer You can select a preset sound mode, for each (Hold) individual source, suitable for the music genre. +<PRO EQ> +<BASS>/<MIDDLE>/ <TREBLE> --------or-------- Press repeatedly. -
Page 14: Menu Operations
Menu operations settings,~ CLOCK SET page 3. CLOCKADJ [AUTO]: The built-in clock is synchronized with the Clock Time (CT) data (Clock received from the FM Radio Broadcast Data System station. OFF: Cancels . adjustment) ...I CLOCK DISP ON/[OFF]: Activates or deactivates clock display when the unit is turned (Clock display) off. -
Page 15: Additional Information
Additional information About audio files About USB device • When connecting a USB cable, use the USB 2.0 Playable files cable. • File extensions: MP3(.mp3), WMA(.wma), • You cannot connect a computer or portable WAV(.wav) HOD to the USB input terminal of the unit. •... - Page 16 - iPod nano (6th generation) Genres, Artists, Albums, Playlists, and Songs. - iPod nano (5th generation) • JVC Playlist Creator and JVC Music Control are - iPod nano (4th generation) available from the following website: - iPod nano (3rd generation) <http://www3.jvckenwood.com/english/car/...
-
Page 20: Installation/Connection
Installation/Connection Installing the unit • In-dash mounting ------------------------------------------------~-------------------------------------------------------- ~ '~~~~-- JQJ~ Do the required wiring. J>~' ..(rrE page 21) ,~~~ ~------------------~ ------~ Bend the appropriate tabs : 007>", : '.,, place. ' ...., /1 : \---------------------~ Q}}} Make sure the direction... -
Page 21: Wiring Connection
Green: Rear speaker (left) 111~============::::::: ignition switch"wire. Green/black Purple: Rear speaker (right) Purple/black Not supplied for this unit. If you have any troubles, try the following: (~page Check 'Troubleshooting" 17). unit.(~ Reset the page Contact (USA only) Call: 1-800-252-5722 (or) visit: http://www.jvc.com ENGLISH... - Page 22 U.S. and other countries. • Pandora, the Pandora logo, and the Pandora trade dress are trademarks or registered trademarks of Pandora Media, Inc., used with permission. • Android is trademark of Google Inc. © 1212DTSSANJEIN 2012 JVC KENWOOD Corporation...
- Page 24 :;§ CONNECT BLACK WIRE ((!)GND) TO GROUND FIRST. &cAUTION OTHERWISE, DAMAGE TO YOUR UNIT MAY OCCUR. :::» INCORRECT CONNECTION CAUSES SERIOUS DAMAGE TO THIS UNIT PLEASE READ INSTALLATION/CONNECTION MANUAL CAREFULLY. ::::) m ce CONNECT GROUND FIRST CONNECT OTHER WIRES S::! ...J (..) 'W <c(...
- Page 27 TO OUR VALUED CUSTOMER-- THANK YOU FOR PURCHASING THIS JVC PRODUCT. WE WANT TO HELP YOU ACHIEVE A PERFECT EXPERIENCE. NEED HELP ON HOW TO HOOK UP? NEED ASSISTANCE ON HOW TO OPERATE? NEED TO LOCATE A JVC SERVICE CENTER? LIKE TO PURCHASE ACCESSORIES? .JVC...
- Page 28 IN THE COMMONWEALTH OF PUERTO RICO. WHAT WE WILL DO: t If this product is found to be defective within the warranty period, JVC will repair or replace defective parts with new or t * rebuilt equivalents at no charge to the original owner.