Table of Contents
Advertisement
(Argos) Ver 1, Apr.2011
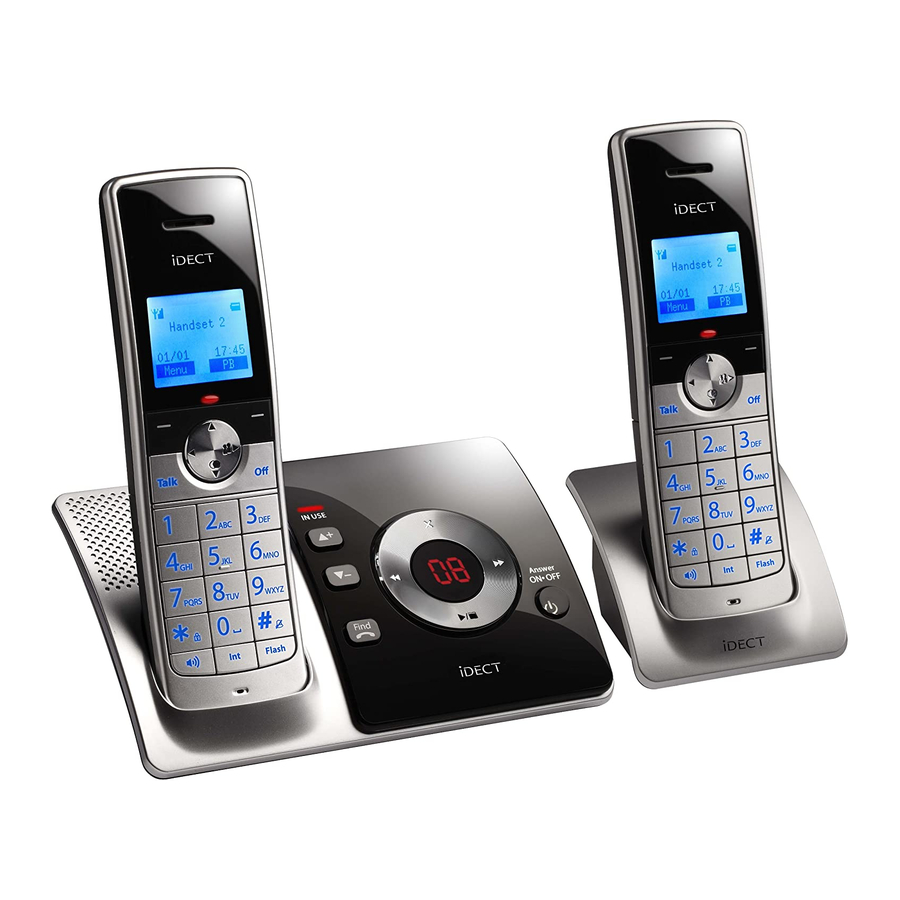
USER GUIDE
iDECT
Digital Cordless Telephone with 100 Name and
Number Phonebook and Answering Machine
Helpline (for UK only)
Monday to Friday from 9:00am to 5:00pm
Tel: 0845 345 9677
**Please note that all calls are charged at local rate
Or visit our website: www.binatonetelecom.com
THIS EQUIPMENT IS NOT DESIGNED FOR MAKING
EMERGENCY TELEPHONE CALLS WHEN THE POWER
FAILS. ALTERNATIVE ARRANGEMENTS SHOULD BE
MADE FOR ACCESS TO DIAL EMERGENCY SERVICES.
Before operating this set,
please read these instructions carefully.
L1 Li
System
Advertisement
Table of Contents

Related Manuals for Binatone iDECT L1i System


Summary of Contents for Binatone iDECT L1i System
- Page 1 USER GUIDE L1 Li iDECT System Digital Cordless Telephone with 100 Name and Number Phonebook and Answering Machine Helpline (for UK only) Monday to Friday from 9:00am to 5:00pm Tel: 0845 345 9677 **Please note that all calls are charged at local rate Or visit our website: www.binatonetelecom.com THIS EQUIPMENT IS NOT DESIGNED FOR MAKING EMERGENCY TELEPHONE CALLS WHEN THE POWER...
-
Page 2: Table Of Contents
Table of Contents ................IMPORTANT SAFETY INSTRUCTIONS INSTALL YOUR PHONE ....................... CONNECT THE BASE STATION ....................IF YOU HAVE A BROADBAND LINE................... INSTALL AND CHARGE THE BATTERIES ....................................GET TO KNOW YOUR PHONE OVERVIEW OF YOUR HANDSET ........................ - Page 3 ..............................CALL LIST VIEW THE CALL LIST ..........................STORE CALL LIST NUMBER INTO PHONEBOOK ..............DIAL A CALL LIST NUMBER ........................DELETE AN ENTRY IN CALL LIST ....................... DELETE ALL CALL LIST ENTRIES ................................................CLOCK & ALARM DATE & TIME ..............................
-
Page 4: If You Need Help
Important note - emergency calls This phone is not designed for making emergency calls if the mains power fails. So you should make alternative arrangements for access to Emergency Services. (This means that you should also have a basic phone, that does not need mains power, connected to your line so that you can make calls during a power failure.) If you need help …... -
Page 5: Important Safety Instructions
IMPORTANT SAFETY INSTRUCTIONS When using your telephone equipment, basic safety precautions should always be followed to reduce the risk of fire, electric shock and injury, including the following: Read and understand all the instructions. Follow all warnings and instructions marked on the product. 3) Unplug this product from the wall outlet before cleaning. - Page 6 Connection and conditions for use: You can connect your iDECT system to a direct exchange line (DEL) on a local exchange with its own phone number; to an extension socket connected to a DEL; or to an extension on an approved compatible PBX. Do not connect as an extension to a payphone.
-
Page 7: Install Your Phone
INSTALL YOUR PHONE 2.1 Connect the Base Station 1) Plug the power supply and the line cord into the base station. 2) Plug the power adaptor into a 230Vac, 50HZ mains socket, and the line cord into your telephone line socket. 3) Always use the cables provided in the box. -
Page 8: 2.2 If You Have A Broadband Line
2.2 If you have a Broadband line If you connect your telephone to a line with a broadband connection, you will need to insert a microfilter (not included) between the telephone and the telephone line, otherwise you may get interference between the telephone and the broadband, which could cause problems. -
Page 9: Get To Know Your Phone
GET TO KNOW YOUR PHONE Overview Of Your Handset 1 LEFT SOFT KEY (Key function shown at bottom left of display.) In idle mode: Press to access the main menu. In sub-menu mode: Press to select the option . During a call: Press to mute/unmute the microphone. During call screening: Press to intercept a call. -
Page 10: Handset Lcd Display
Handset LCD Display The following icons may be displayed according to the current status of the phone operation. Icons Description Steady when the handset is in range of the base. More bars indicate a stronger signal. Flashes when the handset is searching for, or is out of range of the base. -
Page 11: Overview Of The Base
Overview of the base VOLUME + IN USE LED When an external call is in progress or the During message playback: press to answering machine is in use. increase the speaker volume. In idle: press to increase the base ringer VOLUME –... -
Page 12: Menu Structure
XX Steady ON: Playing the current XX old recorded message. XX Flashing: Playing the current XX new recorded incoming message. A1/A2 Steady ON: Playing the current outgoing message (OGM) where A1 is the Answer & Record OGM and A2 is the Answer Only OGM. -
Page 13: Use Your Phone
USING YOUR PHONE Power on the Handset If your handset is turned off, press and hold <Off> to turn on the handset. You can press and hold <Off> again to power off the handset. Make an External Call 4.2.1 Preparatory dialling Enter the phone number and press <Talk>... -
Page 14: Answer A Call
Answer a Call If the handset is not on charge or Auto Answer (see 8.1.7) is turned off: When the phone rings, press <Talk> /<SPEAKERPHONE> / [ Accept ] to answer a call. If the handset is on charge and Auto Answer (see 8.1.7) is set to On : When the phone rings, pick up the handset to answer a call automatically without having to press any buttons. -
Page 15: Redial A Number From The Redial List
4.8.1 Redial a number from the redial list 1. Press <DOWN> to access the redial list. 2. Press <UP/DOWN> to browse the redial list. 3. Press <Talk> to dial the selected redial number. Note: If there are no numbers in the redial list, the display shows List Empty. -
Page 16: Find Handset
4.10 Find Handset You can locate the handset by pressing <Find> on the base station. All the handsets registered to the base will ring for 60 seconds and “Paging ” is displayed on the handset display. You can stop the paging by pressing <Find> on the base again, or any key on the handset except [Silent]. -
Page 17: Switch Call Between An External Call And Internal Call
4.11.3 Switch calls between an external call and an internal call During an external call: 1. Follow steps 1 to 3 in section 4.11.1 . 2. The external call is put on hold automatically and the called handset rings. 3. Press <Talk> / <SPEAKERPHONE> / [Accept] on the called handset to establish an internal call. -
Page 18: Phonebook
PHONEBOOK Each handset can store up to 100 private phonebook entries with names and numbers. Each phonebook entry can have a maximum of 24 digits for the phone number and 12 characters for the name. You can also select different ringtones for your phonebook entries. (Note: the different ringtones only play when you receive a call, if you subscribe to caller display and the incoming number matches the stored number.) The entries are stored alphabetically by name in the phonebook list. -
Page 19: View An Entry
View an Entry In idle mode: 1. Press [ PB ] to access the phonebook. 2. Enter the first character of the name you want, using the digit keys. 3. Press <UP/DOWN> to highlight your desired phonebook entry. 4. Press [ Select ] to view the details of the selected phonebook entry. 1. -
Page 20: Copy Phonebook To Another Registered Handset
Copy Phonebook to Another Registered Handset You can copy the whole phonebook from one L1i handset to another L1i handset registered to the same base station. If the phonebook becomes full during copying, the display shows “Aborted ” in the sending handset. If the receiving handset is already full, it will show "Memory Full"... -
Page 21: Call List
CALL LIST This feature is available if you have subscribed to the Caller Line Identification service with your telephone service provider. Your phone can store up to 30 answered or unanswered calls with date/time information in the call list. The number will be shown on the display when the phone is ringing. -
Page 22: Dial A Call List Number
Dial a Call List Number 1. Follow steps 1 and 2 in Section 6.1. 2. Press <Talk> to dial out the call list number. Delete an Entry in the Call List 1. Follow steps 1 and 2 in Section 6.1. 2. -
Page 23: Clock & Alarm
CLOCK & ALARM If you subscribe to the Caller Display service, the time and date settings will be automatically updated by the network when you receive a call. The Caller Display service only sends the month and date, not the year, so you may need to set the year. -
Page 24: Set The Time
7.1.4 Set the time In Idle mode: 1. Follow steps 1 to 2 in Section 7.1.1. 2. Press [ Select ] and <UP/DOWN> to scroll to Set Time. 3. Press [ Select ] and enter the time according to the time format you set in Section 7.1.2. -
Page 25: Set And Turn On The Alarm
7.2.2 Set and turn on the alarm In Idle mode: 1. Press [ Menu ] and <UP/DOWN> to scroll to Clock/Alarm. 2. Press [ Select ] and <UP/DOWN> to scroll to Alarm. 3. Press [ Select ] and <UP/DOWN> to scroll to Alarm On. 4. -
Page 26: Settings
SETTINGS Your phone comes with a selection of settings that you can change to personalise your phone operation. Handset Settings 8.1.1 Set the internal ringer melody In Idle mode: 1. Press [ Menu ] and <UP/DOWN> to scroll to HS Settings. 2. -
Page 27: Set The Alert Tones
8.1.4 Set the alert tones Three different alert tones are set on by default, but can be turned off, if desired. Key tone- a single beep is emitted when you press a key. Battery Low - a tone is emitted while you are talking on the phone to alert you that you need to charge the batteries. -
Page 28: Turn On Or Off The Auto Answer
8.1.7 Turn on or off the auto answer If you turn on the Auto Answer, you can answer a call automatically by just lifting the handset off the base or charger, without having to press any key. 1. Press [ Menu ] and <UP/DOWN> to scroll to HS Settings. 2. -
Page 29: Reset Handset Setting To Default
8.1.11 Reset handset settings to default You can reset your handset to its original default settings. After reset, all your personal settings will be deleted, including the call list and redial list, but your phonebook will remain unchanged. 1. Press [ Menu ] and <UP/DOWN> to scroll to HS Settings. 2. -
Page 30: Set The Base Ringer Melody/Volume
8.2.3 Set the base ringer melody/volume You can choose from 5 different ringer melodies for the base, and the volume can be set to Off or levels 1 to 5. 1. Press [Menu] and <UP/DOWN> to scroll to Base Settings. 2. -
Page 31: Registration
Registration IMPORTANT: If you purchase your phone all handsets are already registered to the base, so you do not need to register them. Handset registration is only necessary when you buy extra handsets or if a handset becomes faulty. Up to six handsets can be registered to a single base station, and a handset can be registered to up to 4 base stations. -
Page 32: Answering Machine
ANSWERING MACHINE Your phone includes a telephone answering machine (TAM) that records unanswered calls when it is on. The answering machine can store up to 59 messages with a maximum total recording time of approximately 15 minutes. As well as recording incoming messages, you can record memos for other users of your phone. -
Page 33: Delete All Messages In Answering Machine
4. During message playback, press <UP> or <DOWN> to increase or decrease the message playback volume respectively. Note: After a new message is played, it will be saved as an old message automatically unless it is deleted. 5. Press [Menu] and <UP/DOWN> to scroll to Stop, Next, Previous or Delete. -
Page 34: Answering Machine Settings
Answering Machine Settings You can use the TAM Settings menu of the handset to change the settings of your answering machine. 9.5.1 Set the Answer Mode By default, the answer machine is set in Answer & Record mode which allows callers to leave a message. This mode can be changed to Answer Only which does not allow callers to leave a message. -
Page 35: Playback & Delete Message
Note: Any subsequent newly recorded OGM will overwrite the previously recorded OGM. After the recorded OGM is saved, the phone will playback the newly recorded OGM automatically. 9.5.4 Playback the Outgoing Message (OGM) You can playback the current OGM for Answer & Record mode or Answer Only mode. -
Page 36: Set The Maximum Recording Time For Messages
9.5.6 Set the Maximum Recording Time for Messages You can set a maximum length for the recording time of each incoming messages, as 60 seconds, 120 seconds,180 seconds, or unlimited up to the available memory of the answering machine. 1. Press [ Menu ] and <UP/DOWN> to scroll to Answer Machine. 2. - Page 37 9.5.7.3 Access Your Answering Machine Remotely You can ring your iDECT L1i from another tone-dialling phone to switch the answering machine on or off, or to listen to your messages remotely. 1. Place a call from a tone-dialling phone to your iDECT L1i. 2.
- Page 38 Delete Stop the current Play the Stop the current Note: If your answering machine is switched off, the phone will answer after 14 rings You can then enter the * and the 4-digit remote access PIN (Default Remote Access PIN is 0000) to activate the remote access feature.
-
Page 39: Call Screening
9.5.8 Call Screening When the answering machine is on and takes a call, you can listen to the caller leaving a message, from the handset or the base, and then decide whether to take the call in person. 9.5.8.1 Screening at the base By default, answering machine calls are played automatically through the base speaker and the volume can be adjusted with the Volume + and Volume - keys on the base. -
Page 40: Troubleshooting
TROUBLESHOOTING Problem Causes Solutions a. Check the connections. Unplug a. The connection cord of No dialling tone when and plug back in the mains. the base station is not pressing <TALK> key Check that the telephone cord plugged in. has been plugged into the base b. - Page 41 If the fault persists: Disconnect all other instruments connected to the same line and try to make a call. If this works, one of the other instruments may be faulty. Disconnect the base unit from the telephone line and plug a different phone into the master telephone socket.
- Page 42 Power Adapter Information information : Battery BT18433/BT28433, 2.4V 500 mAh Ni-MH Adaptor Charger Unit : TenPao - S002CB0600030 - input 100-240VAC 50/60Hz 150mA, output 6VDC 300mA Salcomp –VT1000DB / VT1001DA . input 100-240VAC 50/60Hz 150mA, output 6VDC 300mA Base Unit : TenPao - S004LB0600045 / S004LV0600045 - input 100-240VAC 50/60Hz 150mA, output 6VDC 450mA Salcomp –VT0600AB / VT0601AA .
- Page 43 Cleaning and care Do not clean any part of your iDECT L1i with benzene, thinners or other solvent chemicals – this may cause permanent damage which is not covered by the Guarantee. When necessary, clean it with a damp cloth. Keep your iDECT L1i away from hot, humid conditions or strong sunlight, and don‘t let it get wet.
-
Page 44: Guarantee And Service
Guarantee and service This product is guaranteed against manufacturing defects for a period of 1 Year. This does not cover the product where the fault is due to misuse, abuse, use in contravention of the instructions, or where the product has been the subject of unauthorised modifications or alterations, or has been the subject of commercial use. -
Page 45: Declaration Of Conformity
DECLARATION OF CONFORMITY We the manufacturer / Importer: Binatone Telecom Plc, 1 Apsley Way London, NW2 7HF. Declare under our sole responsibility that the following product Type of equipment: Digital cordless telephone Model Name: iDECT L1i Series Country of Origin:...
Need help?
Do you have a question about the iDECT L1i System and is the answer not in the manual?
Questions and answers