Viessmann VITODENS 200-W Installation Instructions Manual
45 and 60 kw wall mounted gas condensing boiler natural gas and lpg version
Hide thumbs
Also See for VITODENS 200-W:
- Installation and service instructions manual (188 pages) ,
- Installation instructions manual (184 pages) ,
- Service instructions manual (150 pages)

Related Manuals for Viessmann VITODENS 200-W


Summary of Contents for Viessmann VITODENS 200-W
-
Page 1: Installation Instructions
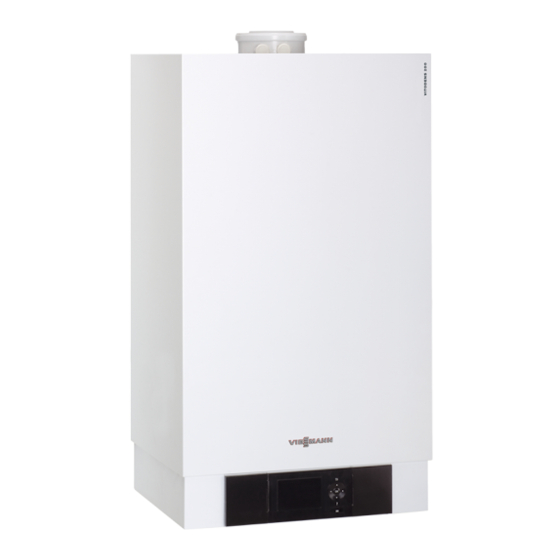
VIESMANN Installation instructions for contractors Vitodens 200-W Type WB2C, 45 and 60 kW Wall mounted gas condensing boiler Natural gas and LPG version VITODENS 200-W Dispose after installation. 5457 570 GB 1/2010... -
Page 2: Safety Instructions
Safety instructions Please follow these safety instructions closely to prevent accidents and mate- rial losses. Safety instructions explained ■ the Code of Practice of relevant trade associations, Danger ■ all current safety regulations as This symbol warns against the defined by DIN, EN, DVGW, TRGI, risk of injury. -
Page 3: Table Of Contents
Index Preparing for installation Product information....................Preparing for installation..................■ Preparing the boiler installation................. Installation sequence Installing the boiler and making all connections........... ■ Wall mounting bracket installation..............■ Hanging the boiler into the wall mounting bracket..........Heating water side connection................Flue gas connection..................... -
Page 4: Product Information
For conversion to LPG P (without conversion kit), see the service instructions. Conversion for other target countries The Vitodens 200-W should generally only be delivered to those countries specified on the type plate. For deliveries to alternative countries, an approved contractor, on his own initiative, must arrange individual approval in accordance with the law of the land. -
Page 5: Preparing For Installation
Preparing for installation Preparing the boiler installation Please note install all pipework free of load To prevent equipment damage, and torque stresses. A Expansion vessel G 1 D Cylinder flow G 1½ B Safety valve E Gas connection R ¾ C Heating flow G 1½... - Page 6 Preparing for installation (cont.) G Heating return G 1½ N Recommended dimension (single H Cable entry area at the back boiler system) O Recommended dimension (multi- K Accessories (connection sets) boiler system) L Without connection sets (accesso- P Condensate drain ries) M With connection sets (accessories) Note...
-
Page 7: Installing The Boiler And Making All Connections
Installing the boiler and making all connections Wall mounting bracket installation Note The enclosed screws and rawl plugs are only suitable for concrete. For other con- struction materials, use fixings that are suitable for 100 kg loads. Ø 10 A Reference point: boiler top edge C Top edge finished floor B Installation template (included with D Recommendation... -
Page 8: Hanging The Boiler Into The Wall Mounting Bracket
Installing the boiler and making all connections (cont.) Hanging the boiler into the wall mounting bracket... -
Page 9: Heating Water Side Connection
Heating water side connection Connect the boiler to the on-site pipe- work. Note Connection situation shown with the connection sets that are available as accessories. Provide the required connections when using on-site fittings. A Expansion vessel B Safety valve C Heating flow D Cylinder flow E Cylinder return F Heating return... -
Page 10: Condensate Connection
Condensate connection Connect the condensate drain with a constant slope and a pipe vent to the public sewer. Gas connection Notes regarding operation with LPG We recommend the installation of an external safety solenoid valve when installing the boiler in rooms below ground level. -
Page 11: Opening The Control Unit Casing
Gas connection (cont.) 2. Carry out a tightness test. 3. Vent the gas line. Note Conversion to other gas types: For the tightness test, use only suita- Service instructions ble and approved leak detecting agents (EN 14291) and devices. Leak detecting agents with unsuita- ble constituents (e.g. - Page 12 Opening the control unit casing (cont.) 2. 2x 4. 8x...
-
Page 13: Electrical Connections
Electrical connections 230V~ 230V~ 7 6 5 4 32 1 A Radio clock receiver D Vitotrol 100 UTA (only for constant B Heating circuit pump or boiler circuit temperature control units) pump Only with variable speed heating cir- Vitotrol 100 UTDB-RF wireless cuit pump: receiver. - Page 14 Electrical connections (cont.) Information regarding the con- lH ■ Power supply accessories (230 V/ nection of accessories 50 Hz). Where the boiler is instal- For the connection, observe the led in a wet area, the connection separate installation instructions of accessories to the power sup- provided with the accessory com- ply must not be carried out at the ponents.
-
Page 15: Routing The Connecting Cables
Electrical connections (cont.) Cylinder temperature sensor (part ■ Vitotrol 200A or 300A remote of the DHW cylinder connection control set). ■ Vitocom 100 Connection to cables with plugs ■ Extension kit for one heating cir- outside of the control unit. cuit with mixer aVG KM BUS subscriber (accessory) ■... -
Page 16: Replacing The Boiler Coding Card For Installation In A Multi-Boiler System
Electrical connections (cont.) % Plugs for connecting the cylinder temperature sensor to the cable har- ness Remove the existing cable grommet when using larger cross-sections (up to 714 mm). Secure the cable with cable grommet F (black) integrated into the casing base. -
Page 17: Closing The Control Unit Casing And Inserting The Programming Unit
Closing the control unit casing and inserting the programming unit 3. 2x... - Page 18 Closing the control unit casing and inserting… (cont.) Insert programming unit (packed sepa- rately) into the control unit support. Note The programming unit can also be used in a wall mounting base (accessory) near the boiler. Wall mounting base installation instructions...
-
Page 19: Fitting The Front Panel
Fitting the front panel Note Ensure the locking screws are screwed in before operating. -
Page 20: Commissioning And Adjustment
Commissioning and adjustment For commissioning and adjust- ment, see service instructions. Viessmann Werke GmbH&Co KG Viessmann Limited D-35107 Allendorf Hortonwood 30, Telford Telephone: +49 6452 70-0 Shropshire, TF1 7YP, GB Fax: +49 6452 70-2780 Telephone: +44 1952 675000 www.viessmann.com Fax: +44 1952 675040...
Need help?
Do you have a question about the VITODENS 200-W and is the answer not in the manual?
Questions and answers