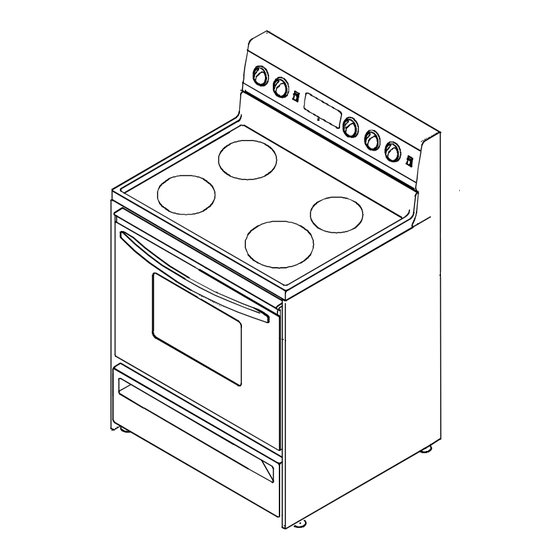
Amana Electric Range Installation Instructions Manual
Electric range
Hide thumbs
Also See for Electric Range:
- User instructions (32 pages) ,
- Installation instructions manual (6 pages) ,
- User instructions (12 pages)
Advertisement
Important–
Save for local electrical inspector's use.
Measure cabinet area and prepare
it according to illustrations in
Minimum Clearances to
Combustible Surfaces and Range
and Cabinet Dimensions section in
this manual.
Remove the packing
materials and locate
the anti-tip bracket,
screws and plastic
anchors.
Anti-tip Bracket Installation
To avoid risk of range tipping, secure
range with a properly installed anti-
tip bracket.
1. Measure and mark 3
back wall on either right or left
side of cabinet cutout.
2. Place anti-tip bracket 3
back wall and against the side
cabinet.
• If range is not installed
beside cabinet(s), position
range where it will be
installed. Draw a line along
side of range. Remove range
and place anti-tip bracket
with back edge 3
back wall and on the line
drawn along side of range.
3. Mark 2 hole locations in anti-tip
bracket, remove bracket and
drill 2 holes.
• If drilling into wood, use a
3
/
" drill bit.
32
• If drilling into concrete, use a
3
/
" masonry drill bit and
16
insert plastic anchors.
4. Secure bracket to floor using
screws supplied.
5. After range is in final position,
"
remove range storage drawer
or lower panel and confirm anti-
tip bracket is engaged with
range leveling leg.
1
/
" from
2
1
/
" from
2
1
/
" from
2
Advertisement
Table of Contents

Related Manuals for Amana Electric Range


Summary of Contents for Amana Electric Range
- Page 1 Important– Save for local electrical inspector’s use. Anti-tip Bracket Installation To avoid risk of range tipping, secure range with a properly installed anti- tip bracket. 1. Measure and mark 3 " from back wall on either right or left side of cabinet cutout. Measure cabinet area and prepare 2.
- Page 2 Range has been grounded at the factory to the center (nickel plated) terminal of the terminal block in accordance with the National Electric Code (section 2560). When a separate ground is required by local code, disconnect the grounding strap from the terminal block. Ground frame by To place electrical receptacle, see connecting a grounding wire to range frame using the grounding strap and Electrical Receptacle Location...
- Page 3 To avoid damaging oven door, do not lift or Place range near final position and move range by plug in. Then, slide range into final oven door handle. position and adjust all legs (4) until Glass can break. range is level side to side and front to back.
- Page 4 (refer to letter A) C—Minimum of 18” between top of countertop and bottom of an unprotected wood or metal cabinet. D—Maximum depth of 13” for overcounter cabinets. Part No. 36-31971201-0 2000 Amana Appliances Printed in U.S.A. 02/00 Amana, Iowa 52204...
- Page 5 Consider Description Location Underwriter’s Laboratories, Inc. specifies range can be installed flush against right and left base cabinets, and rear vertical wall. Range can also be installed flush against left or right vertical wall extending above 36 inch standard countertop height. Use dim ensions shown in this m anual to determ ine space needed for installation.
- Page 6 Locate electrical receptacle in area with diagonal lines.
Need help?
Do you have a question about the Electric Range and is the answer not in the manual?
Questions and answers