Saeco ODEA GIRO Operation And Maintenance Manual
Hide thumbs
Also See for ODEA GIRO:
- Operation and maintenance manual (192 pages) ,
- Operating and maintenance manual (45 pages) ,
- Quick start manual (2 pages)
Table of Contents
Advertisement
Advertisement
Table of Contents

Related Manuals for Saeco ODEA GIRO


Summary of Contents for Saeco ODEA GIRO
- Page 1 Operation and maintenance manual Before using the machine, please read the attached operating instructions. Carefully read the safety rules Mode d'emploi Veuillez lire attentivement le mode d'emploi (notamment les consignes de sécurité) avant d'utiliser l'appareil. FOR HOUSEHOLD USE ONLY...
-
Page 2: Important Safeguards
IMPORTANT SAFEGUARDS When using electrical appliances, basic safety precautions should always be followed to reduce the risk of fire, electric shock, and/or injury to persons, including the following: 1 Read all instructions and information in this instruction book and any other literature included in this carton referring to this product before operating or using this appliance. - Page 3 CAUTION This appliance is for household use only. Any servicing, other than cleaning and user maintenance, should be performed by an authorized service centre. Do not immerse machine in water. To reduce the risk of fire or electric shock, do not disassemble the machine. There are no parts inside the machine serviceable by the user.
-
Page 4: Table Of Contents
CONTENTS GENERAL INFORMATION ....................5 APPLIANCE ........................6 ACCESSORIES ..............................6 INSTALLATION ........................7 STARTING THE MACHINE ..........................7 “AQUA PRIMA” FILTER ...........................8 CONTROL PANEL ......................9 ADJUSTMENTS ......................10 COFFEE VOLUME ADJUSTMENT PER CUP ....................10 "AROMA" (OPTI-DOSE) INDICATES THE COFFEE DOSE PER CUP ............10 DRIP TRAY HEIGHT ADJUSTMENT ......................10 COFFEE GRINDER ADJUSTMENT ......................11 COFFEE BREWING ......................12 HOT WATER DISPENSING .....................13... -
Page 5: General Information
GENERAL INFORMATION This coffee machine is suitable for preparing espresso coffee using coffee beans, and it is equipped with a device to dispense steam and hot water. The machine is designed for domestic use only and is not suitable for heavy or professional use. Warning: no liability is assumed for any damage caused by: •... -
Page 6: Appliance
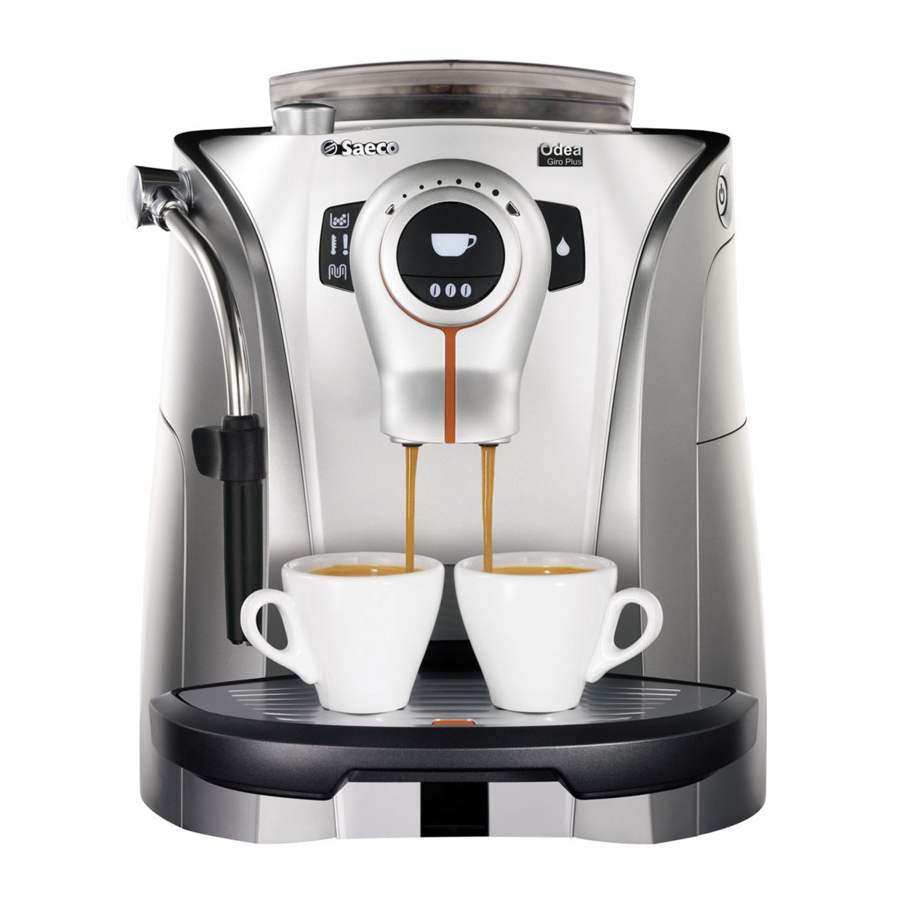
APPLIANCE Coffee bean hopper Cup stacking surface Coffee bean hopper cover Power button Control panel Service door Dispensing head Coffee grounds drawer Drip tray + grill and fl oat Hot water / steam knob Hot water / steam spout Water tank Drip tray Brew Group Socket for power cable... -
Page 7: Installation
INSTALLATION STARTING THE MACHINE Make sure the power button is not pressed and the machine is turned off. Check the machine features on the label on the bottom of the appliance. Lift the cover of the coffee bean Fill the container with coffee Remove the water tank. -
Page 8: Aqua Prima" Filter
“AQUA PRIMA” WATER FILTER Wait until a steady fl ow of water Turn the knob until it is in the Press the water button again. comes out of the spout. rest position ( ). The indicator light turns off. Remove the container. The machine is ready for use. -
Page 9: Control Panel
CONTROL PANEL Alarm light to empty the coffee grounds drawer: • permanently on: signals the need to empty the grounds drawer; this operation must be performed with the machine turned on (steps 4 and 5, page 17). Coffee dose adjusting knob (see page 10). Coffee button: •... -
Page 10: Adjustments
ADJUSTMENTS COFFEE VOLUME ADJUSTMENT PER CUP The coffee volume knob adjusts the amount of coffee brewed per cup. This adjustment has an immediate effect Medium coffee on the selected type of brewing. Espresso coffee Long coffee "AROMA" (OPTI-DOSE) INDICATES THE COFFEE DOSE PER CUP By pressing the key, it is possible to choose either a mild, a medium or... -
Page 11: Coffee Grinder Adjustment
COFFEE GRINDER ADJUSTMENT The machine enables a slight adjustment of the coffee grinder. Coffee may be ground according to your own tastes. The adjustment must be performed turning the pin – located inside the coffee container – by means of the supplied key only. -
Page 12: Coffee Brewing
COFFEE BREWING COFFEE BREWING The coffee brewing cycle can be interrupted at any moment by pushing the button. To brew 2 cups, the machine dispenses half of the entered quantity and briefl y interrupts dispensing in order to grind the second serving of coffee. Coffee dispensing is then restarted and completed. Adjust the drip tray according to Place one cup if you want one Place two cups if you want two... -
Page 13: Hot Water Dispensing
HOT WATER DISPENSING HOT WATER DISPENSING Dispensing may be preceded by short sprays of hot water, and scalding is possible. The hot water/steam spout may reach high temperatures: do not touch it with bare hands. Use the appropriate handle only. Adjust the height of the drip tray. -
Page 14: Cappuccino
CAPPUCCINO CAPPUCCINO Dispensing may be preceded by short sprays of hot water, and scalding is possible. The hot water/steam spout may reach high temperatures: do not touch it with bare hands. Use the appropriate handle only. Adjust the height of the drip tray. Fill 1/3 of the cup with cold milk. -
Page 15: Descaling
DESCALING DESCALING When performing a descaling cycle, it is necessary to be present during the entire process (about 40 minutes). Caution! Do not use vinegar as a descaler. The descaling must be done when indicated by the machine. Use a non-toxic, non-harmful descaling solution. - Page 16 DESCALING Empty the container with the Press the button to turn off the Repeat steps 3 - 8 until all the used descaling solution. machine. After 10 minutes, turn descaling solution in the tank on the machine again. has been dispensed. Rinse and fi...
-
Page 17: Cleaning And Maintenance
CLEANING AND MAINTENANCE HOW TO CLEAN THE MACHINE The machine must be cleaned at least once a week. Do not immerse the machine in water or place any of its parts in a dishwasher. Do not use alcohol, solvents, benzene and/or abrasive objects to clean the machine. The water left in the tank for several days must be disposed of. -
Page 18: Cleaning The Brew Group
CLEANING AND MAINTENANCE CLEANING THE BREW GROUP The Brew Group must be cleaned at least once a week. Before removing the Brew Group, remove the coffee grounds drawer as shown in fi g. 4 on page 17. Once you have washed and inserted the Brew Group, insert the grounds drawer and close the service door. -
Page 19: Troubleshooting
TROUBLESHOOTING ROBLEMS AUSES OLUTIONS The machine does not turn on. The machine is not connected to the Connect the machine to the power power source. source. The plug has not been plugged into Insert the plug into the machine’s power the back of the machine. -
Page 20: Safety Rules
SAFETY RULES N CASE OF EMERGENCY Immediately unplug the cable from the outlet. SE THE APPLIANCE ONLY - Indoors. - To prepare coffee, dispense hot water, froth milk or heat beverages using steam. - For domestic use only. - By adults in non altered psycho-physical conditions. EVER USE THE APPLIANCE For purposes other than those indicated above, in order to avoid danger. - Page 21 AILURES - Do not use the appliance in case of sure or suspected faults such as after falls. - Any repairs must be performed by an authorized customer service centre. - Do not use the appliance with a defective power cable. If damaged, the power cable must be replaced by the manufacturer or authorized service centre.
-
Page 22: Technical Data
TECHNICAL DATA TECHNICAL DATA • Nominal voltage See label on the appliance • Power rating See label on the appliance • Power supply See label on the appliance • Shell material ABS - Thermoplastic • Size (w x h x d) 290 x 370 x 385 mm - 11.41 x 14.57 x 15.18 in •...
Need help?
Do you have a question about the ODEA GIRO and is the answer not in the manual?
Questions and answers
Cant turn off the red flashing button
The fast flashing red exclamation mark on a Saeco Odea Giro indicates no water flow detected. If priming the machine does not turn off the light, the issue may be a failed water flow meter or, in rare cases, a CPU failure. This can happen due to a leak inside the machine. To fix it, take the machine apart and inspect it for internal leaks or component failures.
This answer is automatically generated
@Mr. Anderson Thank you for your quick response The red light is constantly on. Red light & yellow light ?
The red light is constantly on as is the yellow light
Добрый день, постоянно мигает красным, при этом кофемашина работает. Заправлена полностью, недавно чистили, все было прекрасно, сегодня начала кнопка мигать, не можем отключить.
A blinking red light on a Saeco ODEA GIRO coffee machine indicates that the machine is in the rinsing cycle.
This answer is automatically generated