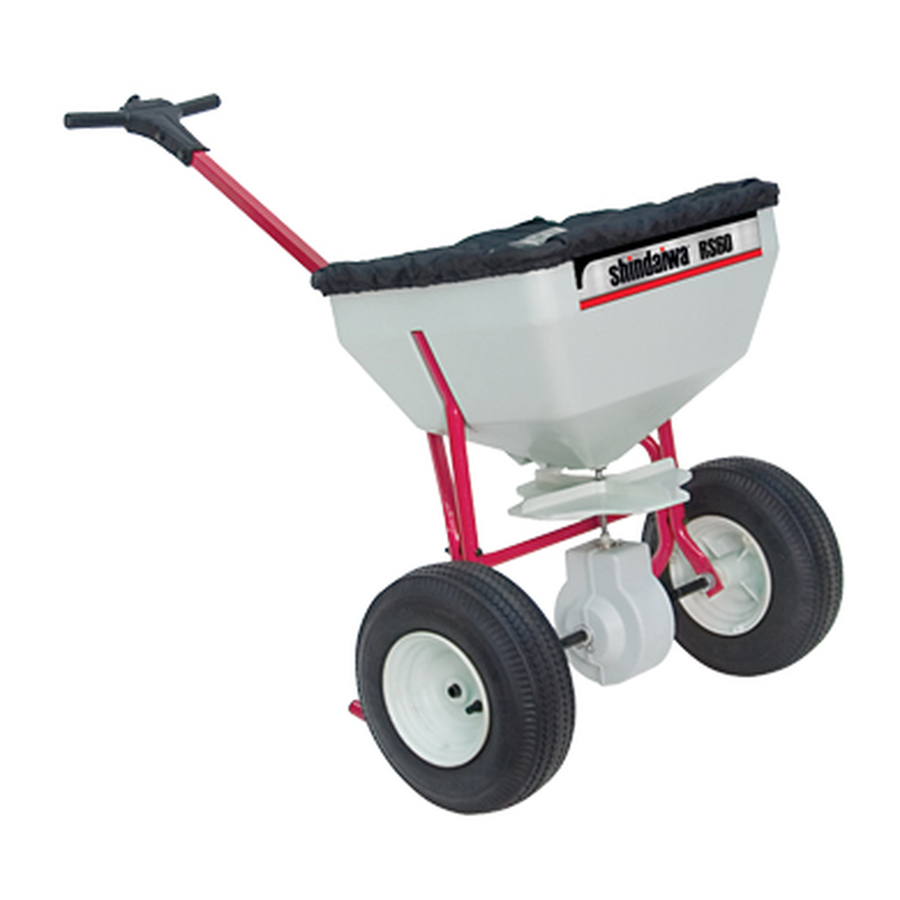
Summary of Contents for Shindaiwa RS60
- Page 1 MODEL MODEL MODEL MODEL RS60 RS60 RS60 RS60 OWNER’S MANUAL OWNER’S MANUAL OWNER’S MANUAL OWNER’S MANUAL...
- Page 2 ASSEMBLY ASSEMBLY ASSEMBLY ASSEMBLY 1/4-20 x 2 1/4” RH. Handle Hex Bolt Brace Remove components from carton and place spreader upside down on a padded surface. Install LH. & RH. handle braces to frame as shown using four (4) 1/4-20 x 2 1/4” hex bolts and nuts but do not tighten.
- Page 3 Control Knob & Remove Caution Wire Assembly Feed control knob/wire through the Label T-handle until spring touches the Spring round hole. CAUTION: Do Not Thumb Release Compress Spring At This Time. Feed wire through the square handle tube. Be sure wire passes above the bolts in the handle brace.
-
Page 4: Operation
OPERATION OPERATION OPERATION OPERATION Check the product package for the rate setting, and recommended swath width. Turn the spreader OFF by pushing the control knob in. Rotate the rate cam to the proper setting The rate setting is adjusted by rotating the rate cam to the desired setting. -
Page 5: Application Rate
HOW TO DETERMINE SPREADER HOW TO DETERMINE SPREADER HOW TO DETERMINE SPREADER HOW TO DETERMINE SPREADER SETTINGS AND SPREAD WIDTH SETTINGS AND SPREAD WIDTH SETTINGS AND SPREAD WIDTH SETTINGS AND SPREAD WIDTH Two major factors should be considered when determining correct spreader settings of any product: 1. - Page 6 Scotts R8A/SR-1, — — — AP&SR2000 Setting The following provides approximate RS60 settings when only the product weight, square foot coverage, and visual inspection of the material is available. FERTILIZER BAG RATE APPROX. APPROX. Pounds of fertilizer used per SPREAD...
-
Page 7: Maintenance
Two years from the delivery date to the original purchaser for consumer and commercial applications, 90 days for rental applications. Warranty Administration Within the covered warranty period, Shindaiwa will, at their option, repair or replace any defect in material or workmanship, without charge for parts or labor, if this product is presented at an authorizes Shindaiwa dealer. - Page 8 Parts List for shindaiwa Model RS60 Parts List for shindaiwa Model RS60 Parts List for shindaiwa Model RS60 Parts List for shindaiwa Model RS60 PART OF OUR SERVICE IS PROVIDING REPLACEMENT PARTS. Parts may be obtained through your local distributor.


Need help?
Do you have a question about the RS60 and is the answer not in the manual?
Questions and answers