Festool Kapex KS 120 User Manual
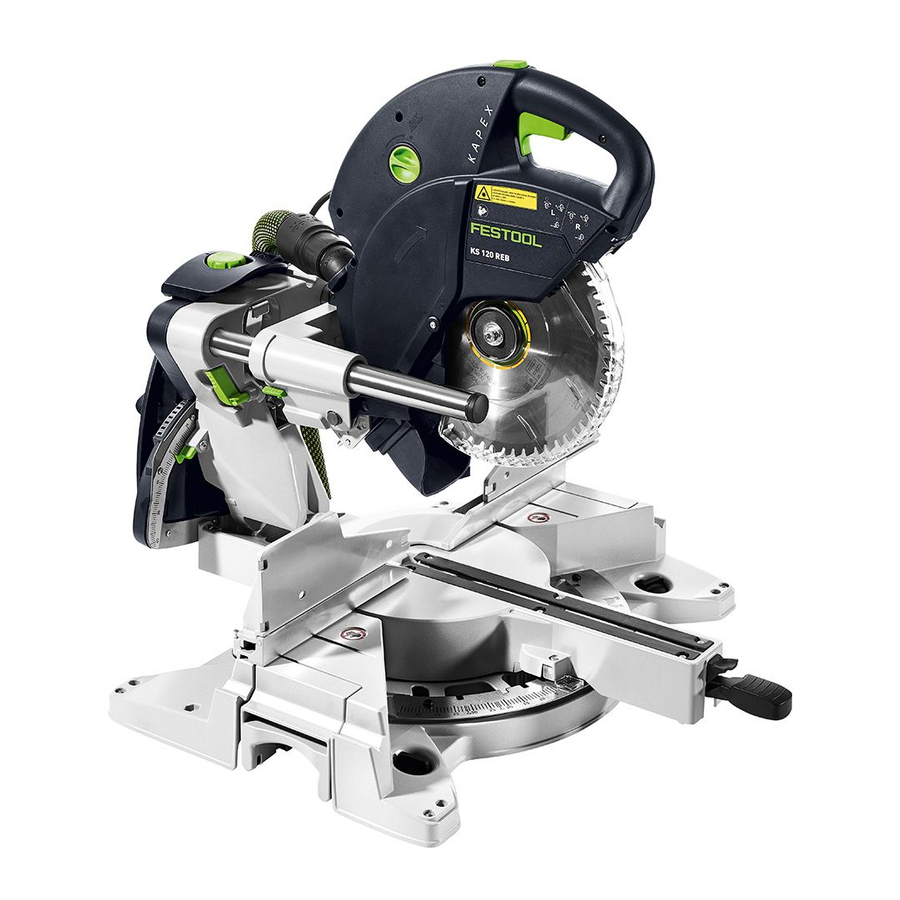
Sliding dual compound miter saw
Hide thumbs
Also See for Kapex KS 120:
- Operating manual (135 pages) ,
- Instruction manual (31 pages) ,
- Instruction manual (54 pages)
Table of Contents

Related Manuals for Festool Kapex KS 120


Summary of Contents for Festool Kapex KS 120
- Page 1 Sliding Dual Compound Miter Saw Supplemental User’s Manual WARNING To reduce the risk of serious or fatal injury, read and understand all safety precautions and instructions in this manual before using this tool. Kapex KS 120 ® Miter Saw...
-
Page 2: Limited Warranty
No collect shipments will be accepted. No Festool Returns If you need to return your Festool tools for any reason, please return it to the dealer from which you originally bought the tool. Liability Statement This product has been built to the high standards of Festool. -
Page 3: Table Of Contents
Tool Description ...5 Technical Specifications ... 5 Intended Use ... 6 Functional Description ... 6 Setup...8 Setting Up a New Miter Saw ... 8 Changing Sawblades ... 9 Transporting the Saw ...10 Dust Extraction ...10 Basic Operation ...11 Setting the Motor Speed ...11 Using the Laser Guides...11... -
Page 4: General Power Tool Safety Warnings
Use the power tool, accessories, and tool bits etc. in ► accordance with these instructions, taking into account the working conditions and the work to be performed. Use of the power tool for operations different from those intended could result in a hazardous situation. Kapex KS120 Miter Saw... -
Page 5: Service
Use clamps to support workpiece whenever possible. ► Do not use this saw to cut pieces that are too small to be securely clamped. Clamp the offcut side of the workpiece when using a ►... -
Page 6: Intended Use
Intended Use The Kapex miter saw is intended to cut wood, plastic, aluminum, and similar materials. All applications beyond this are regarded as improper use. The tool should not be altered or used for any other purpose other than as specified in these operating instructions. -
Page 7: I Trigger Lock
Functional Description (continued) Item Name or Description Bevel Gauge and Pointer (both sides) Trigger Lock Power Switch/Trigger Main Handle Laser Dust Lens Blade Guard Miter Stop Release Lever Miter Lock Lever Bevel Adjustment Knob Supplemental User’s Manual Ref. Page(s) Item Name or Description Speed Control Dial (see inset) 12, 18 Laser On/Off Button (see inset) -
Page 8: Setup
The height of the cutting bed was specifically designed to coincide with the height of a Festool #1 Systainer, which can be used as an outfeed support. The KS120 can also be used on a level and stable jobsite ►... -
Page 9: Changing Sawblades
Loosen the clamping screw on the arbor bolt guard, and rotate the guard away from the arbor bolt. (The combination hex key is stored on the back of the saw by the power cord.) Unscrew the arbor bolt by turning it clockwise. The arbor bolt is a left-hand thread and turns the opposite of a standard screw. -
Page 10: Transporting The Saw
The dust port swivels to either side, and accepts either a 27 or 36 mm Festool hose. The 27 mm hose fits inside the dust port, or the 36 mm hose fits over the outside of the dust port. -
Page 11: Basic Operation
30 minutes. Power Trigger and Plunge Release The power trigger turns on the saw but also releases the motor head to plunge downward. To help prevent accidental starting of the saw, the trigger lock must be pushed to release the trigger to power the saw. -
Page 12: Using The Hold Down Clamp
Setting the Miter Angle A mitered cut is where the saw head is rotated side-to- side. The Kapex saw is capable of mitering 50° to the left and 60° to the right. Positive stops are located at 0, 22½, 30, and 45 degrees. The miter gauge pointer also includes ½... -
Page 13: Setting The Bevel Angle
Setting the Bevel Angle A beveled cut is where the saw head is tilted to the left or right from vertical. The Kapex saw is capable of beveling up to 47° to the left and right. The bevel range selector engages a series of angle stops. -
Page 14: Setting The Depth Limit
Releasing the Tall Miter Latch While pressing down on the release lever (see previous image), pull the saw head away from the fence. The tall miter latch will spring to the vertical position when it releases. -
Page 15: Using The Miterfast Tool
When the arms are lined up with the corner walls, retighten the lock knob. Supplemental User’s Manual Place the MiterFast tool on the saw with one of the arms up against the fence. Turn on the laser for the saw. (Refer to Guides on page 11.) -
Page 16: Using The Bed Extensions And Crown Stops
Setting up the Crown Stop The crown stop is used for cutting crown moulding and holds the moulding at the desired angle against the fence of the saw so that it can be cut using a standard miter cut (refer to the Crown Moulding discussion on page 22). -
Page 17: Cutting Techniques
A push-cut is used for cutting wider boards, but is also usable in most situations where a chop-cut could be used. For this type of cut, the saw head is pulled out toward the operator, plunged downward, and the primary cutting of the workpiece occurs as the saw head is being pushed back toward the rear of the saw (as shown in the picture below). -
Page 18: Miter Cuts
This will result in a crooked cut. Place the workpiece on the saw with the best-side down. -
Page 19: Depth Limited (Dado/Half-Lap) Cuts
Use the Kapex Hold Down Clamp (see page 12) to clamp the fence spacer, and use an auxiliary clamp, such as a Festool Quick Clamp or Screw clamp (see page 16) to secure the workpiece. -
Page 20: Compound Miter Cuts
Compound Miter Cuts Compound miter cuts are where the saw is both in a miter position and a bevel position at the same time. There are several applications for compound miter cuts, but cutting crown moulding and sloped miters are common examples. -
Page 21: Calculating Compound Angles
Important: The slope of a moulding does not Calculating Compound Angles There are two separate equations for calculating a compound angle. One equation is for calculating the miter setting of the saw, and the other equation is for calculating the bevel setting of the saw. ⎡ ⎛... -
Page 22: Crown Moulding
A coped cut requires the use of a coping saw (a thin bladed handsaw for cutting curves), but the initial cut is made with a miter saw. The first piece of moulding does not get a miter, and butts into the adjacent wall. -
Page 23: Adding Auxiliary Fence Faces
After mounting the auxiliary fence faces to the saw, use the saw to trim the ends for a zero- clearance fit. Trim one side at a time. table. To make the countersunk holes for the mounting... -
Page 24: Calibration And Adjustment
Calibration and Adjustment The Festool Kapex miter saw comes fully calibrated from the factory and should not require further calibration out of the box or after normal use. The following calibration techniques should only be necessary in the event that your... - Page 25 Length If the answer is a negative number (Right side wider than Left side), then your saw is cutting too much to the left of center. If the answer is a positive number, your saw is cutting too much to the right of center.
-
Page 26: Calibrating The Bevel Angle
Do this regardless whether the cut is made on the left or right side of the sawblade. Lock the saw in the Tall Miter position. Refer to page Make sure that both auxiliary fences are in place and supporting the workpiece. Refer to page 13. - Page 27 Calc Error Length If the answer is a negative number (Right side wider ► than Left side), then your saw is cutting too much to the left of center. If the answer is a positive number, your saw is cutting ►...
-
Page 28: Setup
The Yaw adjustment rotates the laser (as viewed from ► above the saw) so it remains parallel with the path of the saw cut (front-to-rear). The lateral adjustment moves the laser toward or away ►... -
Page 29: Troubleshooting
Make sure the outlet has power. Check the circuit breaker or try another outlet. ► If used with a Festool dust extractor, make sure the selector switch is pointing to ► "Auto". The auxiliary outlet on the dust extractor has power only when the selector is at Auto. -
Page 30: Optional Accessories
Item Number 494 604 Description This is the standard blade that comes with the saw. With a moderate tooth count and ATB tooth grind, this blade provides good results when a single blade is needed for general purpose cutting. The blade incorporates asymmetrical tooth spacing to reduce harmonic vibration. -
Page 31: Mft/3-Kapex Table
It is slightly shorter than a standard MFT/3 and also has additional mounting holes for placing the saw. The saw may be positioned close to the front edge, close to the rear edge, more to the left, or more to the right. - Page 32 Kapex KS120 Miter Saw...
Need help?
Do you have a question about the Kapex KS 120 and is the answer not in the manual?
Questions and answers