Table of Contents
Advertisement
Advertisement
Table of Contents

Related Manuals for Pfaff Automatic 362


Summary of Contents for Pfaff Automatic 362
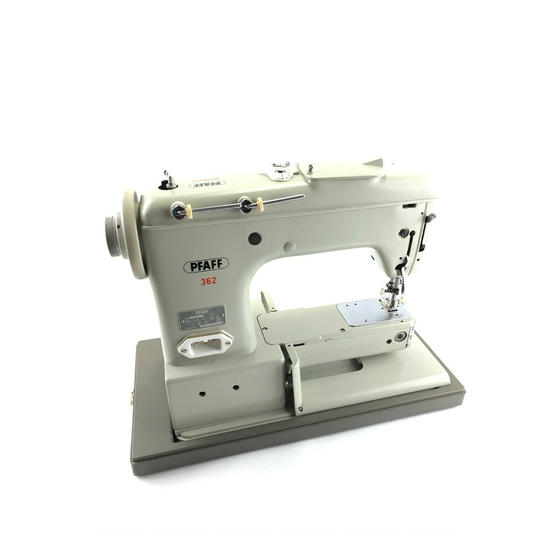
- Page 4 R 8138 A Balance wheel Presser bar lifter (also used Free arm Collapsible spool pins to operate the Stopmofic) Double receptacle for speed control and Top cover Sewing foot thumb screw power cords Needle threader control Sewing foal Free arm top cover Face cover Snap-out workplafe Needle set screw...
-
Page 7: Straight Stitching
R 8007 Straight Stitching Dial A=O Lever B= ‘I’ Set: Dial C=O Lever E engages and disengages the Automatic mechanism, If you don’t need ‘: this mechanism for a longer period, set lever E at “0”. This setting is indicated on pages 32 to 51 as follows: B=I- Dial G regulates the stitch length (the higher the number on the dial, the longer the stitch). - Page 9 .‘...
- Page 10 R 7095 ——four 3, 5, it is...
-
Page 15: Recommended Needle And Thread Sizes
— —... - Page 19 Operate the Stopmatic lever to lift the needle to its raised position (which has been reached when the ascending take-up lever is about below the top of its stroke, as illustrated on page 5). Now lower the sewing foot and ——...
-
Page 20: Drawing Up The Bobbin Thread
‘/2 — —... -
Page 21: Correct Tension Regulation
— — —— —... -
Page 22: Regulating The Thread Tension
— —... -
Page 31: Trouble Shooting
Trouble Shooting 1. Machine Skips Stitches Cause: Remedy: Needle incorrectly inserted. Push needle up as far as it will go and be sure that the long groove faces toward you, and flat side of shank away from you. Wrong needle. The correct needle system is stamped on bed side, (For ordinary sewing, use System 130R needles.) Needle bent. - Page 32 3. Needle Breaks Ca use: Remedy: Bent needle strikes point of sewing hook. Replace needle at once to prevent further damage. Needle too thin or thread too heavy. Use correct needle and thread sizes. Fabric pulls needle so it bends and strikes needle Don’t force the feeding motion.
-
Page 37: Rolled Hems
‘ ‘... - Page 38 —...
-
Page 40: Inserting Patches With The Elastic Seam
44088 Inserting Patches with the Elastic Seam (especially on elastic materials) Machine Setting: Dial A=0 Lever B= 4 Dial C=3 Dial D=8 Lever E=1 Stitch length control between 0.2 and 0.6 (see also page 53) Inserting Patches with Zigzag Stitches (especially on non-elastic materials) Machine Setting: Dial A=4... -
Page 43: Openwork Embroidery
R 7166 46121 Openwork Embroidery Machine Setting: Dial A=O and 2/a Lever B= Dial C=O Lever E=O There are hundreds of patterns excellent for openwork embroidery. Although similar in appearance to applique, openwork embroidery is much simpler. Let’s embroider the 25-square box illustrated. First, sew over all traced linestwice, using short straight stitches. -
Page 44: Scalloping
Lever E=1 to 7 Dial C=O Lever E=O Scalloping can be dane in a jiffy on your Pfaff 362 Draw designs on fabric. Clamp work into em Automatic. Scalloped edges can be used effectively broidery hoops. As you are following the scroll- as trimming on numerous articles. -
Page 46: Blindstitching
Pfaff on medium and heavy fabrics. Use zigzag foot No. 44088 with blindstitch guide No. 46669 which you can buy at your Pfaff store. Attach the guide so that its vertical flange goes through the sewing foot slot. Use a No. 70 needle, a loose upper tension and thin thread in the needle. -
Page 47: Sewing Buttonholes
R 8145 54 300 Sewing Buttonholes Machine Setting: Dial A=1 Lever B= Dial C=0 Lever E=0 Stitch Length: Darning Thread: No. 50 Filler Thread: cotton (pearl thread) Attach buttonhole foot No. 54300 and set slide on buttonhole gauge to buttonhole length desired. - Page 48 Release lever F. Trim filler cord at end of first stitch row. Sew second row and stop about 4 to 6 stitches from end of first row. 5 Press lever F dawn. Make second tock, as instructed a bove. 6 Push lever F up and make 3 to 4 tying stitches. 7 Trim both the sewing ond filler threads.
-
Page 50: Darning
53670 Darning Needle position lever B=+ Machine Setting: Stitch width dial A=0 machine feed, and lower presser bar lifter. Attoch doming foot, as instructed on page 24, drop need to place the fabric into darning hoops. Since your machine is fitted with a vibrator, there is no No. -
Page 51: Darning Without Foot
R 6121 53670 Darning Woolen Articles Machine Setting: Needle position lever B= 4 Stitch width dial A=2 Attach darning foot, as instructed on page 24, drop machine feed, and lower presser bar lifter. Since your machine is fitted with a vibrator, there is no need to place the fabric into darning hoops. -
Page 52: Monogram Embroidery
R 5926 46i27 C==O 53670... - Page 55 —...
-
Page 56: Three-Needle Decorative Sewing
.‘.. -
Page 57: The Transverse Spoolholder
The transparency of its shoe facilitates all sewing operations where it is important to watch the needle penetrate the fabric. Special application possibilities are discussed on the preceding pages. Sewing feet and attachments which are not included in the accessory box of your sewing machine can be obtained from your Pfaff dealer. -
Page 58: Table Of Contents
Contents Page Page Quilting Foreword Flat Felled Seams Essential Parts of Machine Rolled Hems Electrical Information Hemming The StopmatiC Overcasting Edges Fundamentals of Machine Operation Butt Seaming Straight Stitching Attaching Lace Zigzag Sewing Inserting Lace Setting for AutomaticEmbrOidery Seam Inserting Patches with the Elastic Winding the Bobbin Single-Needle Cording Inserting a Full Bobbin into Bobbin Case.
Need help?
Do you have a question about the Automatic 362 and is the answer not in the manual?
Questions and answers