Advertisement
Quick Links
ASSEMBLY INSTRUCTIONS for the CHRYSALIS TENT/HAMMOCK:
Component List:
1 Tent / Hammock Body w/ attached hanger assembly
2 Attached Tent Poles
1 Carry Bag
Assembly:
• Unroll and unfold the tent/hammock and lay it on the ground with
the Eureka! logo up.
• There is a hanger assembly that runs the
length of the Chrysalis [ web, buckles,
pins & carabiners ]. Make sure that the
webs, buckles and carabiners protrude
through the openings at each end and
that the pins are held by the end web
loops. See fig.2
• Locate the two push up vents near one
end of the roof. At this end, wrap the
web around a tree at approximately
head height and secure in place with
the carabiner. See fig.3
• At the opposite end, again wrap the
web around a tree and secure with the
carabiner. Adjust tension as necessary.
Note: If you prefer, as you lay, to have
your head above your feet, wrap this
web a bit lower than the first.
REV B 4-09
fig.1
Pin is captured
by this loop
fig.2
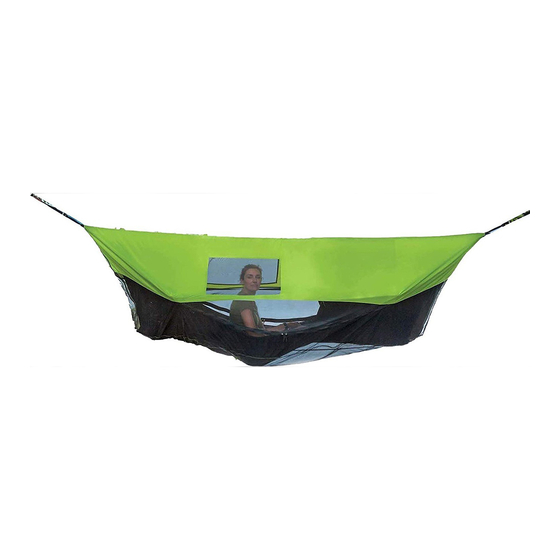
The Chrysalis is 10' 4"
long and needs 11' to 15'
of distance between
trees or supports
fig.3
fig.4
• Fold the roof fabric back from the door. Inside, there are two poles
that spread and hold the tent/hammock. Remove the protective
covers and fit the narrow end of each pole section into the sleeve on
its opposite half. See fig. 4 and 5.
• Adjust the webs to
provide sufficient tension
to hold you up off of the
ground. See fig. 6.
• Pull the roof fabric out
and over the pole ends
and secure to the
underside Velcro®.
See fig. 7.
Note: It is easiest to enter the Chrysalis as you
would most other hammocks. Lift the roof over
your head, back in and sit. Turn to bring in your
legs and lie down.
• Once inside the tent/
hammock, you can "shut"
the door by attaching the
bottom to the Velcro® on
the outside of the shell.
See fig. 8.
fig.5
• You can hold the
door/mesh open by
attaching it to the ridge
with the Velcro® straps or
wrap the straps over the
top to hold the fly open.
See fig. 9.
• Or you can release the
toggle on the inner door
flap, fold the flap down
and tuck it under while
fig.6
leaving the mesh in place.
See fig.10
YOUR TENT/HAMMOCK IS READY!
fig.7
Take down: Remove the webs from the trees. Disassemble the poles and
replace the protective covers. Align the poles across the tent/hammock.
Leave the doors open. Fold the fabric inward. Roll up stow in the carry bag.
fig.8
fig.9
fig.10
Advertisement

Related Manuals for Eureka Chrysalis


Summary of Contents for Eureka Chrysalis
- Page 1 Velcro®. See fig. 7. Note: It is easiest to enter the Chrysalis as you would most other hammocks. Lift the roof over your head, back in and sit. Turn to bring in your legs and lie down.
- Page 2 Cross ventilation becomes more important in • Once the tent body is erected, stake it out before the fly is put on. This enables you very humid or extremely cold conditions when the permeable roof is less to square the tent up to ensure that the fly goes on properly and that the seams...
Need help?
Do you have a question about the Chrysalis and is the answer not in the manual?
Questions and answers