Advertisement
XR650-CSi
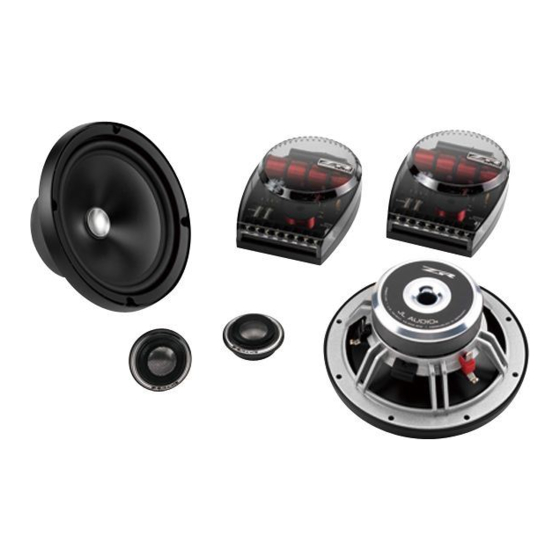
6.50-inch (160 mm) 2-Way Component System
o w n e r ' s m a n u a l
Thank you for choosing a JL Audio Evolution XR Component System
for your automotive sound system. With proper installation, your
new speakers will deliver years of listening pleasure.
We strongly recommend that you have your new Evolution speakers
installed by your authorized JL Audio dealer. The installation
professionals employed by your dealer have the necessary tools and
experience to disassemble your interior panels, install your new
speakers and reassemble your vehicle properly. Also, keep in mind
that your warranty coverage extends to 1 year if your system is
installed or approved by your authorized JL Audio dealer. If you
prefer to perform your own installation, please read this instruction
manual completely before beginning the process.
Advertisement
Table of Contents

Related Manuals for JL Audio XR650-CSi


Summary of Contents for JL Audio XR650-CSi
- Page 1 6.50-inch (160 mm) 2-Way Component System o w n e r ’ s m a n u a l Thank you for choosing a JL Audio Evolution XR Component System for your automotive sound system. With proper installation, your new speakers will deliver years of listening pleasure.
-
Page 2: Getting Started
• Two 1-inch (25 mm) machine screws • Eight Mounting Clips • Two 6.4 mm female crimpable connectors • Two 4.7 mm female crimpable connectors • Four 2.8 mm male crimpable connectors • Twelve crimpable spade connectors • Four black nylon wire ties JL AUDIO XR650-CSi... - Page 3 B) Bi-Wire Input +1.5dB BI-WIRE -1.5dB -3.0dB -4.5dB HIGH MID STANDARD NORMAL BI-WIRE LOW MID JL AUDIO Woofer XR650/ STANDARD 570-CS pxo Amplifier Twt+ Twt- Wfr- Wfr+ InH- InH+ InL- InL+ Output Tweeter Amplifier Output JL AUDIO XR650-CSi...
-
Page 4: Tweeter Protection
Avoid placing tweeters where they will be blocked by objects in the interior of the car (including seated occupants). When selecting a mounting location, look at both sides of the car to make sure that this location is clear on both sides. JL AUDIO XR650-CSi... - Page 5 INSTALLATION: about any of these issues, contact your The crossover networks supplied with your XR JL Audio dealer for installation assistance. System should be installed in a dry location of your Your new speakers have been designed to install, vehicle. DO NOT INSTALL THEM INSIDE OF A...
- Page 6 If you are unsure about any part of this process, please contact your JL AUDIO dealer for Hand-tighten the screws evenly to avoid bending installation help. the speaker frame!
-
Page 7: Tweeter Installation
Line up the arms of the swivel assembly with the slots on the inside of the flush Use two thin metal objects as shown to release mount cup the tweeter element from the flush-mount cup. JL AUDIO XR650-CSi... - Page 8 (90) days from the original date of purchase. The warranty term is extended to one (1) year if installation is performed or approved by an authorized JL Audio dealer (proof of installation or approval required on purchase receipt).
Need help?
Do you have a question about the XR650-CSi and is the answer not in the manual?
Questions and answers