Advertisement
Quick Links
Advertisement

Subscribe to Our Youtube Channel
Related Manuals for Franke FFP S700 SERIES


Summary of Contents for Franke FFP S700 SERIES
- Page 1 FFP S700 SERIES Pull-Out Spray Faucet Installation guide...
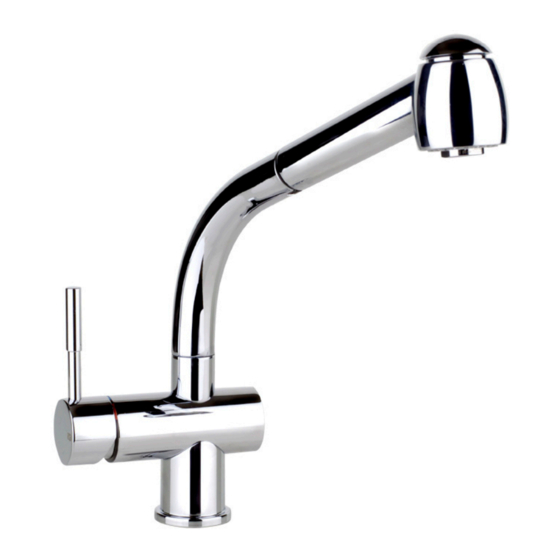
- Page 2 G 1748.XX G 1782 G 1156 G 29016 G R0239.XX G 13396.XX G R0637 G R1664 G 1636 G 1463 TECHNICAL DATA · Minimum working pressure 0,5 bar · Maximum working pressure 5 bar · Recommended working pressure 3 bar (in case of water pressure higher than 5 bar it is recommended to install pressure reducers) ·...
- Page 3 Faucet installation Please remove all components from package and inspect prior to installation (see itemized table and picture). NOTE: Call us immediately if you see inconsistencies. (1-800-626-5771) or visit www.frankeksd.com TABLE OF CONTENTS Faucet Fastening set (rubber washer, triangular flange, metal washer, nut) Counter weight and gaskets Spray head Valve-holder...
- Page 4 Install faucet to the sink or countertop Set the faucet into place on the sink as indicated in the figure. NOTE: the rubber O-ring should be sitting on top of the countertop and between the faucet body. DO NOT use putty or other sealant at this location.
- Page 5 Install faucet to the sink or countertop - follows 21 mm [13/16”] key Install the fastening components to the faucet’s threaded shank in the following sequence: O-ring (1), triangular flange (2), metal washer (3) and threaded nut (4) (the triangular flange can be omitted if the sink/countertop is too thick).
- Page 6 Attach the valve-holder 20 mm [13/16”] key Attach the valve-holder to the shorter tubing and attach the spray hose to the valve-holder. NOTE: The provided small black rubber washer needs to be installed here. DO NOT use putty or other sealant agents at this joint.
- Page 7 Connect the supply line 16 mm [5/8”] key Connect the supply line. In order to guarantee a long use of the pro- duct, install the angle valve equipped with filter and clean them regu- larly. Do not allow the supply tube to twist or bend sharply. Flush out debris from water lines and faucet.
- Page 8 Assemble Pull-out Spray Attach the pull-out spray head to the hose. NOTE: The rubber washer needs to be installed to prevent leakage. Fasten the weight to the hose as shown in picture below. Test all water lines, fitting and connections for leaks.
-
Page 9: Replacing The Cartridge
Replacing the cartridge 2,5 mm [1/8”] Allen key 28 mm [1-1/8”] key Before starting, shut off the water supply to the faucet and move the faucet handle to the off position. Use a 2.5mm [1/8”] Allen key to loosen the set screw (A) which is accessible from the back of the han- dle. -
Page 10: General Maintenance
General maintenance Do not use harsh detergents, solvents, chemical agents, metallic sponges, etc. that could harm the surface. Clean only with a soft sponge and soapy water. Clean and then dry properly the faucet in case of very hard or calcare- ous water, whose deposits cold damage the surface. -
Page 11: Limited Lifetime Warranty
Limited lifetime warranty Franke Consumer Products, Inc., Kitchen Systems Division extends the following warranty to the origi- nal purchaser of its faucets effective January 1, 2003. All faucets installed in a private residence will carry a limited lifetime warranty on all mechanical parts to be free of manufacturing defects in material and workmanship under normal usage.
Need help?
Do you have a question about the FFP S700 SERIES and is the answer not in the manual?
Questions and answers