Table of Contents
Advertisement
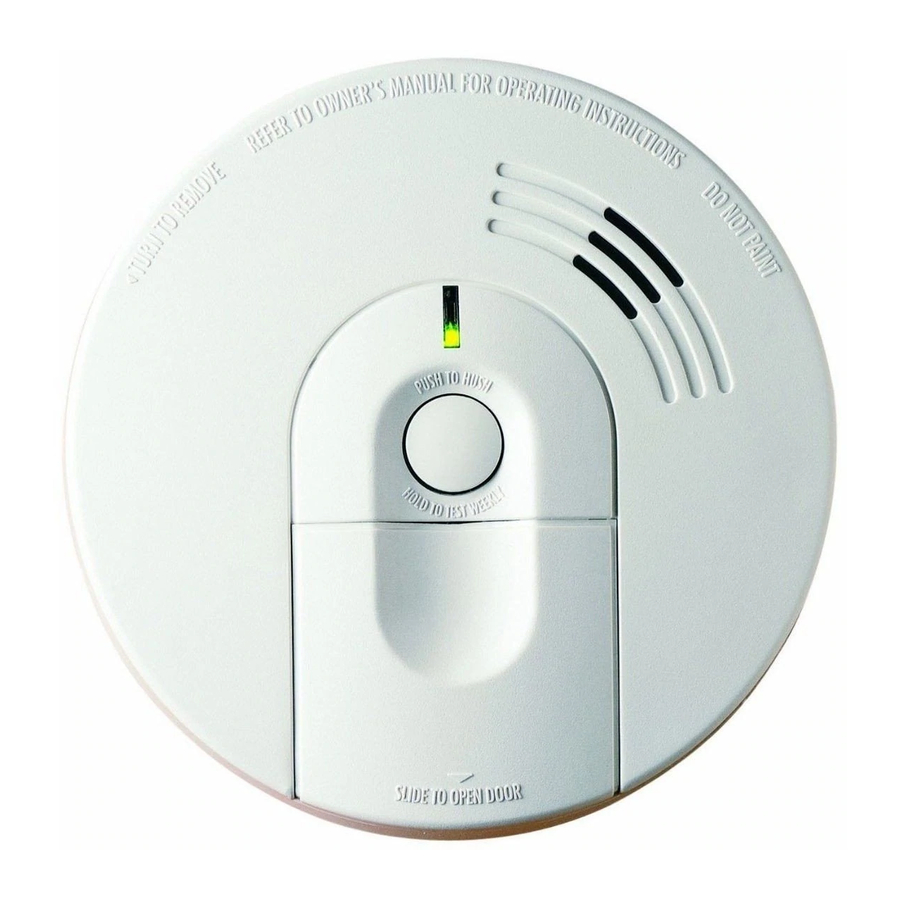
Smoke Alarm
User's Guide
i4618, i4718, i5000 Series
• 120 Volt Smoke Alarm with 9 Volt Battery Back-up
• Front Load Battery
• Test and Hush
ATTENTION: Please take a few minutes to thoroughly read this
user's guide which should be saved for future reference and
passed on to any subsequent owner.
Manual P/N 820-1552 Rev. A 1261-7201-00
®
Button
SIGNALING
U L
LISTED
Model: i4618
Advertisement
Table of Contents

Related Manuals for Firex i4618 Series


Summary of Contents for Firex i4618 Series
-
Page 1: Smoke Alarm
SIGNALING LISTED Smoke Alarm User’s Guide i4618, i4718, i5000 Series Model: i4618 • 120 Volt Smoke Alarm with 9 Volt Battery Back-up • Front Load Battery ® • Test and Hush Button ATTENTION: Please take a few minutes to thoroughly read this user’s guide which should be saved for future reference and passed on to any subsequent owner. -
Page 2: What To Do When The Alarm Sounds
What to do When the Alarm Sounds! Smoke Alarm Procedure NEVER IGNORE THE SOUND OF THE ALARM! Smoke alarms are designed to minimize false alarms. Cigarette smoke will not normally set off the alarm, unless the smoke is blown directly into the alarm. Combustion particles from cook- ing may set off the alarm if it is located too close to the cook- ing area. -
Page 3: Contents Of This Manual
We know you expect nothing less when the lives of your family are at stake. Firex alarms and accessories CAN ONLY BE interconnected with other Kidde and FireX alarms and accessories as well as specified brands and models of inter- connect compatible alarms. Connection of Firex products to a non-specified manu- facturer’s interconnect system, or connection with non-specified equipment from... -
Page 4: Recommended Locations For Alarms
WARNING! REMOVAL OF THE SMOKE ALARM BATTERY AND DISCONNECT- ING or LOSS OF A.C. POWER WILL RENDER THE SMOKE ALARM INOPERATIVE. ELECTRICAL RATING: 120 VAC, 60HZ, 80mA maximum per alarm (maximum 80mA for originating unit with 24 devices interconnected). 1. RECOMMENDED LOCATIONS FOR ALARMS •... -
Page 5: Locations To Avoid
• Install Smoke Alarms on tray-shaped ceilings (coffered ceilings) on the highest portion of the ceiling or on the sloped portion of the ceiling within 12” (305mm) verti- cally down from the highest point (see figure 4). MOBILE HOME INSTALLATION Modern mobile homes have been designed and built to be energy efficient. -
Page 6: Wiring Instructions
• In dusty areas. Dust particles may cause nuisance alarm or failure to alarm. • In very humid areas. Moisture or steam can cause nuisance alarms. • In insect-infested areas. • Smoke alarms should not be installed within 3 ft (.9m) of the following: the door to a kitchen, the door to a bathroom containing a tub or shower, forced air supply ducts used for heating or cooling, ceiling or whole house ventilating fans, or other high air flow areas. - Page 7 • A maximum of 24 Kidde and/or FireX devices may be interconnected in a mul- tiple station arrangement. The interconnect system should not exceed the NFPA interconnect limit of 12 smoke alarms and/or 18 alarms total (smoke, heat, carbon monoxide, etc.). With 18 alarms interconnected, it is still possi- ble to interconnect up to a total of 6 remote signaling devices and/or relay modules.
-
Page 8: Mounting Instructions
BATTERY INSTALLATION See MAINTENANCE (Section 6) for battery installation. CAUTION! THIS UNIT WILL NOT FUNCTION WITHOUT A PROPERLY INSTALLED BATTERY, AND IS EQUIPPED WITH A BATTERY LOCKOUT FEA- TURE WHICH PREVENTS THE BATTERY DOOR FROM CLOSING IF A BAT- TERY IS NOT INSTALLED CORRECTLY. MOUNTING INSTRUCTIONS CAUTION: THIS UNIT IS SEALED. -
Page 9: Tamper Resist Features
NOTE: The alarm will mount to the bracket in 4 positions (every 90 degrees). When wall mounting, make sure the battery box is at the bottom of the unit. (see Figure 5). 6. Pull the Battery Pull Tab (red tab protruding from the unit) completely out of the unit unit and slide the battery door completely closed. -
Page 10: Operation And Testing
4. OPERATION AND TESTING OPERATION: The smoke alarm is operating once A.C. power is applied, fresh batteries are installed and testing is complete. When the smoke alarm ionization chamber senses products of combustion, the horn will sound a loud (85db) tem- poral alarm until the sensing chamber is cleared of smoke particles. -
Page 11: Nuisance Alarms
Alarm Memory: This smoke alarm is equipped with an alarm memory, which provides a visual indication when an alarm has been activated. The red LED will illuminate for about 1.5 seconds every 16 seconds to indicate the memory condition. The memory will remain activated until pushing the Test/Hush Button resets it. -
Page 12: Alarm Removal
6. MAINTENANCE ALARM REMOVAL IF SMOKE ALARM TAMPER RESIST FEATURE HAS BEEN ACTIVATED, REFER TO SMOKE ALARM TAMPER RESIST FEATURE IN SECTION 3 FOR REMOVAL INSTRUCTIONS. To remove the alarm from the trim ring, rotate the alarm counter clockwise in the direction of the "OFF"... -
Page 13: Cleaning The Alarm
USE ONLY THE FOLLOWING 9 VOLT BATTERIES FOR SMOKE ALARM REPLACEMENT. Carbon-zinc type EVEREADY 1222; GOLD PEAK 1604P OR 1604S Alkaline type ENERGIZER 522; DURACELL MN1604 OR MX1604; GOLD PEAK 1604A PANASONIC 6AM6, 6AM-6, 6AM-6PI, 6AM6X, AND 6LR61 (GA) Lithium type ULTRALIFE U9VL-J NOTE: WEEKLY TESTING IS REQUIRED! WARNING! BE SURE TO FOLLOW BATTERY INSTALLATION INSTRUCTIONS... -
Page 14: Good Safety Habits
(associated with slow smoldering fires) sooner than ionization alarms. Home fires develop in different ways and are often unpredictable. For maximum protection, Firex recommends that both Ionization and Photoelectric alarms be installed. • A battery powered alarm must have a battery of the specified type, in good con- dition and installed properly. -
Page 15: Nrc Information
• Determine a place outside your home where you all can meet if a fire occurs. • Familiarize everyone with the sound of the smoke alarm and train them to leave your home when they hear it. • Practice a fire drill at least every six months, including fire drills at night. Ensure that small children hear the alarm and wake when it sounds. -
Page 16: Service And Warranty
Smoke Detection – Are More Smoke Alarms Desirable? The required number of smoke alarms might not provide reliable early warning protection for those areas separated by a door from the areas protected by the required smoke alarms. For this reason, it is recommended that the householder consider the use of addi- tional smoke alarms for those areas for increased protection. - Page 17 FIVE YEAR LIMITED WARRANTY (i4618, i4718 Series) Kidde warrants to the original purchaser that the enclosed smoke alarm (but not the battery) will be free from defects in material and workmanship or design under normal use and service for a period of five years from the date of purchase. The obligation of Kidde under this warranty is limited to repairing or replacing the smoke alarm or any part which we find to be defective in material, workmanship or design, free of charge to the customer, upon sending the smoke alarm with proof of date of purchase,...
- Page 18 TEN YEAR LIMITED WARRANTY (i5000 Series) Kidde warrants to the original purchaser that the enclosed smoke alarm (but not the battery) will be free from defects in material and workmanship or design under normal use and service for a period of ten years from the date of purchase. The obligation of Kidde under this warranty is limited to repairing or replacing the smoke alarm or any part which we find to be defective in material, workmanship or design, free of charge to the customer, upon sending the smoke alarm with proof of date of purchase,...
Need help?
Do you have a question about the i4618 Series and is the answer not in the manual?
Questions and answers
how do i replace the i4618 with a newer version smoke detector
To replace the Firex i4618 Series smoke detector with a newer version, follow these steps:
1. Turn Off Power: Switch off the circuit breaker supplying power to the smoke detector.
2. Remove the Old Detector: Twist the smoke alarm counterclockwise to detach it from the mounting plate.
3. Disconnect Wires: Unplug the wiring harness from the back of the old alarm.
4. Install the New Mounting Plate (if needed): If the new model has a different mounting plate, remove the old one and install the new plate using screws.
5. Connect Wiring Harness: Attach the wiring harness from the new smoke detector to the existing wires in the ceiling.
6. Attach the New Detector: Align the new smoke alarm with the mounting plate and twist it clockwise to secure it.
7. Insert Battery: If the new model has a battery backup, insert a fresh battery.
8. Turn On Power: Restore power at the circuit breaker.
9. Test the Alarm: Press the test button to ensure the new smoke detector is functioning properly.
Always refer to the user manual of the new smoke detector for specific installation instructions.
This answer is automatically generated