Table of Contents
Advertisement
Advertisement
Table of Contents

Related Manuals for Dymo LabelPoint 200


Summary of Contents for Dymo LabelPoint 200
-
Page 2: Changing The Cassette
If necessary, turn spool fix the label to the underside to identify its owner? You clockwise to tighten ribbon. have just found the first of many uses for your DYMO B❺ • Check that cassette switch is set for the cassette type labels. -
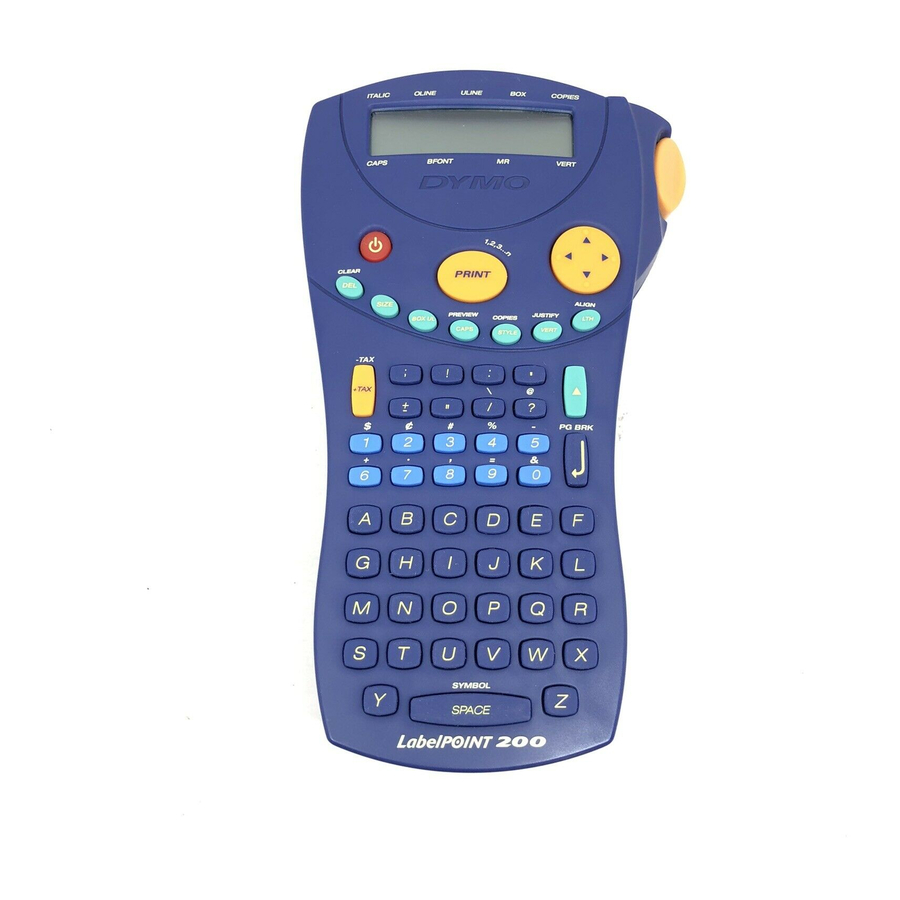
Page 3: Display Overview
The Display CURSOR KEY • Press to move the cursor along the text, one character at a time. Page indicators Line indicator Shift on Underline Copies on Justify Italic Outline • Press and hold to scan through the text. • Press to move the cursor to the beginning or end of the line of text. - Page 4 PRINT • To cancel an existing multiple copies setting, press COPIES STYLE Underlined - DYMO Note: A row of vertical dots will print between each label — as a cutting guide. Square Box - INCREMENTAL NUMBERING Pointed Box - Labels can be printed in increments of 1 automatically.
-
Page 5: Symbols And Special Characters
‘Sale 10.00/’ becomes ‘Sale 10.00/BF403.40’ Press then to continue the sequence. PRINT If the original number is at the end of the label, it will • It is also possible to include automatic incremental be replaced by the BF value: numbering when printing multiple copies. -
Page 6: Troubleshooting
Replace the batteries. symbol required. No success? • Call the DYMO customer service hotline telephone Press to place the symbol in the label. number for your country – see the warranty booklet.
Need help?
Do you have a question about the LabelPoint 200 and is the answer not in the manual?
Questions and answers